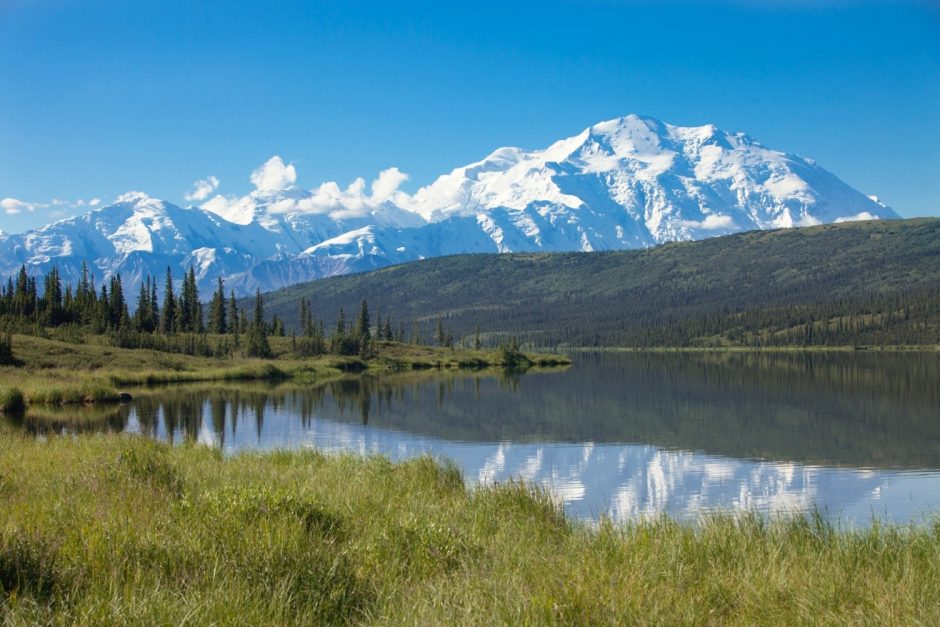
Steps for Getting Super Sharp Landscape Photos
The sharpness of a photo is often a cornerstone to its aesthetics. Now, I’ll tell ya, there are absolutely times when sharpness isn’t everything, and we must remind ourselves that the point of photography isn’t to just get sharp photos all day long. It’s to tell a story, share a moment, portray beauty, or something a bit more artsy.
However, when telling the story or preserving the memory of an extraordinary landscape, like you might have in Greenland, Iceland, Alaska, or National Parks in the US, having part of the scene out of focus can be distracting and ultimately ruin the shot.
So, let’s get you to nail sharpness in your landscape shots. There are three key elements… the right shutter speed, the right aperture and, perhaps most importantly, where to focus in that endless landscape.

The Right Shutter Speed
We’re at a big advantage here, because unlike wildlife photography, landscapes don’t tend to move (well, maybe a breeze could be blowing…). As a result, we’re really just trying to freeze our own hand movement from holding the camera.
You could of course use a tripod and then take shutter speed out of the equation, but for most of us, we tend to shoot hand held. I personally try to shoot hand held simply because it gives me more flexibility and versatility that leads to more photos.
Because we’re usually shooting wide for landscape, like, between 15mm and 50mm, I think a blanket 1/250th of a shutter speed is very safe. However, if you need to push this slower because of low light causing noise and grain in your shot (i.e., high ISO), you typically can go to around 1/focal length in terms of the slowest shutter speed while being hand held and still get a crisp shot.
But, if you want to play it safe, go for 1/ 2x focal length plus image stabilization and you have little to worry about. For example, if you’re shooting at 24mm, aim for 1/48th of a second or faster (usually 1/50th is the closest setting).
Thus, my blanket advice of 1/250th (if light allows) is a great no-fuss, extra safe, shutter speed.
Remember, if you zoom in and go to 120mm, you ought to adjust your shutter speed accordingly, to remove hand movement from the equation.
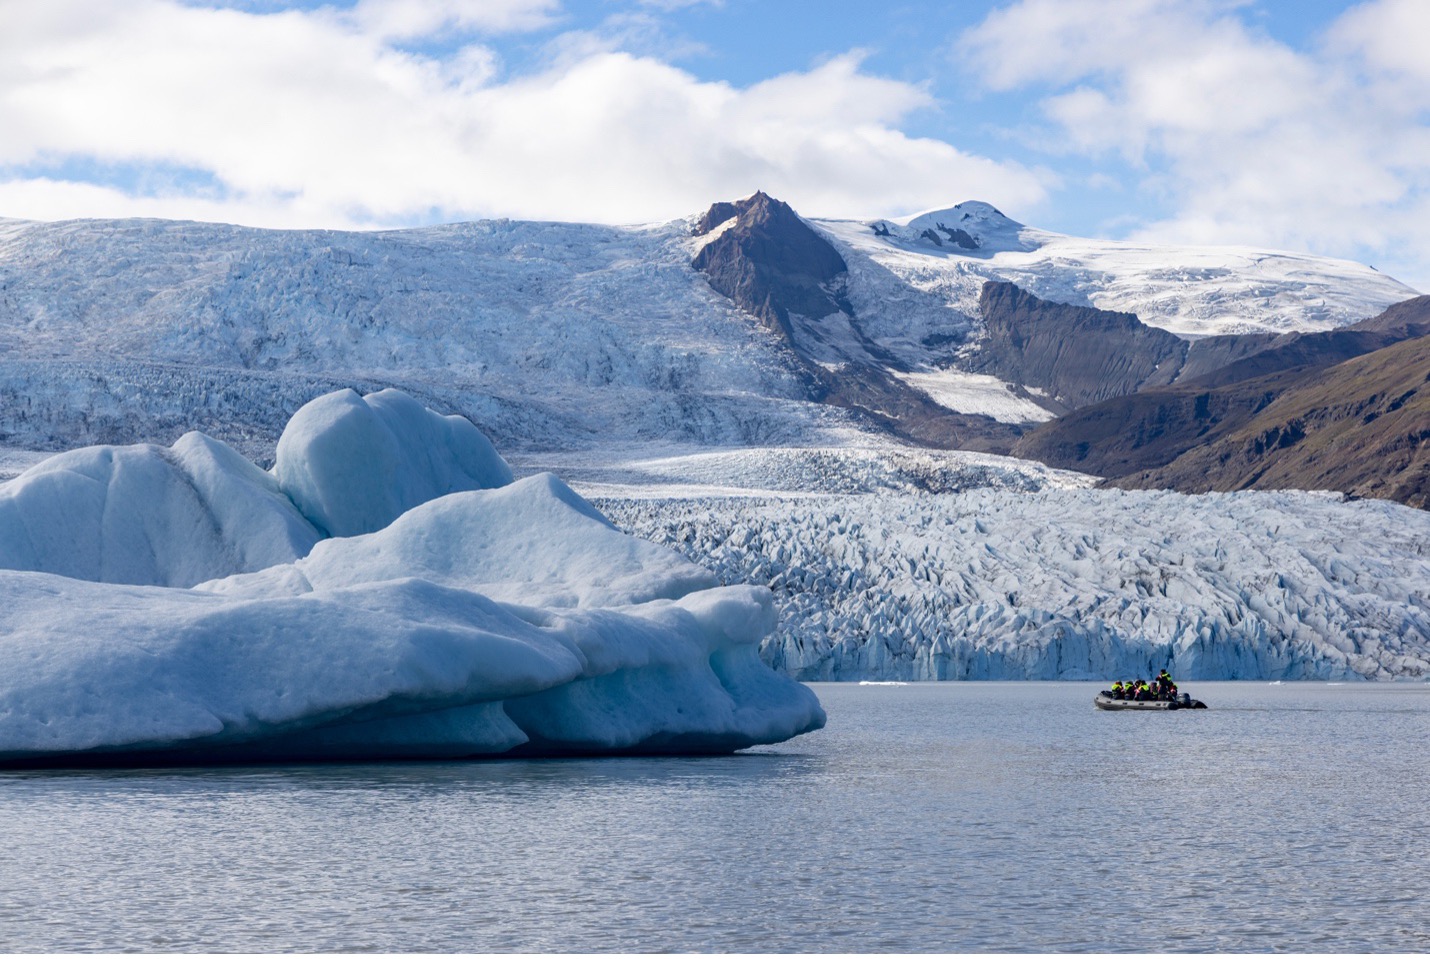
The Right Aperture
In general, when we’re taking landscape photos, we do want everything to be in focus. Of course there are times when we can be artistic and focus on something really close and have the rest of the scene blurred, but we’re talking about the other 80 or 90% of the time when we want it all in crisp, beautiful focus.
To get everything in focus, at a typical landscape zoom or focal length, like 18, 24, or 35mm, f/8 will do the trick. The wider you shoot, the more prominent your deep depth of field, so while it may be tempting or prudent to go to f/11, it isn’t always necessary.
While shooting at f/11 is a nice failsafe, ensuring that everything is sharp, it’s worth mentioning that there are some slight risks to shooting at f/11 you ought to consider.
First, it cuts your light down in half.
If you’re photographing at mid-day, with ample light, this isn’t a problem. However, if you are shooting in low light conditions, like dawn, dusk, sunrise or sunset, this may cause you to have high ISOs, which actually reduces the quality of your photo and makes it “noisy.”
The other issue is that with our high megapixel cameras, f/11 introduces something called diffraction into the shot, which means that the sharpness of each and every pixel actually crowds out the total number of pixels that can fit into the frame. Thus, you may actually reduce overall quality.
I’ll end with this…”the right aperture” is slightly subjective, but a good safe zone is between f/8 and f/11, and go for the latter if you are photographing foreground that is close to you…within 20 yards. (for example, if the entire scene is a mountain range 2 miles away, sticking with f/8 is fine).
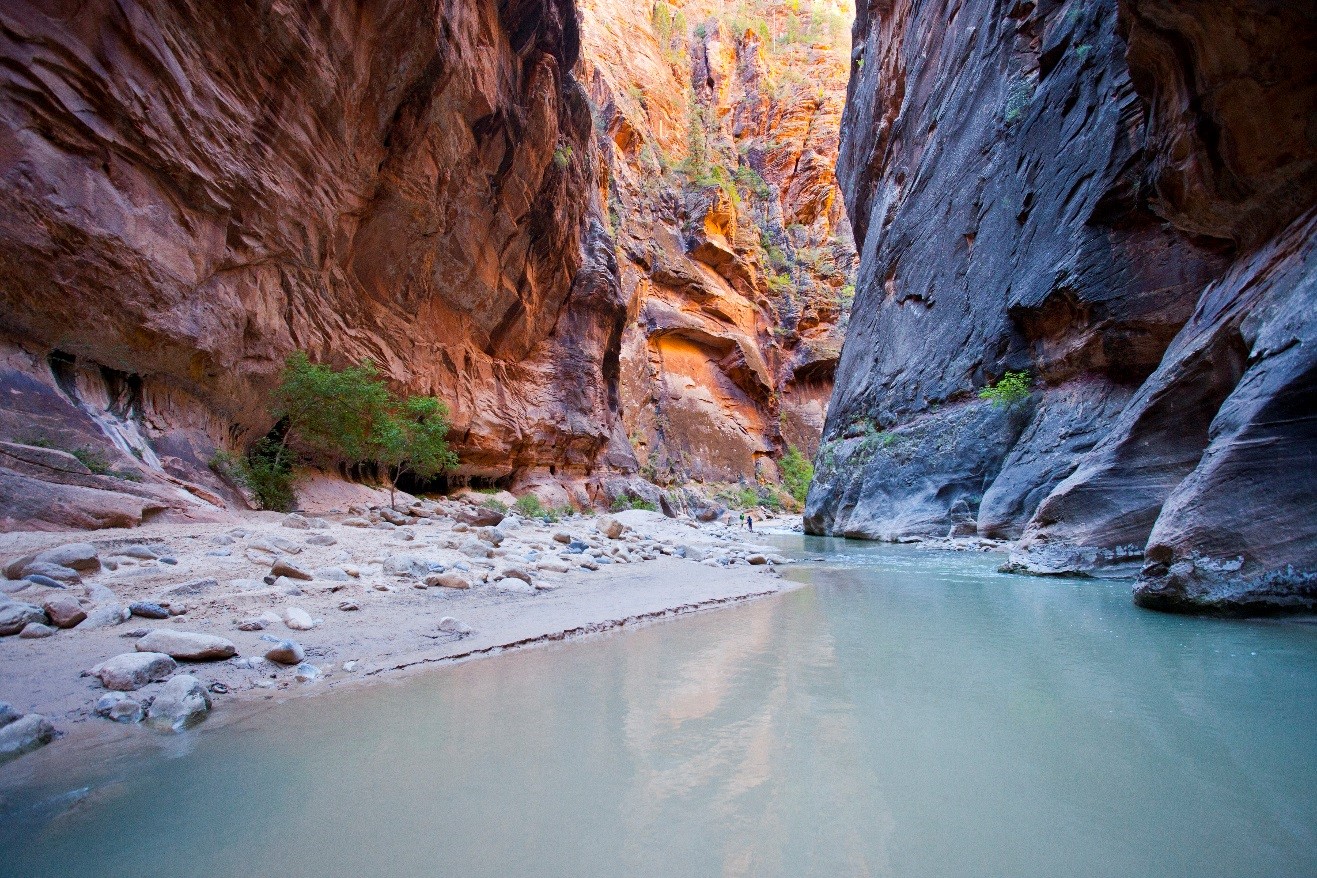
Where to Focus
I’ve saved the most important for last. You can nail shutter speeds and apertures, but if you focus on the “wrong” part of the scene, you could get certain parts of your big, gorgeous landscape, out of focus.
I could go on and on about the concept of “hyperfocus” and how to achieve perfectly precise results by focusing an exact distance from the front to back of your scene. It involves plugging in just about every camera setting as well as focal length into an equation.
But ya know what? Just about every time it comes out to be the golden rule… “focus about 1/3 of the way into the scene.” It’s that easy. When looking at your framing, make an informal judgement about what 1/3rd is, approximately, and focus there. Don’t worry about taking a tape measure out, just make an approximation.
You mix this with a deep depth of field at f/8 or f/11, and fore-, mid-, and background will be all in tack sharp focus.
In Summary
So, next time you’re in front of an extraordinary landscape and you want to capture it in wall-worthy detail, follow these simple guides of 1/250, f/8 (or 11 to be extra safe), and focus one third of the way into the scene and voila, superb sharpness for a glorious landscape each and every time.
Enjoy it out there!
Court

Leave a reply