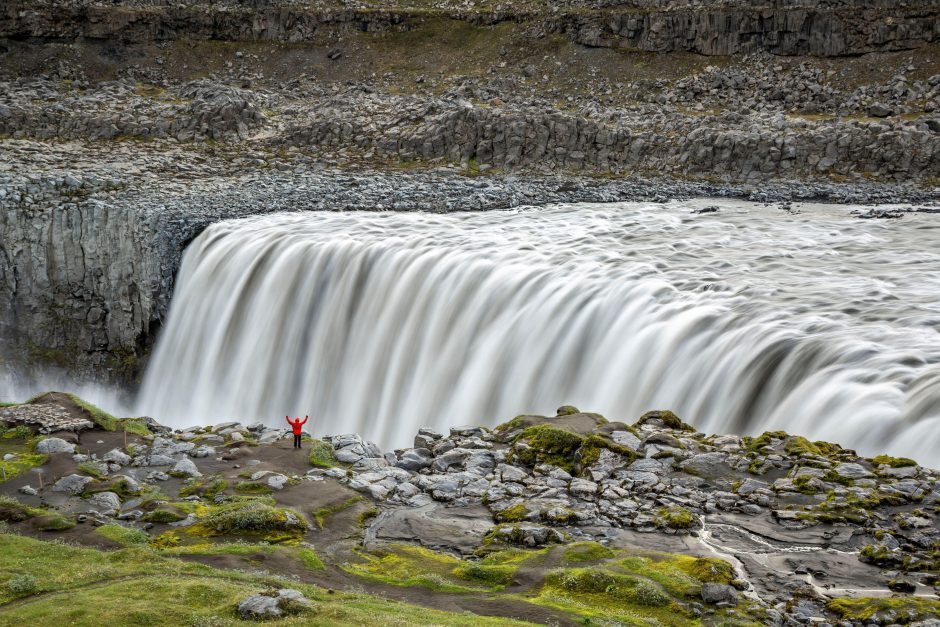
A Beginner’s Guide to “Silky Water” in Landscape Photography
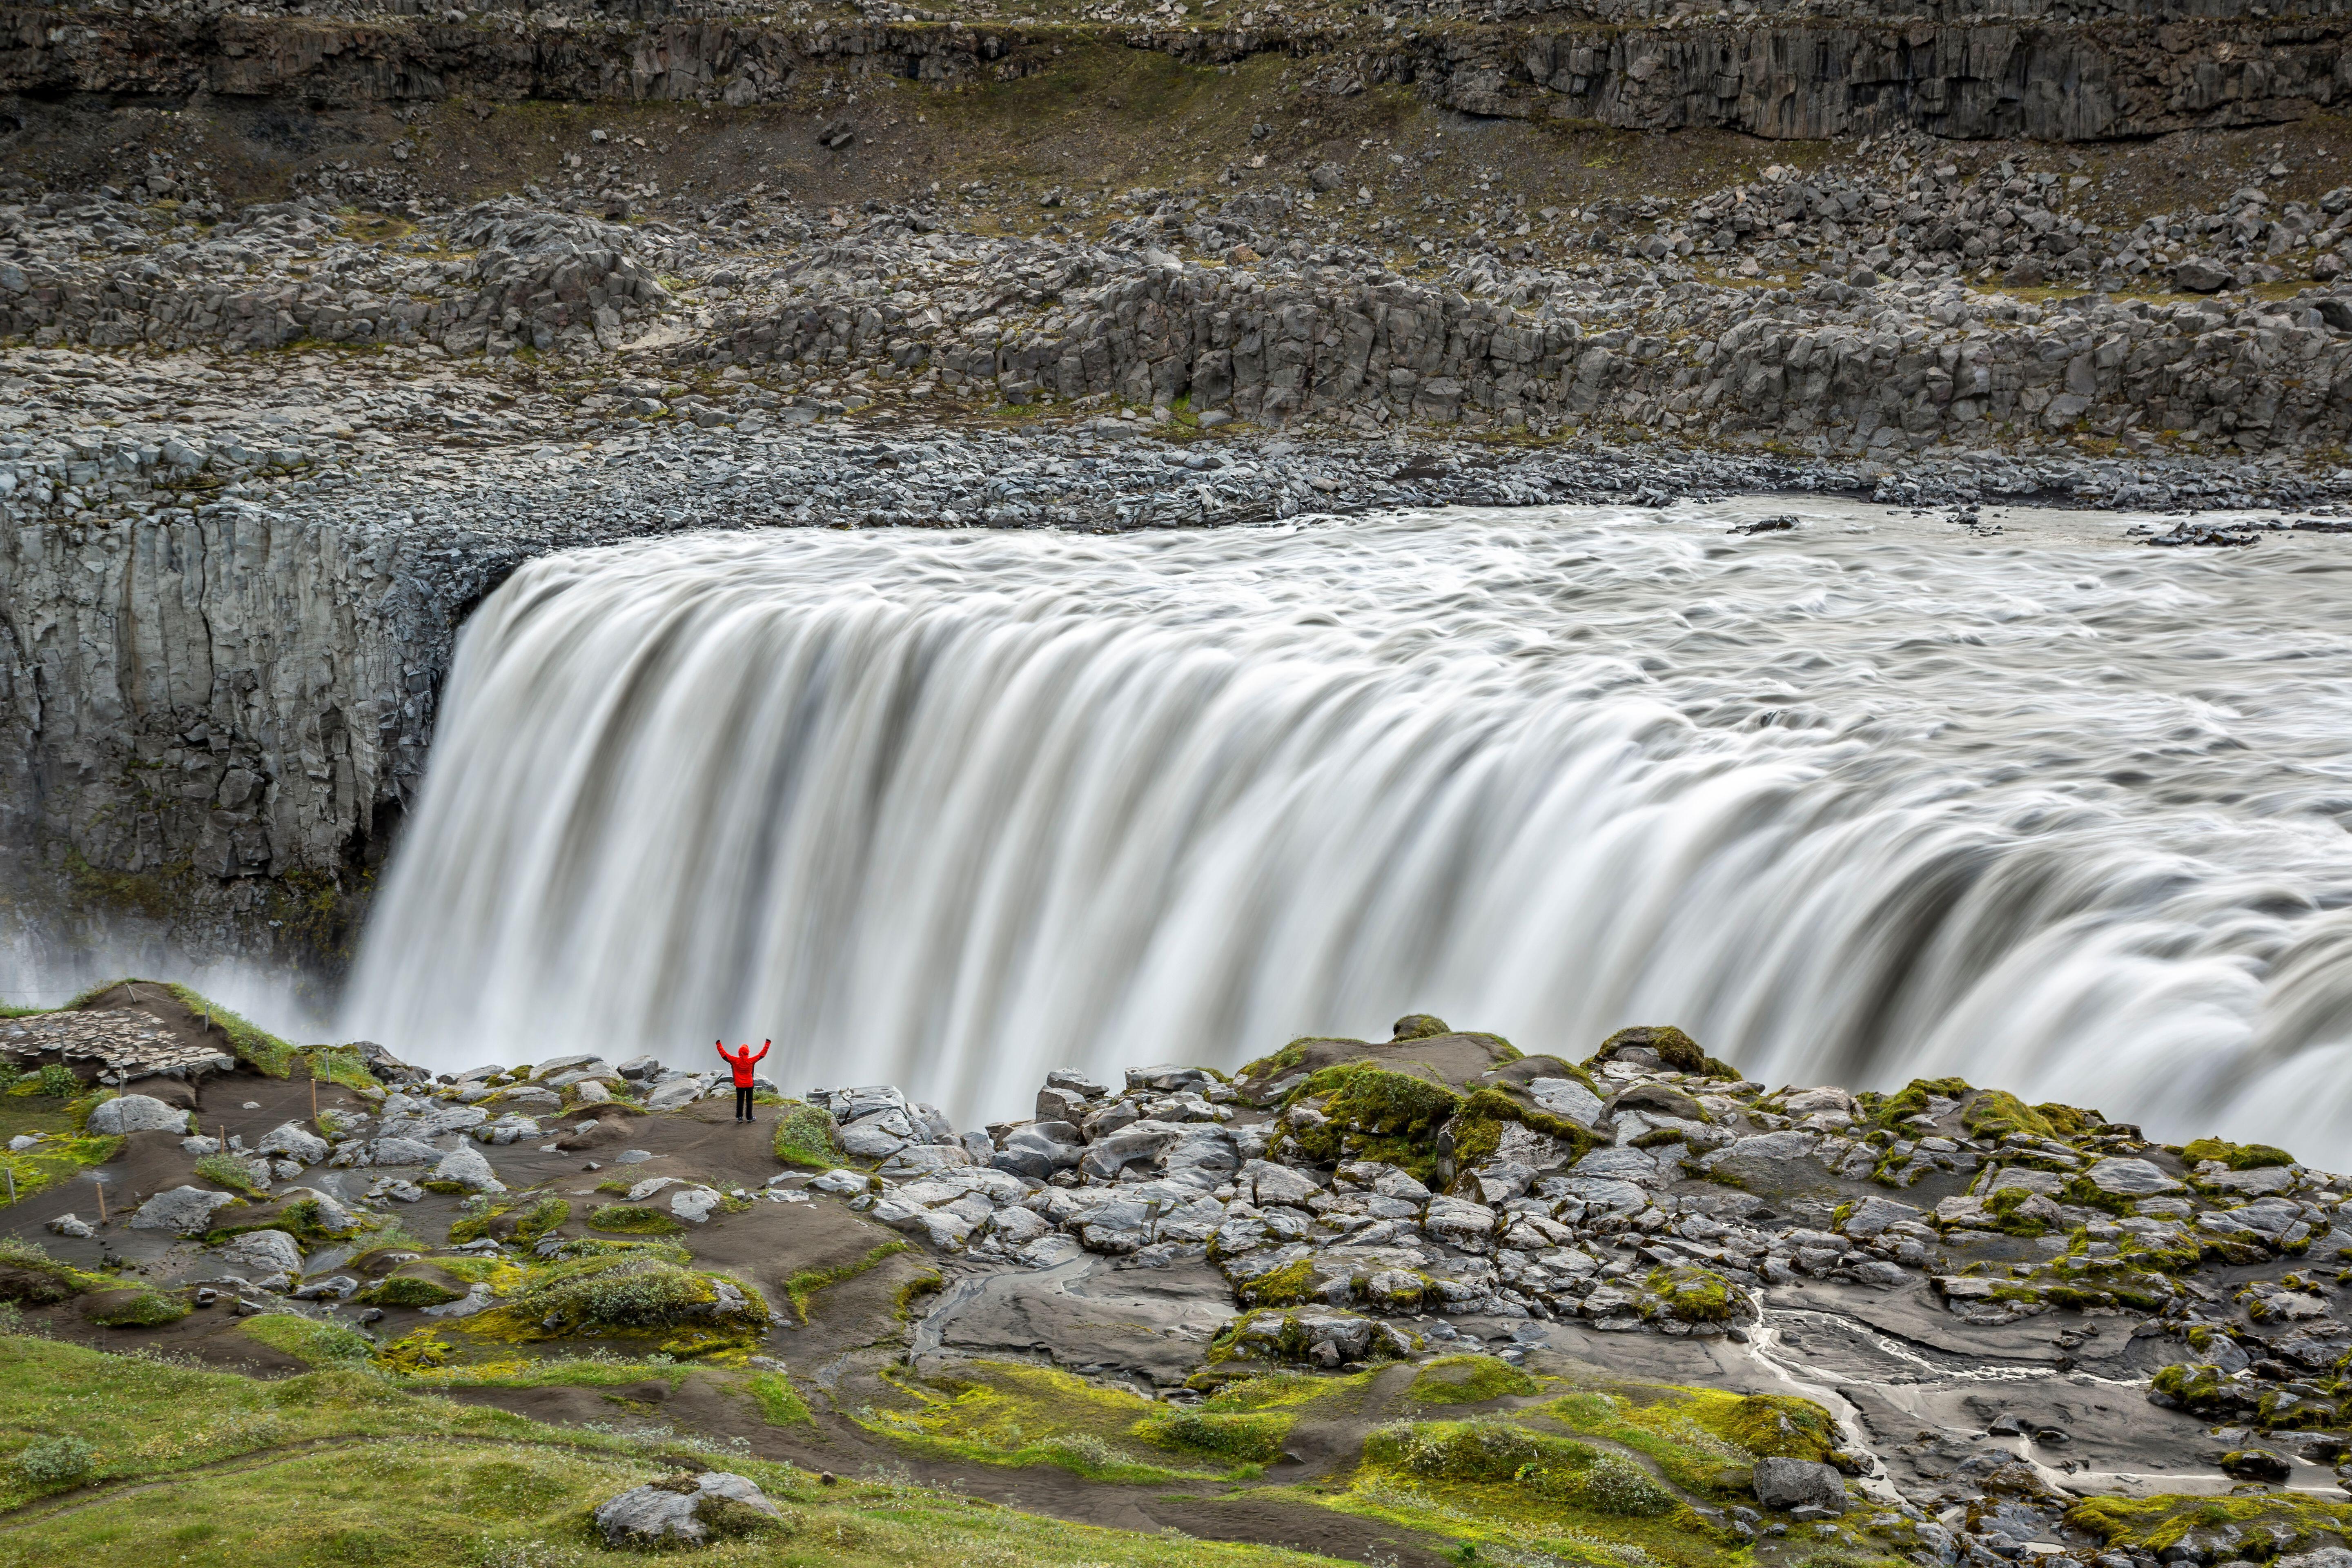
Broadening your horizons in nature photography is wildly rewarding and likely easier than you thought when it comes to this really cool landscape photo trick. Whether you’re a tried-and-true wildlife photographer, just getting into nature photography, or have been photographing landscapes for years and haven’t yet embraced this technique, learning how to capture “silky water” is one of the quickest ways to expand the range of beauty you can capture in a variety of places in our world.
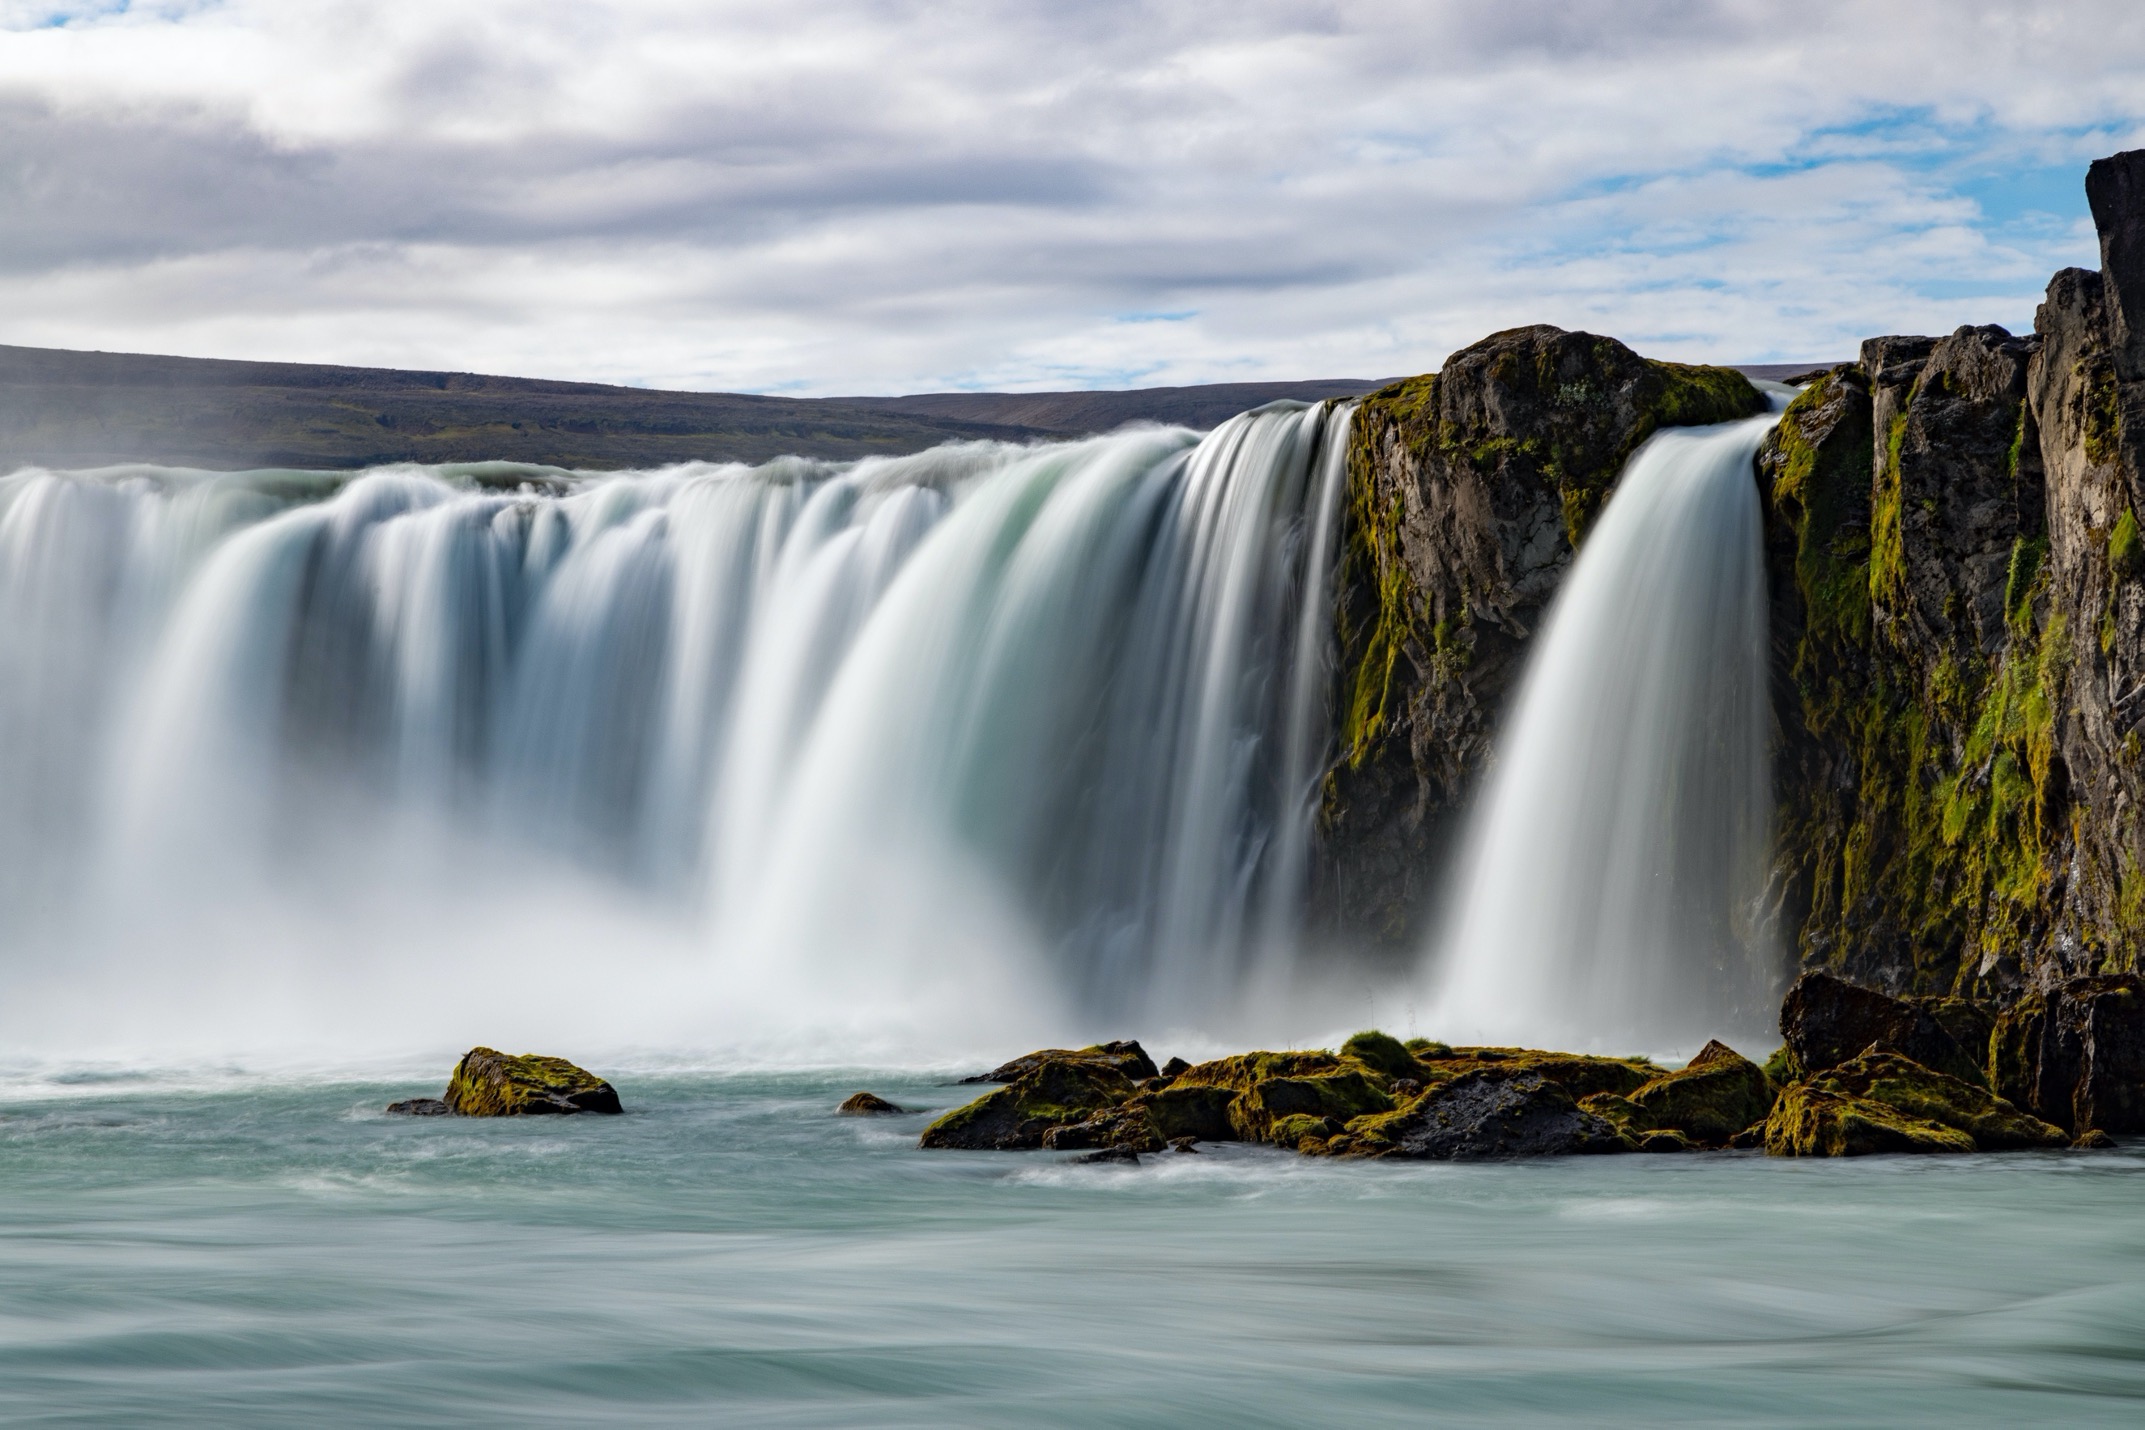
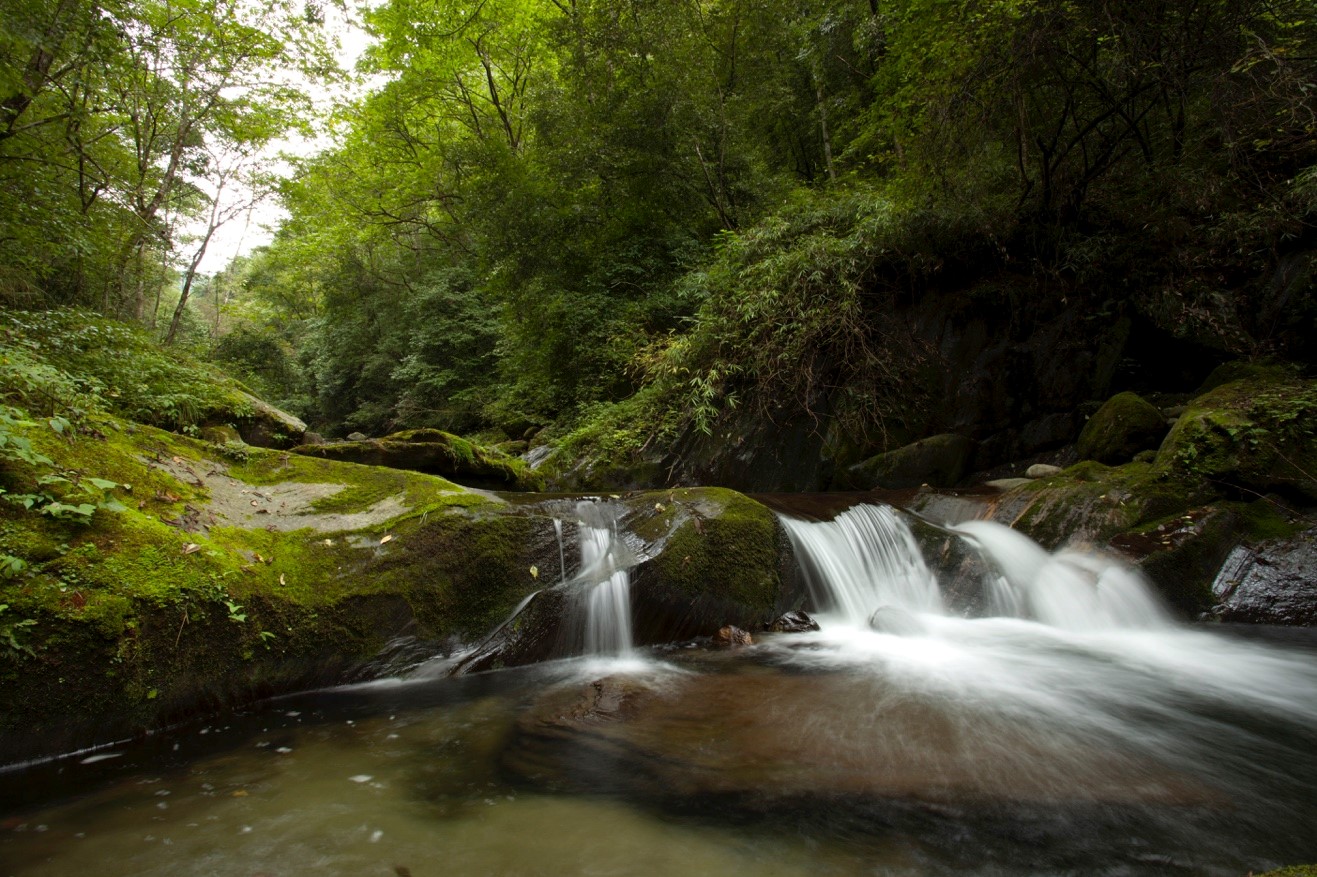
Whether it’s a tall waterfall in Costa Rica, small cascades in China, or some of the most impressive waterfalls in the world in Iceland, you will start to find opportunities everywhere.
Within just a few minutes, you’ll learn the relatively simple, but essential, checklist for capturing silky water in this classic slow-shutter technique.
Learn to Identify the Opportunity
Not all moving water is created equal. To really nail the photo here, it’s a certain type of scene that you’ll need to learn to identify.
Sure, a beach or coastal area has moving water, but it’s not going to produce quite the same instant-gratification-effect. Same goes for white water rapids, or pounding surf.
What you’re looking for, at least for starters, is steadily moving water in a Goldilocks way. Not too much…we don’t need or want the biggest waterfall in the world, nor do we want a barely trickling stream…something…anything in the middle.
We also ideally want this water in the shade or in generally dimmer lighting conditions. Honestly, the lower light the better (a semi-rarity in the photo world!). This technique is absolutely possible in full daylight, but it requires additional gear and becomes a tad more challenging (more on that gear in a moment).
So, the checklist here is:
1) steadily moving “Goldilocks” water
2) the entire scene in dim, shady, or otherwise lower-than-bright lighting conditions.
The Gear, Setup, and Camera Settings
Once you’ve found the spot, you’re going to need to find a stable surface for your camera. Ideally this is a tripod, but it doesn’t have to be. I’ve had great luck over the years with handrails, a flat-ish rock, or even placing my camera on a rigid side of my backpack. The idea is that is needs to be very stable such that the camera doesn’t move at all for the brief moment your shutter is open.
While being “hand-held” is possible, it’s very challenging and requires the most stable hands. Plus, you will invariably limited by how slow you can go, as even the most advanced image stabilization and steady hands can’t really go below 1/5th of a second hand-held.
Next, the settings…

The quickest and easiest entry point into this overall style of silky water photography is by setting your camera on shutter speed priority mode and dialing in the lowest ISO possible. This is usually ISO 100, but sometimes can be ISO 50, depending on your camera make and model. Go as low as you can go.
Then, start at the faster shutter speed and plan to take 4+ photos, steadily notching slower and slower until you find the look you like best.
While I’d love to tell you that ½ second is the sweet spot for every silky water opportunity, I can’t do that. The “right” shutter speed depends heavily on the flow of the water, as well as your own style and the look you find most appealing.
Thus, I’d recommend starting somewhere around 1/10th of a second and ending with roughly 2 seconds. This means you should try several in-between speeds, like 1/5, 1/2, 1 full second, etc. And, frankly, there is no rule to say you can’t start at 1/40th and end a 4 full seconds…but again, for starters I’d recommend a spectrum from 1/10th to 2 seconds.
What you’ll quickly notice is that at these longer shutter speeds, light is flooding your camera sensor. This is why I like to aim for dimmer conditions and a super low ISO. This is also why I like the camera choosing the aperture for me, as it will most likely choose a very big f-number (aka small aperture) to automatically limit the light entering your sensor. Don’t be surprised if you are shooting at 1 second, f/22 and ISO 50 only to still have the photo too bright.
If this is the case, you have two options. One, is to find a more shaded scene. In other words, wait for a cloud to come over, return and photograph at a lower-light time of day, or move to a patch of water that is in darker shade.
The other option, which takes some advance planning, is to buy a Neutral Density Filter. There ingenious little filters physically darken things, and they look like sunglasses for your lens. Essentially, they physically limit light, so that when you are at your biggest f-number and lowest ISO, but at the exact shutter speed you want, you still have another trick up your sleeve for limiting light (if the photo is indeed too bright, even with those settings).
If you really enjoy this style of photography, I highly recommend the investment in one of these.
Take Some Test Shots and Work on Composition
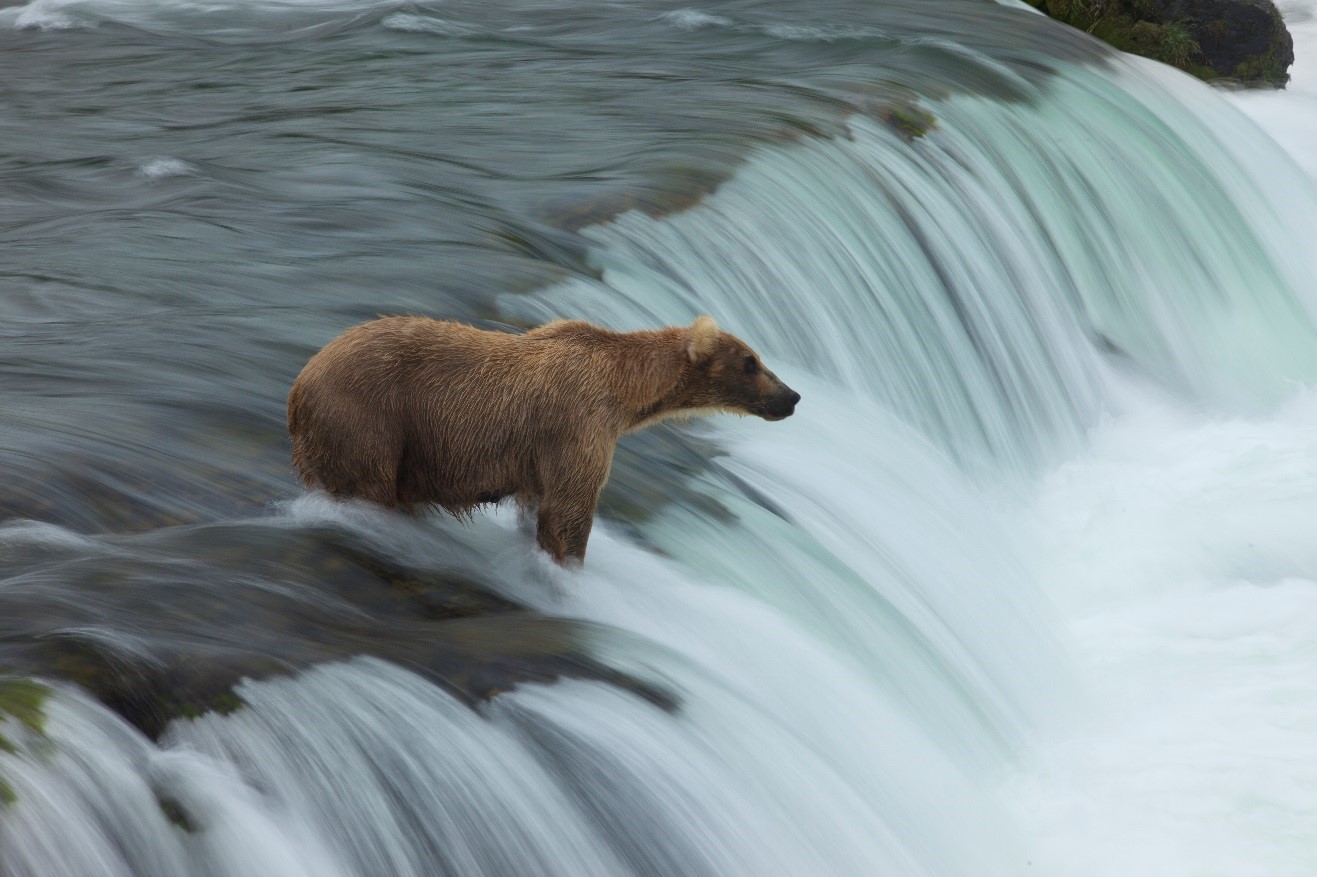
Whether you start out with the perfect framing of your shot, or wish to take a few test shots to dial in the “look” of the silky water first is up to you. You might find that until you see how the silky water looks, it’s hard to nail composition, as the moving water might create areas of the scene that draw your attention, such that until you express those in the shot, you don’t know where to place them in the frame.
The point is that experimentation is a very natural part of the process. But, equally important is that you don’t just nail the silky water without paying meticulous attention to it being a well-composed, intriguing photo in the first place.
A key point is that the silky water effect is not the feature of your photo, but rather a super-charged supplementation to an already intriguing/captivating landscape photo.
The checklist here is to:
1) set your camera on something as rigid and study as you can find (a tripod is ideal)
2) use shutter speed mode and the lowest ISO for ease-of-use
3) start with around 1/10th of a second and work your way slower
4) experiment with composition and various shutter speeds.
Keep Experimenting and Keep Practicing!
I started the article with the idea of “finding” the right scene here, and frankly, that’s at least 50% of the work and challenge here…maybe more. Thus, increasing your own prowess in this technique relies heavily on your own acuity for noticing the opportunity and being able to set up the shot with less and less guesswork and effort over time.
When you do encounter these situations, and begin to notice them routinely, they become second nature and will quickly become a wonderful arrow in your photographic quiver.
They don’t exist everywhere, and they do require specific settings, both in your camera and the setting in nature. However, they are a relatively easy and very achievable way to take your photos to dramatic new heights, and they’re a heck of a lot of fun to capture, too!
Get out there and give it a shot!
Court

Leave a reply