Sharp Shots of Fuzzy Animals: A Guide to Preventing Blurry Photos
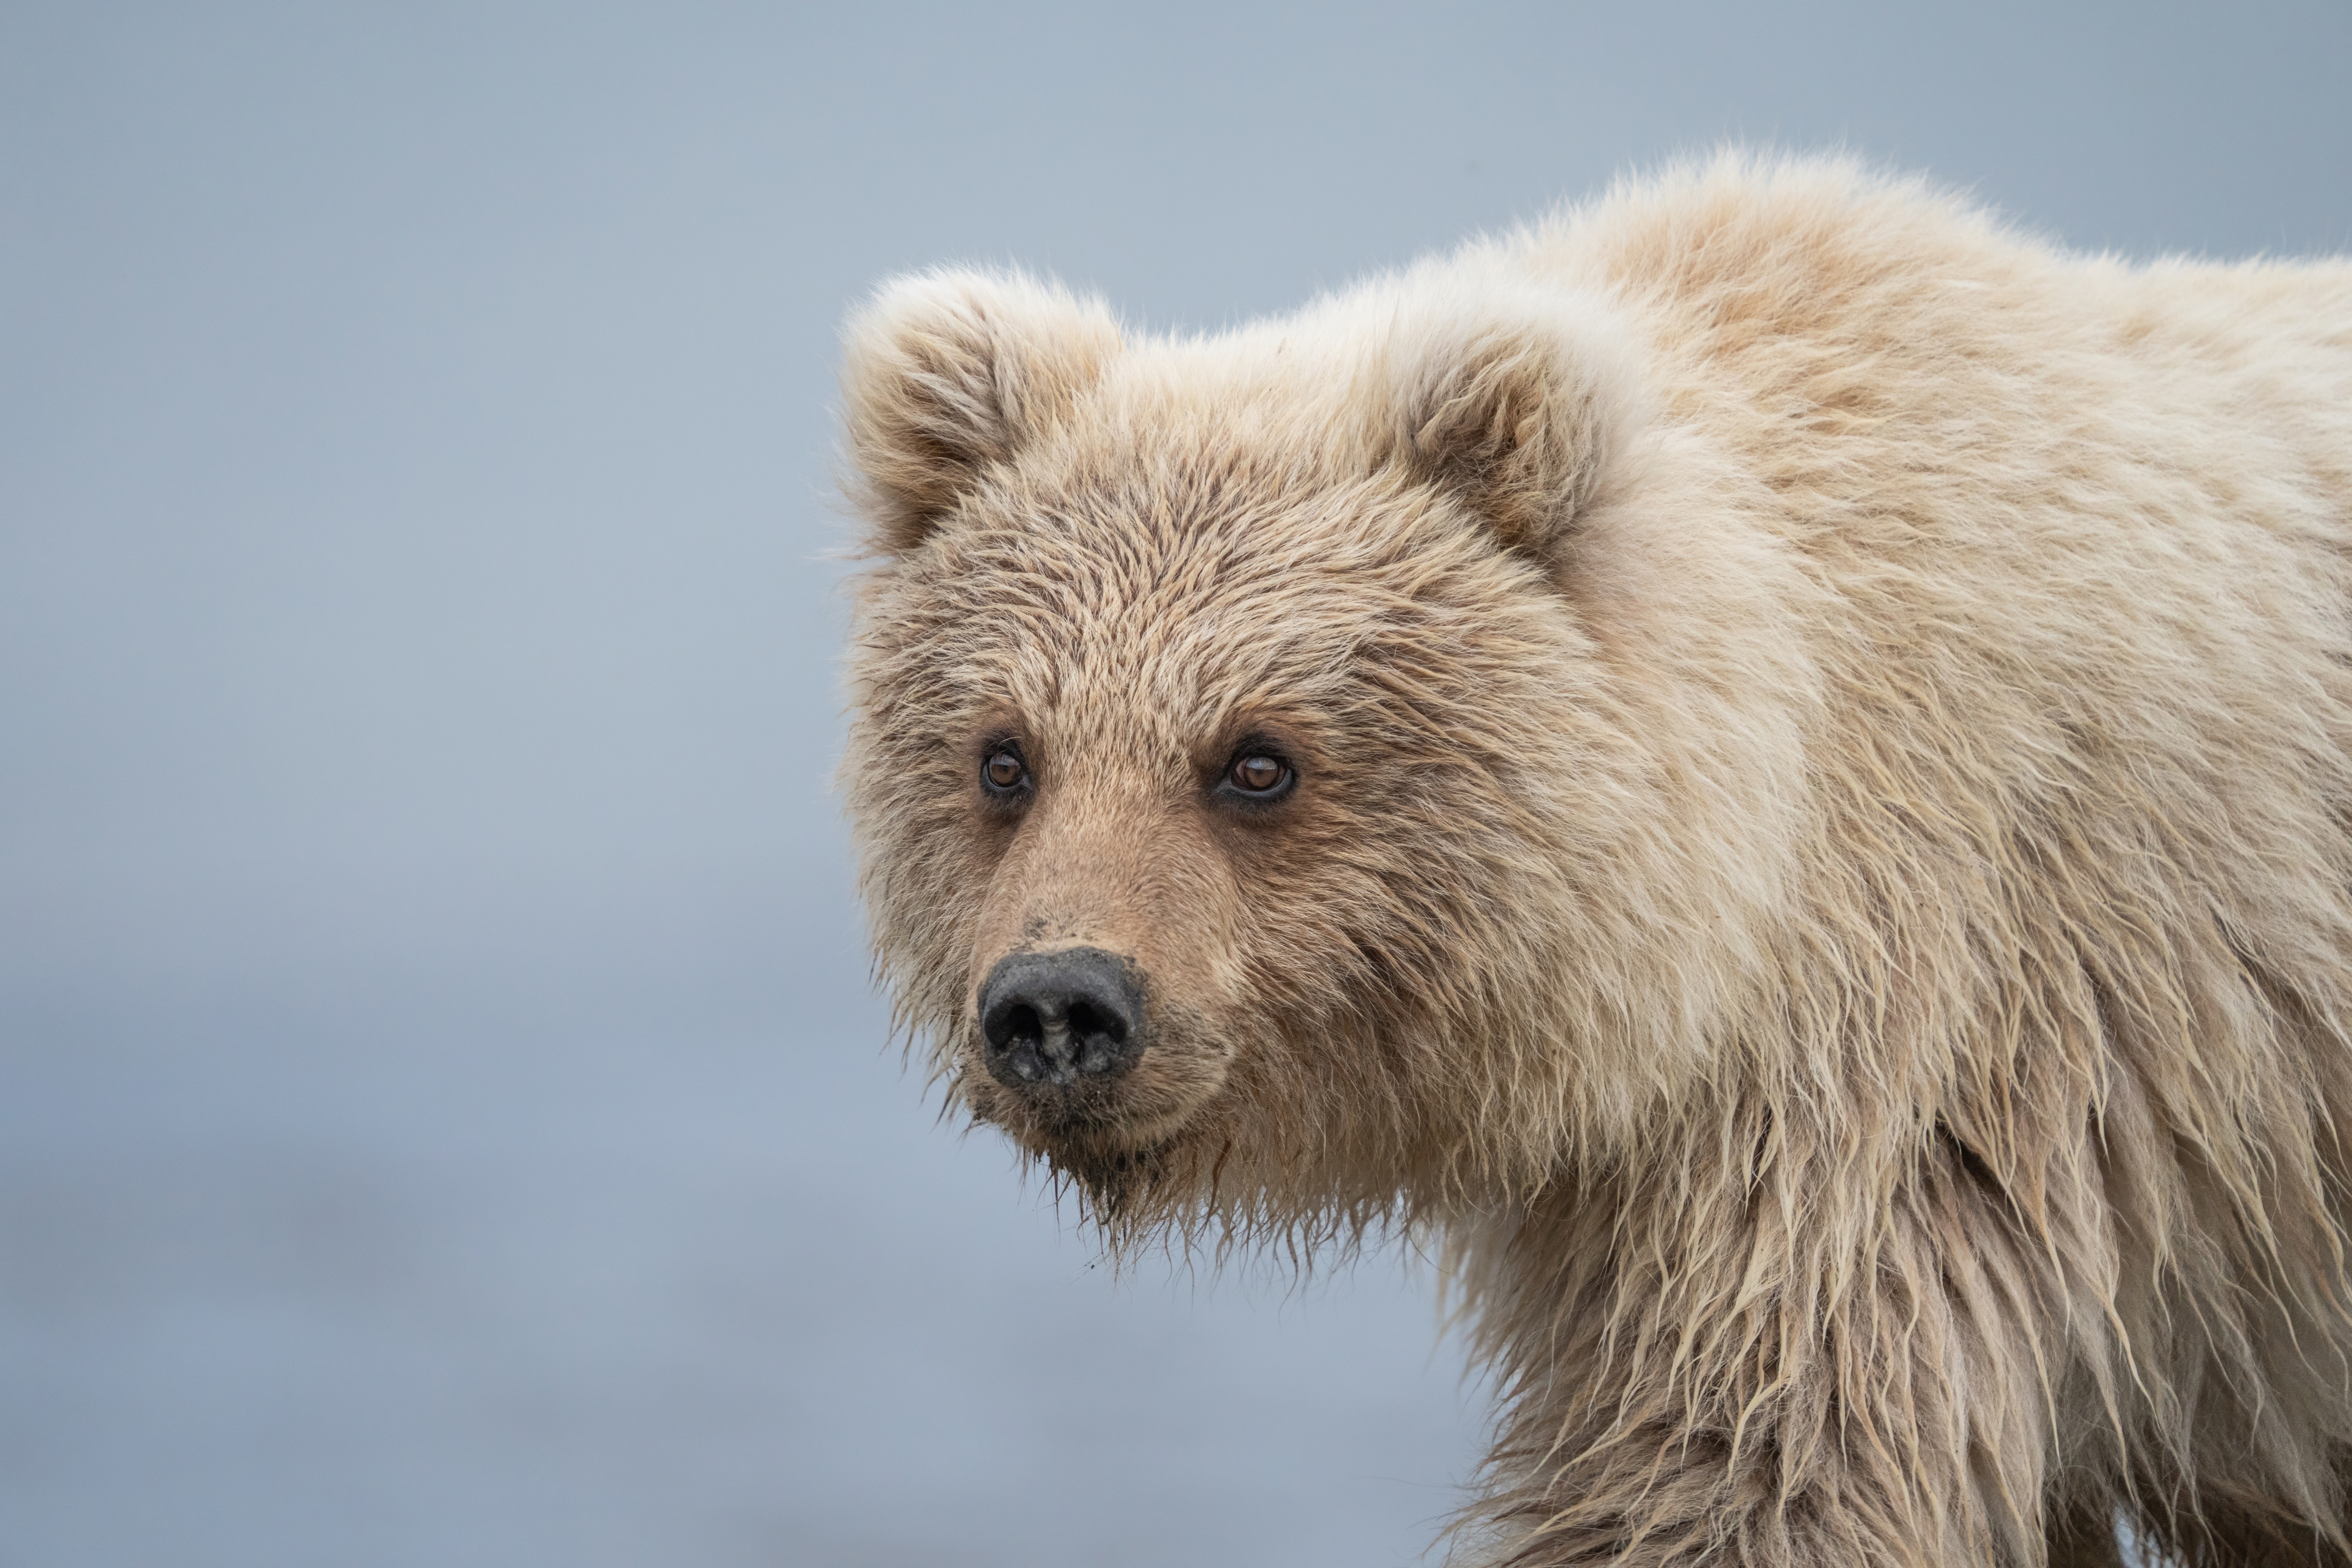
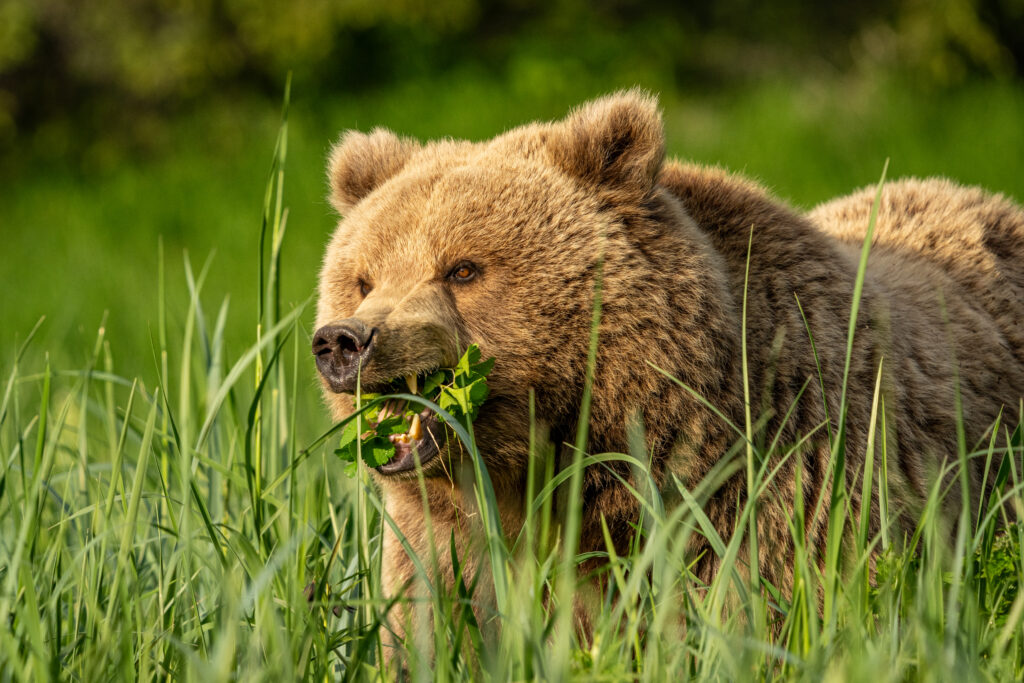
A brown bear explodes through an Alaskan river. A kangaroo bounds across a golden field. A pelican launches itself into the sea with all the aerodynamic grace of a bowling ball.
You raise the camera, fire a heroic burst, and feel certain you’ve created something worthy of a museum wall. Then you look at the photos. Mush.
The eye is soft. The feathers are smeared. The bear looks like it was photographed through a jar of petroleum jelly. Naturally, you begin blaming the lens, the camera, the manufacturer, continental drift and anyone who has ever told you photography was relaxing.
Before mailing your equipment to a repair center with an angry note, slow down. An unsharp wildlife image can have several causes, and they do not all require a credit card to fix.
Focus or Sharpness: Identify the Criminal First
“Out of focus” and “not sharp” are often used interchangeably, but they are not the same problem.
A photograph is out of focus when the camera focused at the wrong distance. Perhaps the autofocus grabbed a branch behind the animal, the tip of its nose instead of its eye, or the water immediately in front of it. Somewhere in the frame may still be perfectly sharp; it is simply not the place you wanted.
A photograph can be correctly focused but still look soft because of motion blur, camera shake, atmospheric distortion, excessive cropping, noise reduction or limited lens performance.
Zoom in and inspect the clues. If the fur behind the eye is crisp but the eye is not, your focus point missed. If nothing in the frame is sharp and edges appear doubled or streaked, movement is the likely culprit. If the entire animal looks as though it is being viewed through simmering soup, the atmosphere may be involved.
Correct diagnosis matters. Changing autofocus settings will not fix camera shake, and buying a new lens will not stop a bird from flying at 1/2000 second.
The Need for Speed: Your Shutter Is Probably Too Slow
Wildlife photographers are often more afraid of high ISO than motion blur. This is backwards.
Noise can be reduced. A blurred eye remains a blurred eye, no matter how aggressively you drag the Sharpening slider until the animal looks taxidermied.
Exact shutter speeds depend on the subject, focal length and shooting platform, but these are useful starting points:
- Resting or slowly feeding mammals: 1/500–1/1000 second
- Walking or active wildlife: 1/1000–1/2000 second
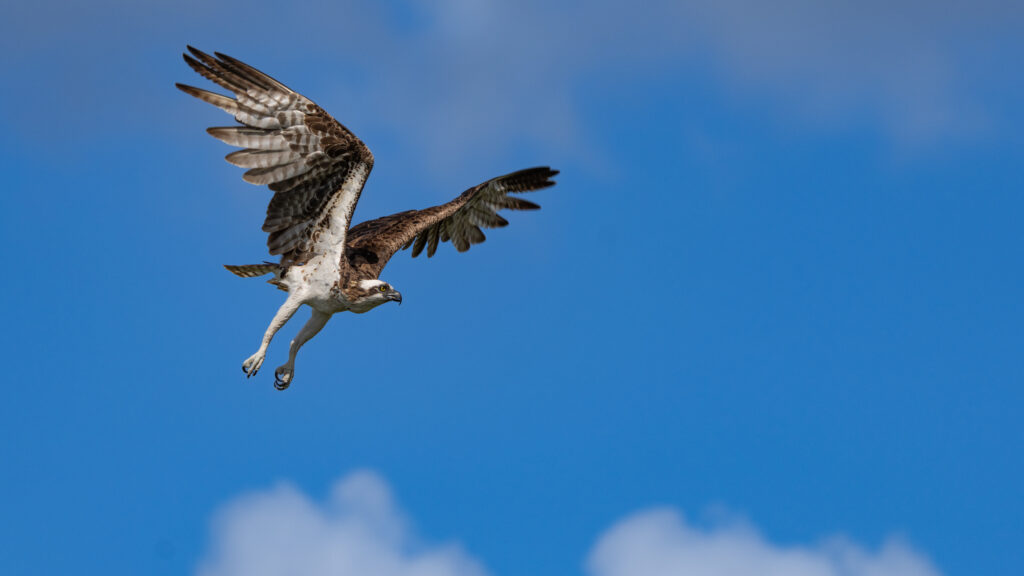
- Running animals, splashing bears and birds in flight: 1/2000–1/4000 second
Go faster when photographing from a boat, vehicle or unstable platform. Even if a Zodiac feels calm, it is still moving. So are you. So is the whale. The ocean has formed a small committee dedicated to ruining your photograph.
Manual exposure with Auto ISO is an effective wildlife setup: choose the aperture and shutter speed you need, then allow the ISO to float as the light changes. A sharp image at ISO 3200 is usually far more useful than a silky-clean blur at ISO 400.
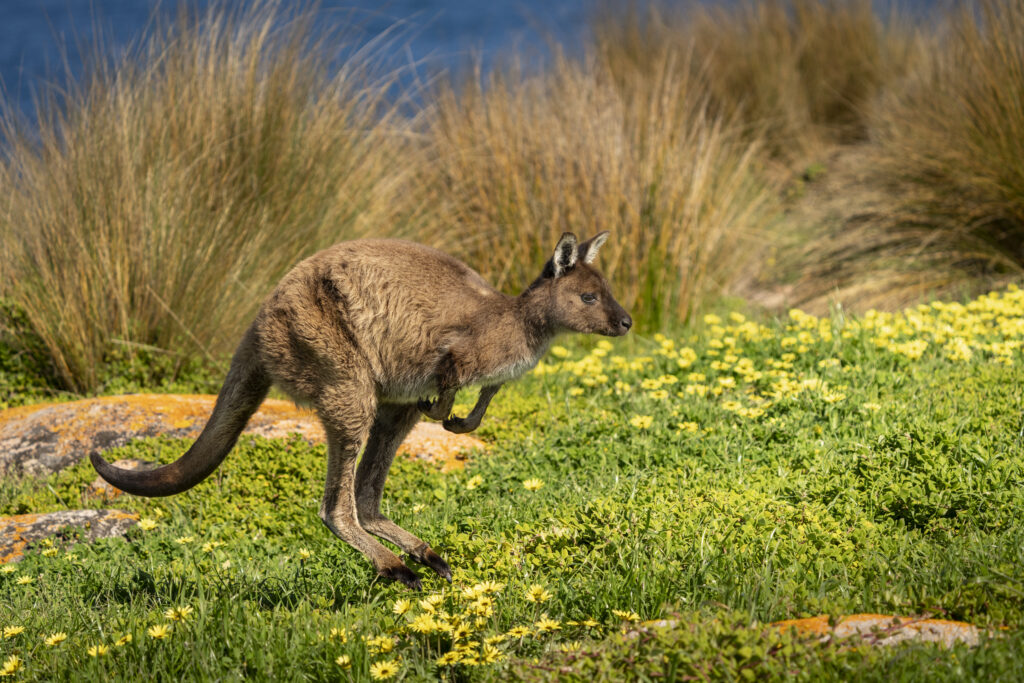
Also remember that image stabilization reduces movement caused by the photographer. It does not freeze a flying albatross, a hopping kangaroo or a bear shaking water from its coat.
Autofocus: Powerful, Clever and Occasionally Drunk
Modern autofocus systems are astonishing. Animal detection and eye tracking can follow wildlife through situations that once required luck, reflexes and a minor deal with the devil.
They are not infallible though.
For moving wildlife, use continuous autofocus (usually called AF-C or AI Servo) so the camera keeps adjusting as the subject changes distance. Activate animal or bird eye detection when available, but watch where the focus box lands. Cameras sometimes identify a nostril, wing marking or shiny wet rock as an eye with all the confidence of an online conspiracy theorist.
Choose the focus area to match the scene. A wide tracking area works well for a bird against open sky or a bear crossing a clean beach. In tangled vegetation, switch to a smaller zone or single point so the camera cannot enthusiastically focus on every leaf in the Amazon.
Begin tracking before the decisive moment. Lock onto the animal while it is still approaching, then follow smoothly. Do not wait until the bird takes flight to begin searching for it through a 600mm lens. At that magnification, finding a moving bird can feel like locating a single raisin through a drinking straw.
Depth of field matters too. At close distances, wide apertures can leave one eye sharp and the rest of the face soft. If light allows, stopping down from f/5.6 to f/7.1 or f/8 can provide useful breathing room, particularly with large animals angled toward the camera.
Hold Still, You Magnificent Human Tripod
Long lenses magnify your mistakes along with your subject. A tiny shake becomes a visible smear.
Build a stable stance. Keep your elbows close, support the lens from underneath and press the camera gently against your face. Lean against a tree, railing or vehicle when it is safe to do so. Kneeling can also create a lower perspective while turning your body into a more stable platform.
A monopod is excellent when waiting with heavy glass for extended periods. On boats, use a fast shutter speed and brace carefully; a vibrating engine or railing can transmit movement straight into the camera.
When panning, rotate from your waist and keep moving after pressing the shutter. Stopping abruptly during the exposure is the photographic equivalent of tripping at the finish line.
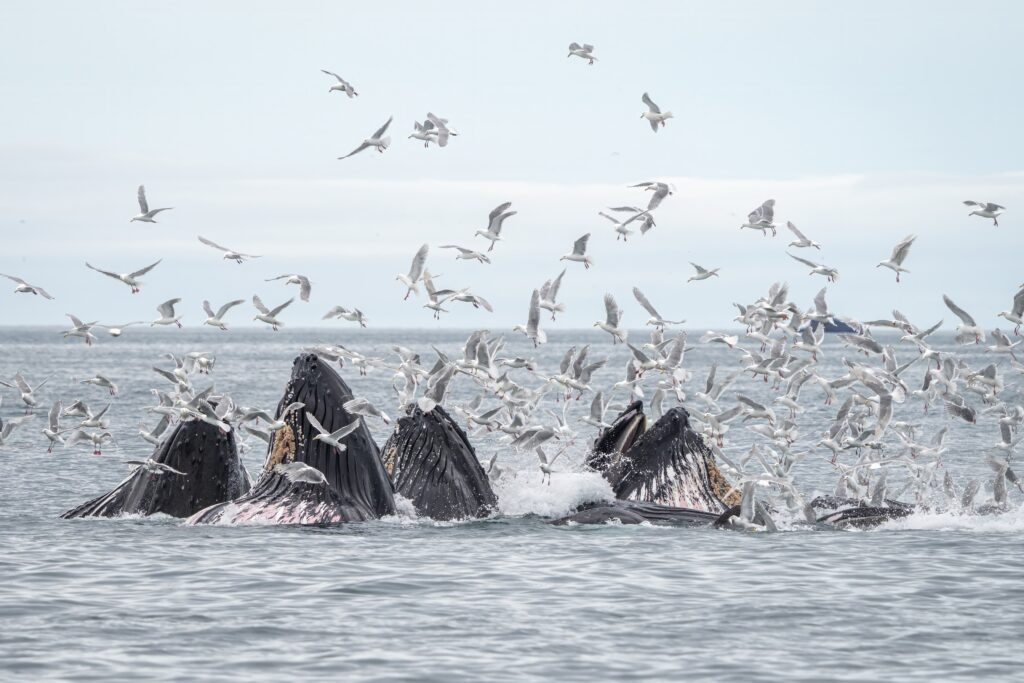
When the Air Itself Betrays You
Sometimes the camera and photographer perform perfectly, but the atmosphere ruins the party.
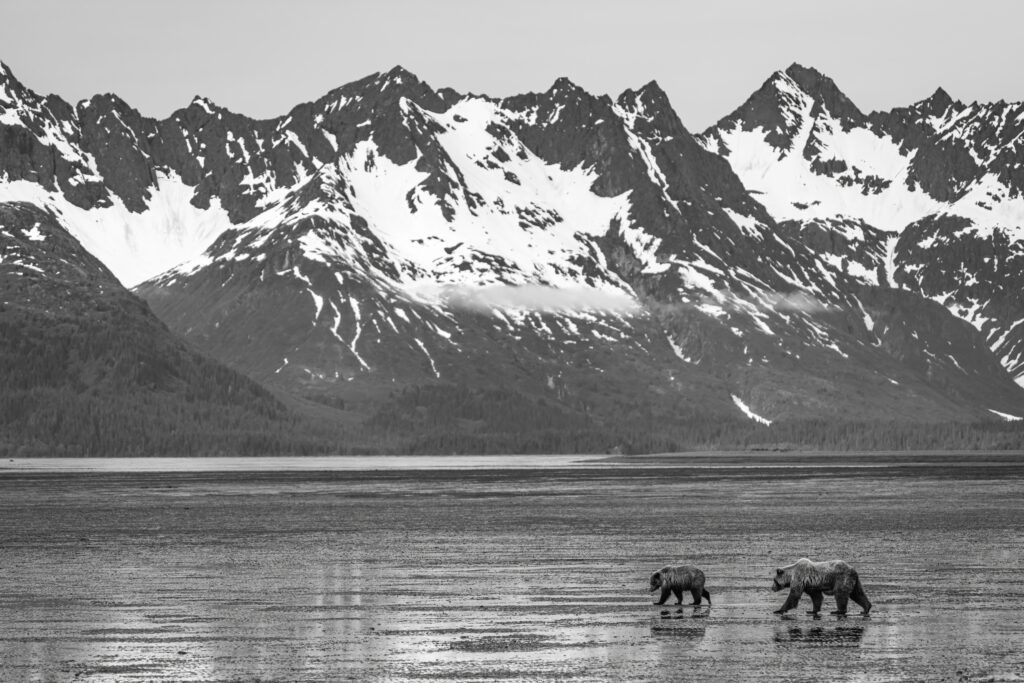
Heat shimmer occurs when layers of air at different temperatures bend light unevenly. It is especially common over sun-warmed beaches, lava, roads, open water and dry ground. Long telephoto lenses make the distortion more obvious. This is why buying an 800 prime lens and photographing a distant wolf or tiger will still look soft even at 1/3000 second with perfect autofocus. You are photographing through hundreds of yards of wobbling air.
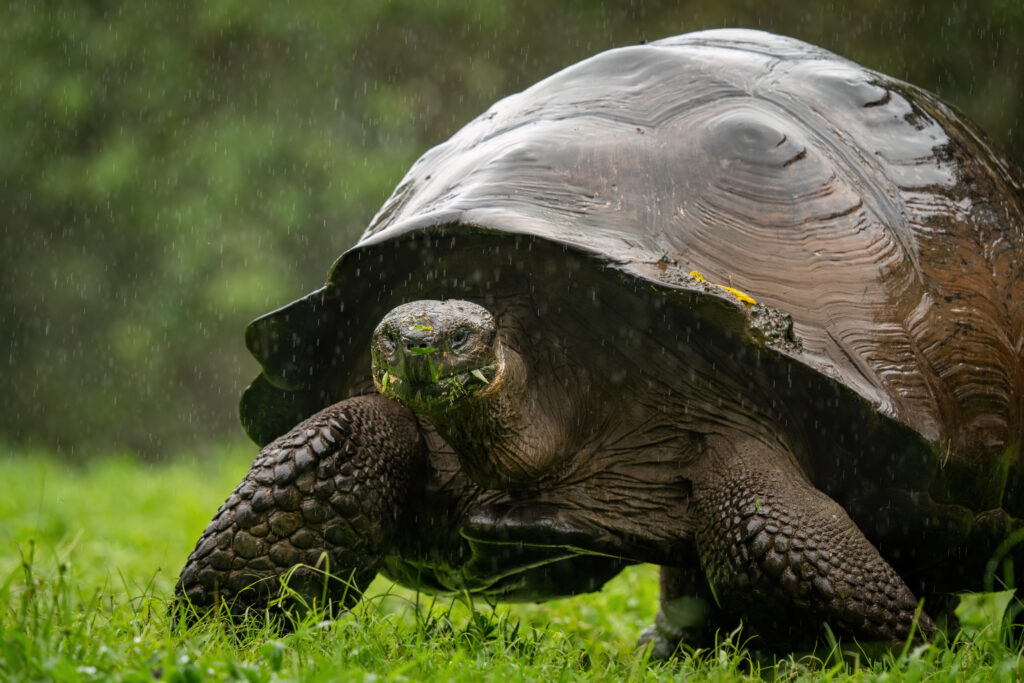
Fog and rain create a different problem. Instead of bending the light, they scatter it. Fine droplets hanging between you and the animal reduce contrast, soften detail and make distant subjects look washed out. Heavy rain can also confuse autofocus, especially when the camera locks onto droplets or spray in front of the subject. The farther away the animal is, the more moisture you are shooting through, and the softer the image becomes.
No camera setting or technique can completely defeat heat shimmer, fog or rain. Photograph earlier or later in the day, change your angle so you are not shooting directly over a hot surface, reduce the distance when wildlife guidelines allow, or wait for conditions to improve. In fog or rain, focus on closer subjects, use a lens hood, keep the front element dry and look for strong shapes or silhouettes that work with the weather instead of fighting it.
Sometimes softness is simply part of the atmosphere. That can be frustrating when you want feather-level detail, but mist, rain and haze can also create mood, depth and a sense of place. The trick is knowing when the weather has ruined the image and when it has quietly made it better.
The Crop Monster Ate My Detail
Cropping does not create magnification for free. It enlarges every flaw already in the file: noise, shake, missed focus, lens softness and atmospheric distortion.
A distant bird occupying five percent of the original frame will not become a detailed portrait simply because you cropped away the other 95 percent. At that point, you are not revealing detail. You are asking individual pixels to begin inventing feathers.
Judge sharpness at a realistic output size, not only at 300 percent on a monitor. And when the subject is distant, consider keeping it smaller in the frame. An animal shown within its environment can tell a stronger story than a heavily cropped portrait with the texture of mashed potatoes.
Is It Actually the Gear? Put It on Trial
Cameras and lenses can have problems, but test them under controlled conditions before assigning blame.
Photograph a detailed, stationary target in bright light. Use a tripod or solid support, a fast shutter or timer, low ISO and a midrange aperture such as f/5.6 or f/8. Remove any protective filter or teleconverter. Take several images using autofocus, then repeat with magnified manual focus.
Test the lens at multiple focal lengths and distances. If the images are sharp during the controlled test, the equipment is probably innocent and your field technique needs attention.
Consistent softness on one side of every image may indicate a decentered lens element. DSLR systems can sometimes require autofocus calibration. A damaged filter, dirty element or poorly performing teleconverter can also reduce clarity. Some zoom lenses are simply a little softer wide open or at their longest focal length and improve when stopped down slightly.
Compare the lens on another camera body, or another lens on your camera, when possible. Change one variable at a time. Otherwise, your investigation becomes less “scientific equipment test” and more “frantic traveler pressing buttons in an airplane cockpit.”
The Five-Second Field Check
When an image looks soft, ask:
- Is anything in the frame sharp?
- Did the autofocus land on the eye?
- Was the shutter speed fast enough for both the animal and me?
- Am I shooting through heat, branches, glass or fog?
- Am I expecting an extreme crop to perform a miracle?
That short inspection will solve most sharpness mysteries before the animal leaves.
Sharp Conclusions, Soft Egos
Wildlife photography is difficult because everything moves: the subject, the photographer, the platform, the light and occasionally the air itself. Missed frames are not evidence that you lack talent. They are evidence that wildlife has declined to cooperate with your artistic agenda.
The Ultimate Alaska Photo Expedition will test your shutter speed with bears, birds, boats and weather. The Southern Australia & Tasmania Photo Expedition adds fast wildlife, dense vegetation and shimmering coastal conditions. On the Galapagos Wildlife Photo Expedition, approachable subjects may simplify distance, but birds in flight, ocean spray and dark lava backgrounds keep the technical challenges lively.
The goal is not to eliminate every soft photograph. That would require photographing only stuffed animals in a climate-controlled studio, which rather defeats the point.
The goal is to recognize why a frame failed, make intelligent adjustments and be ready when the wild gives you another chance.
Happy photographing,


Leave a reply