What’s in My Camera Bag – Alaska
Alaska is one of the most dynamic and photo-rich locations in the world. You’ve got rugged peaks, sprawling glacial valleys, dense temperate rainforests, and, of course, most of North America’s iconic animals. But all that grandeur comes with logistical trade-offs. You’ll be photographing in remote locations, often from small planes, boats, and hiking trails. That means every piece of gear needs to earn its place in your camera bag.
This post breaks down what I bring for photographing in Alaska and why; plus a few tips I’ve learned the hard way over the years in the field.
Please note: Photographic styles vary, as do conditions on the ground. While this is meant to be a guide for choosing your camera gear, you should consider your own photographic interests first and foremost.
Your Camera
Most of the time, I bring one camera body. It’s simpler, lighter, and easier to manage when hiking or shooting from a bouncing ship. But, and this is important, if you own a second camera body or have the means to bring a spare, it might be a smart choice. Gear can fail, and changing lenses frequently in rainy or dusty conditions increases the chance of dust spots or moisture on your sensor.
More often, having two bodies means you can avoid swapping lenses in the heat of the moment. One body gets your wide-to-mid zoom, the other your telephoto. If you’re photographing bears catching salmon, for instance, you’ll want your long lens at the ready, but if the light hits the river just right, you’ll be glad you had your landscape setup, too.
Wide-Angle Zoom
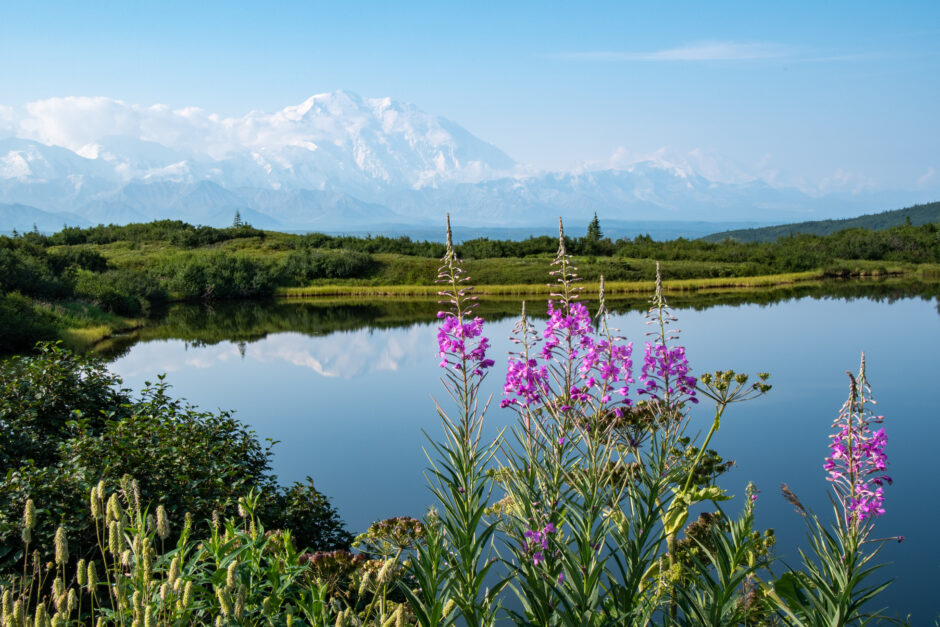
It almost seems unfair for Alaska to look as beautiful as it does. Simple roadside landscapes in the 49th state would garner national park status in the rest of the US, but here, it’s just mile marker 119. To capture this grandeur, you’re going to want a landscape lens. For my bag, I like the 24–70mm. This range offers excellent versatility. Wide enough to capture Denali’s alpine ridges with a lake in front, tight enough to frame your traveling companion as they look at a moose.
I also find this lens indispensable for lodge life and storytelling images. A wide-angle photo of a group gearing up before the day’s hike or a close-up of the local salmon cuisine helps tell a fuller narrative. In Alaska, you’re not just photographing nature; you’re photographing the experience.
If you’re using a crop-sensor camera, something like an 18–55mm or 16–80mm gives a similar field of view.
Telephoto Zoom
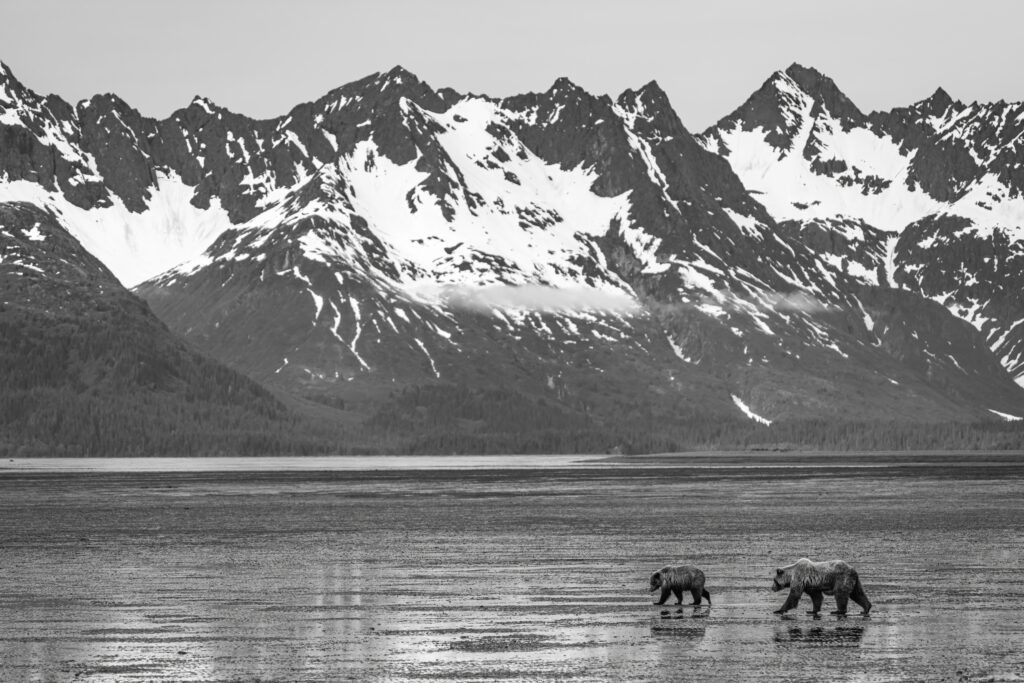
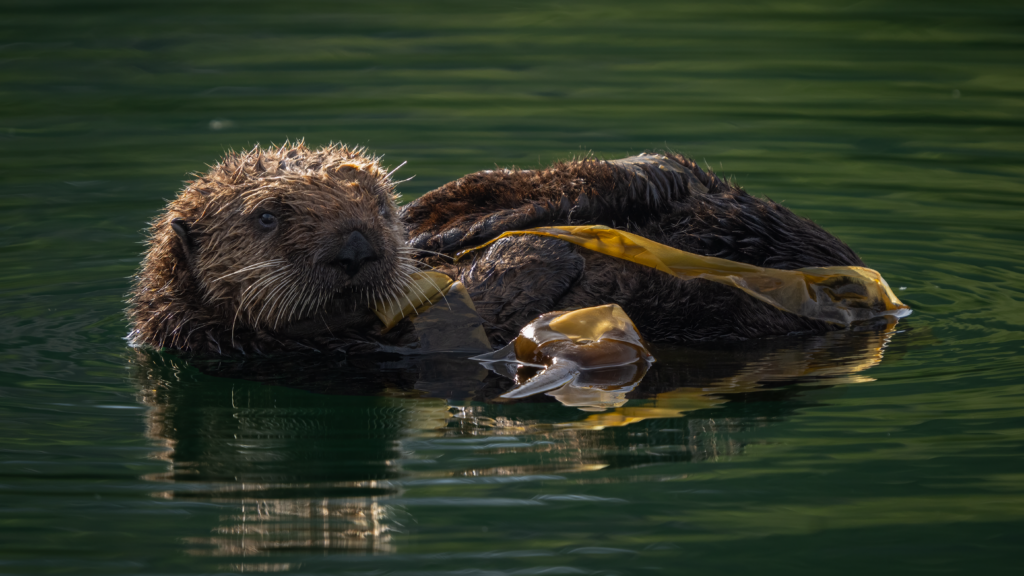
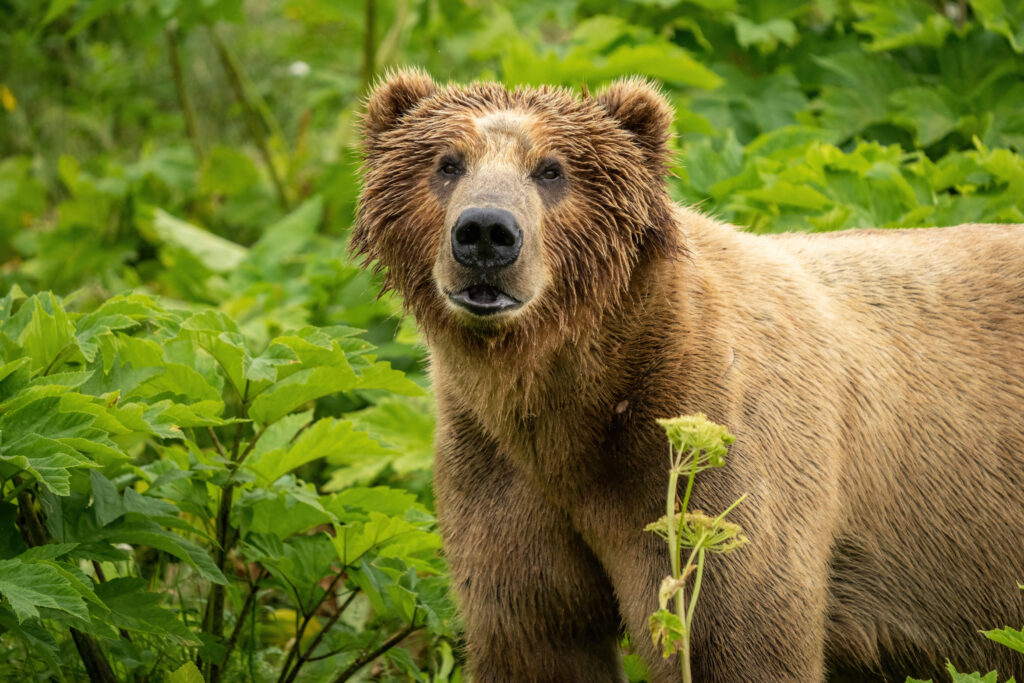
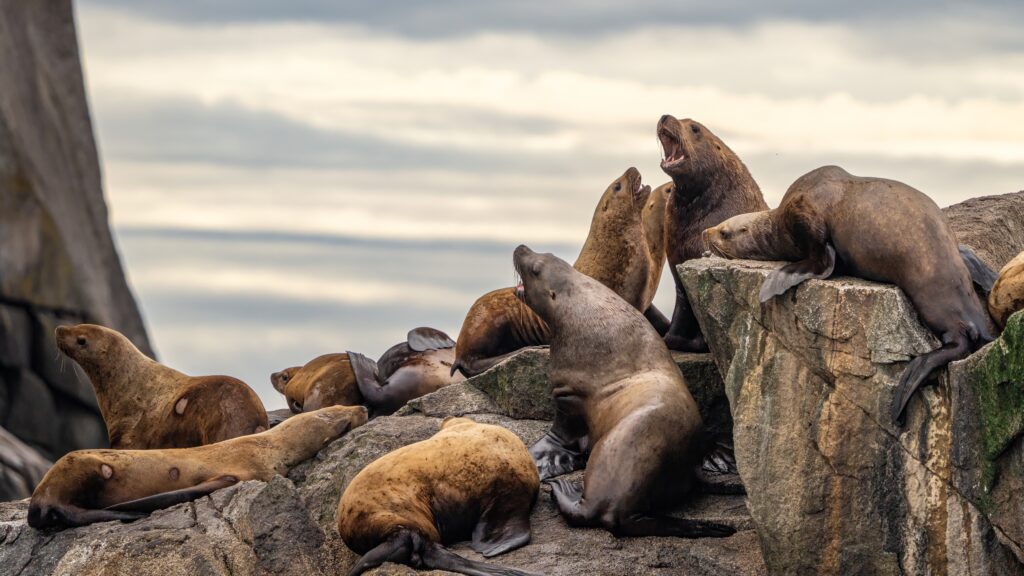
If I could only bring one lens to Alaska (a cruel thought, I know), it would probably be my telephoto zoom. This is where most of the action happens. Brown bears on the river, eagles perched high in spruce trees, sea otters floating on their backs; none of these are going to be filling the frame with a 70mm lens.
I use a telephoto zoom like a 100–400mm or 200–600mm as my default wildlife lens. These lenses offer flexibility when your distance from the subject is constantly changing. From the bear viewing platforms at Brooks Falls, for example, a 100–400mm is nearly perfect. You’ll want to zoom out when the bears are close, then tighten your frame when something dramatic happens down river.
Some of the best moments happen fast: a bear lunges for salmon, an eagle dives, a moose trots across the road. With a fast zoom already on your camera, you’re ready.
Teleconverters
Sometimes, your subject is just too far, or the compression from a longer lens adds drama to your composition. That’s when a teleconverter becomes a useful tool.
I only recommend the 1.4x version. It gives you a little extra magnification, turning a 400mm lens into a 560mm, and generally only costs you one stop of light and a bit of sharpness. It’s a manageable tradeoff when the sun is high and you’ve got time to compose. Do not think about using this if it’s at all cloudy and your subject is dim. In this case, take the photo and crop in later to get the best resolution.
The 2x teleconverters tend to reduce image quality more than I like, especially in lower light. Also, not all lenses are compatible with teleconverters, so check your gear ahead of time.
Filters
They’re small, but filters can make a noticeable difference. I bring two:
UV Filter: While UV protection is mostly irrelevant with today’s sensors, I keep one on my lens as weather protection; especially in Alaska where drizzle is common. When I’m shooting in the rain or salt spray, I’ll compose and prep the shot with the filter on, then remove it just before taking the photo to ensure a clean lens and clean image.
Polarizing Filter: A polarizer can cut glare from the water, which is especially helpful when photographing salmon in shallow rivers. It also darkens the sky and boosts contrast in wet foliage. Use it sparingly though as polarizers reduce the amount of light reaching your sensor, which can be tricky in Alaska’s often cloudy conditions.
Your Camera’s Support System
Tripods are great in theory. Perfect for low light, long exposures, and creative compositions. But in practice, I rarely bring one to Alaska unless I know I’ll be using it for a specific purpose, like time-lapses or astrophotography (after July when it actually gets dark).
A tripod adds bulk and weight, and many of your best photo opportunities happen from boats or raised viewing platforms where space is limited. If you do bring one, make sure it’s lightweight and packs down small.
Monopods are the support tool I recommend most for Alaska. A monopod stabilizes your camera for sharp images, especially when using a long lens for extended periods. It’s easier to carry and quicker to deploy than a tripod, and with the right model, it can double as a hiking stick, saving both weight and space. Some monopods even have small fold-out feet for partial stabilization, but even a basic stick-style model is a huge help when photographing wildlife for hours.
Rain Gear
If there’s one piece of advice I could shout from every snow-covered peak, it’s this: protect your camera from the rain. Alaska will test your gear, and moisture is enemy number one.
Bring a rain sleeve or dedicated camera rain cover. There are fancy reusable ones or simple disposable sleeves with drawstrings. Even a shower cap or large Ziploc bag can work in a pinch, but don’t rely on luck. I also recommend keeping a microfiber cloth or two handy for wiping down lenses and viewfinders throughout the day. Put them in a small Ziploc to keep them dry before use.
Extra Batteries
This one might seem obvious, but Alaska’s remoteness makes it even more critical. Power outlets aren’t always within reach, especially if you’re in a backcountry lodge or camping. Bring at least two extra batteries.
A Final Note on Packing Light
It’s easy to get carried away and want to bring your whole kit. But every ounce counts in Alaska; whether you’re hiking, flying in a bush plane with tight weight limits, or just trying to maneuver quickly when the action happens.
I pack with intention. If something doesn’t solve a specific problem or support a photo goal, it stays home.
Photographing in Alaska rewards those who come prepared, but stay nimble. With the right gear (just enough to keep you covered without slowing you down) you can focus on the real magic: the encounters. Whether you’re quietly watching a mother bear guide her cubs through the sedge meadows of Lake Clark or waiting for the explosive action of whales breaching in Kenai Fjords , having a well-thought-out camera setup lets you stay in the moment and come home with the best of the Last Frontier.
Leave a reply