How to Photograph Namibia’s Iconic Dunes
Let’s be honest, there isn’t really a wrong way to photograph these incredible wonders. However, I’m a firm believer in that the more variety you can add when photographing a specific thing, whether it’s a landscape, animal, or specific landscape element, the better.
This article is designed not only to give you the technical know-how but also ideas for the many, many ways you can photograph these iconic dunes in Namibia.
For Starters – The Settings
Before we get into the various compositions, added elements, and creative options, let’s talk about the main camera settings you’ll want to use.
For me, these photos adhere to “classic landscape settings” like a deep depth of field, adequate-but-not-needlessly-fast shutter speed, and low ISO.
Nearly all of these shots are taken in and around f/8, 1/320th of a second, and ISO somewhere between 100 and 400. This combination gives me the depth I need, so that everything is in decent focus, while maintaining high image quality and integrity via a low ISO. And, as with most landscape photography, shutter speed is just a means to an end to freeze hand movement (if not on a tripod) and achieve that nice and low ISO. Remember, the lower the ISO, the better quality the photo.
Another consideration is your white balance, especially if not shooting in raw. For the intense oranges, reds, and even yellows, I prefer a “cloudy” white balance. This warms the photo and really helps bring those colors out vibrantly. However, it’s worth experimenting with other white balance settings like daylight to bring out the cooler hues.
If you plan to shoot in raw and then edit your photos, you can change white balance in Lightroom or Camera Raw, but I tend to like to set it in-camera to a) minimize the amount of changes I do and b) allow my eyes and brain to assume what I shot is what it looked like that day.
The Classic Shot
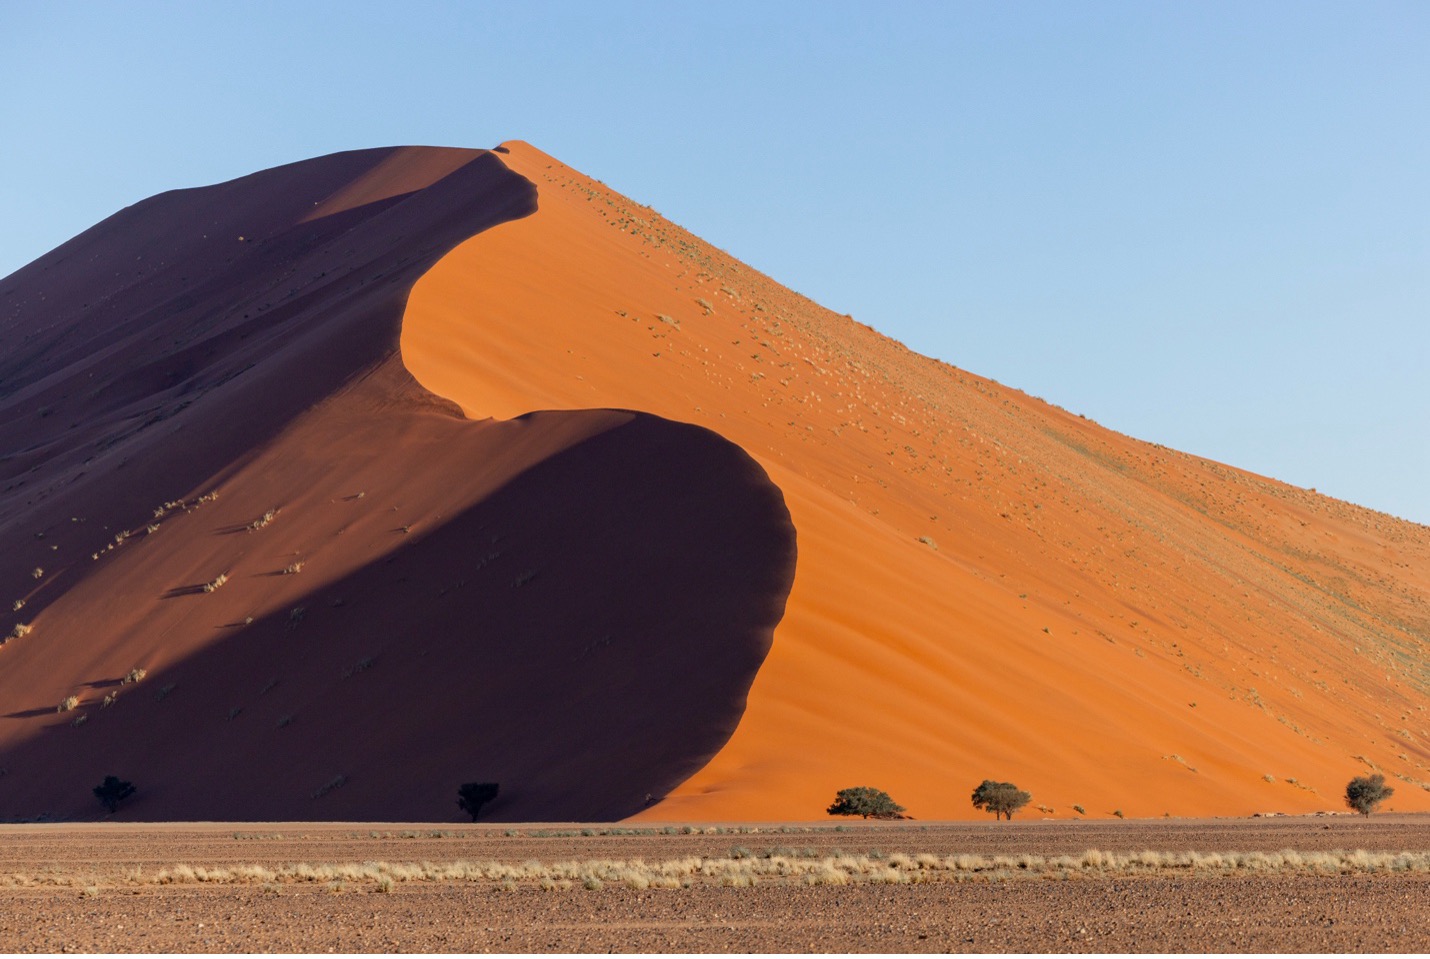
The above photo is about as classic as you can get. In the mornings and late afternoons, the shadows play so nicely against the towering dunes. Just remember to look at elements of the photo, like the lines, curves, ground and sky to come up with both a balanced and intriguing photo. I often like to use natural lines to “walk” the viewer’s eyes through my photo, as exemplified by the dune ridge here.
I also like to offset the photo and break my scene into thirds instead of halves or quarters.
And because the dune is the showpiece, I’m minimizing the amount of ground and sky in the photo, to really emphasize the dune itself.
Centered Shots are OK!
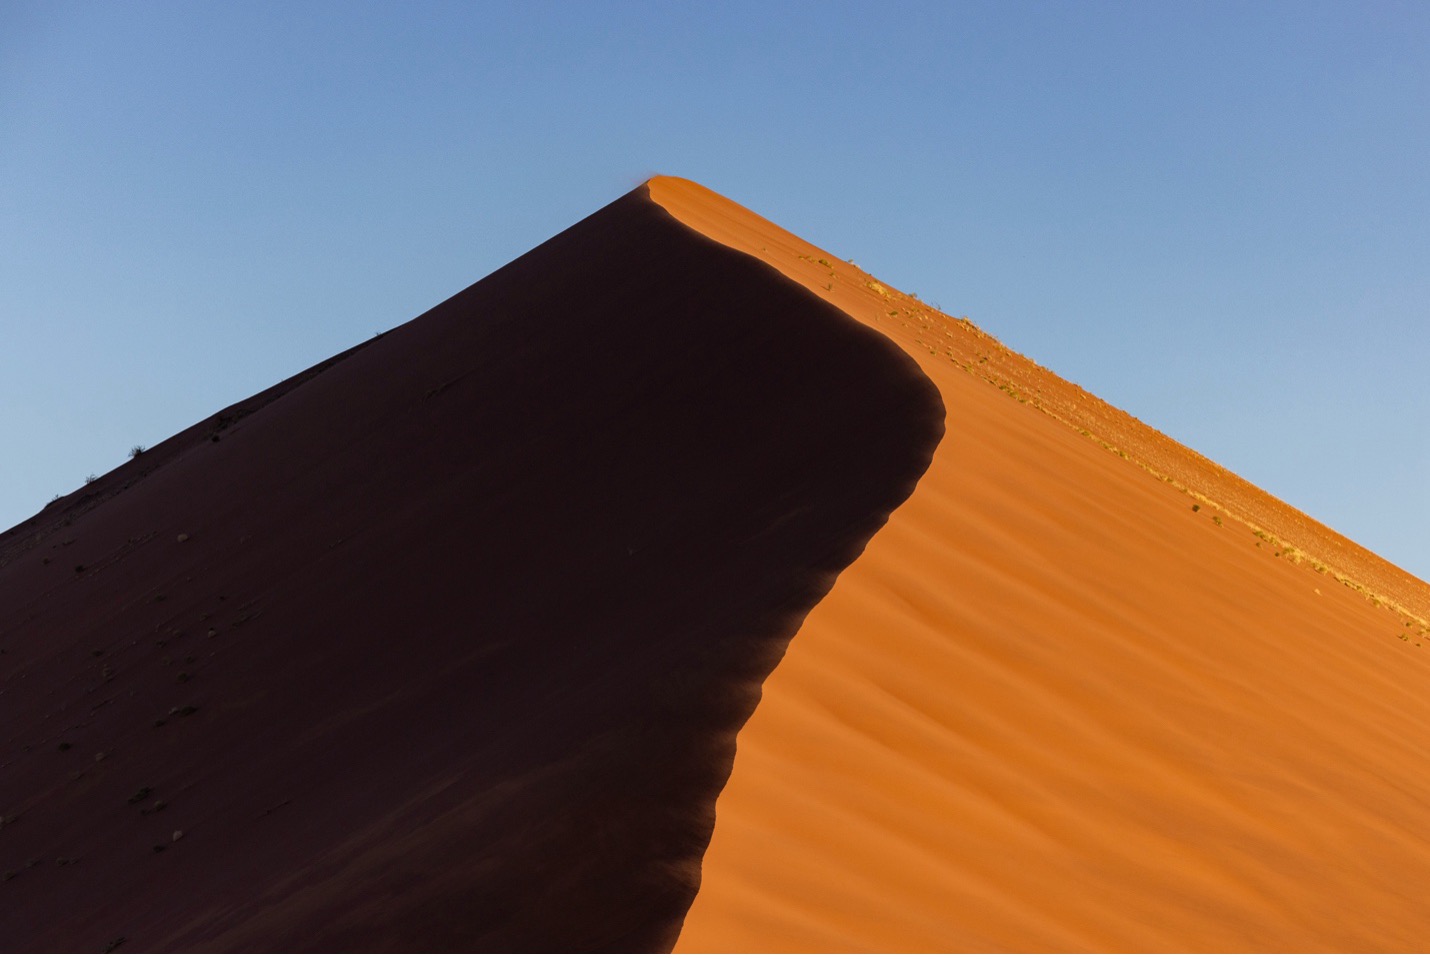
It’s not every landscape that lends itself to symmetrical compositions or center-weighted photos. However, the pyramidal shaped dunes in Namibia are indeed one of those cases where looking for, and composing for, symmetry can yield stunning results.
In these cases, be extra cognizant of balance and line up your shot (or cropping in post) for symmetry, as even slightly “off” can be distracting for the viewer.
My trick here is that I usually shoot a tad wider than what I want in the end, and then rely on fine-tuning my image by cropping later on the computer. If you shoot too wide, though, that cropping might degrade image quality, so we’re talking about a very small amount and still trying to get things lined up as close to symmetrical as you can (but I’ll admit, in the excitement of field conditions, being perfect in the moment can be a little tough).
Fill the Frame (and show scale)
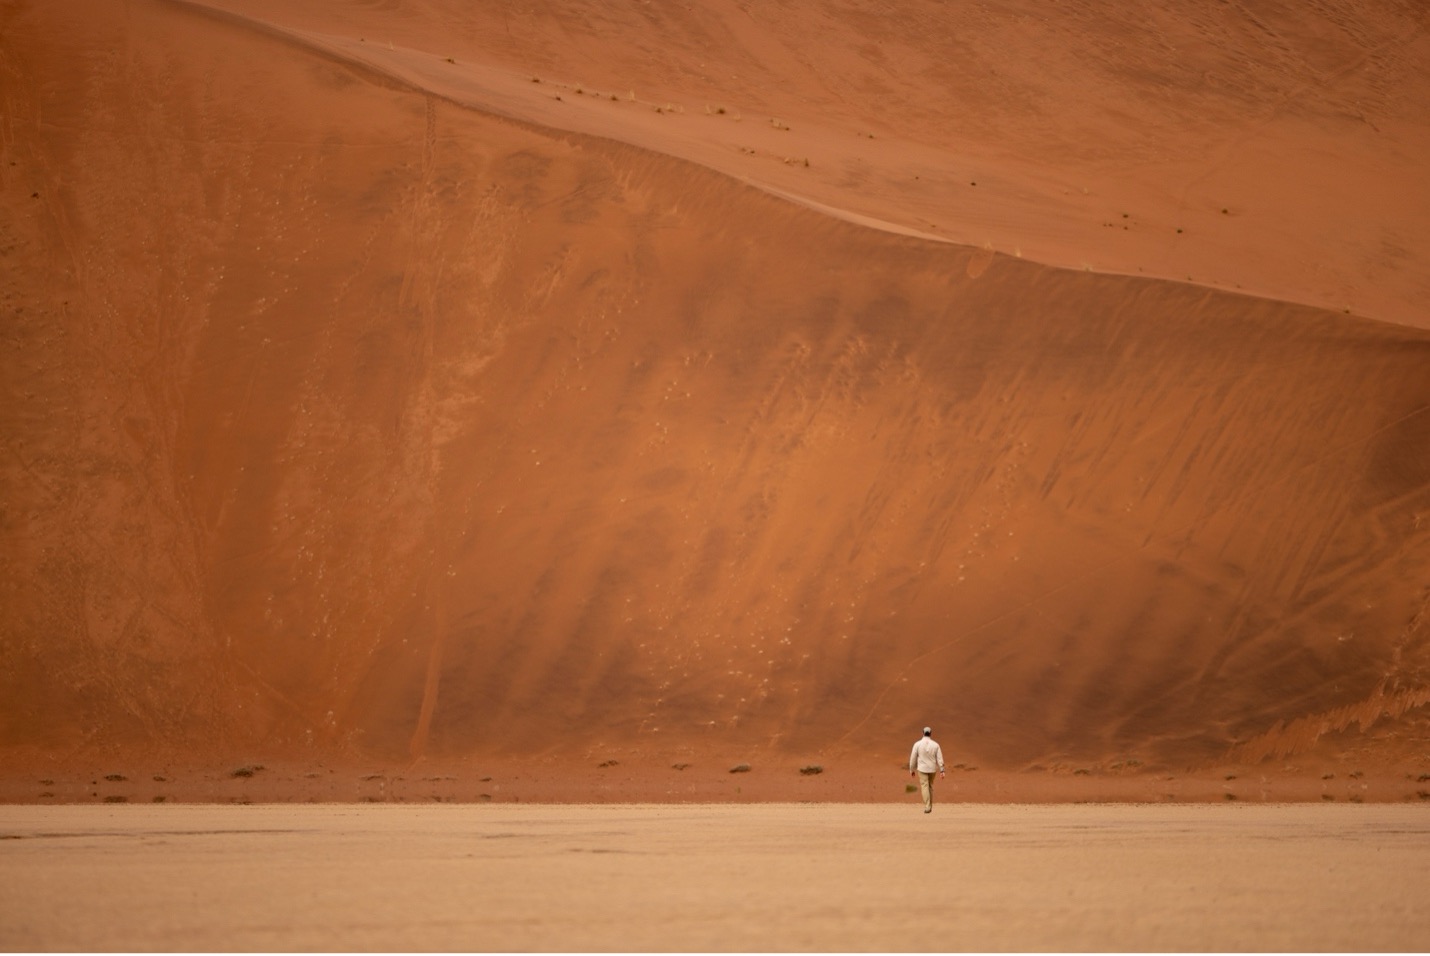
In the above photo, I noticed a lone traveler walking toward the dunes. He was actually quite far away such that I had to use my telephoto lens, but this gave me the opportunity to use “zoom compression” to fill the frame with the dune, while also using the human element to show scale.
Showing scale can be challenging in otherworldly environments, but I’ve found that people actually are one of the best ways to do so. A tree or bush could work, but there’s nothing quite as familiar to our human eyes as, well, a human.
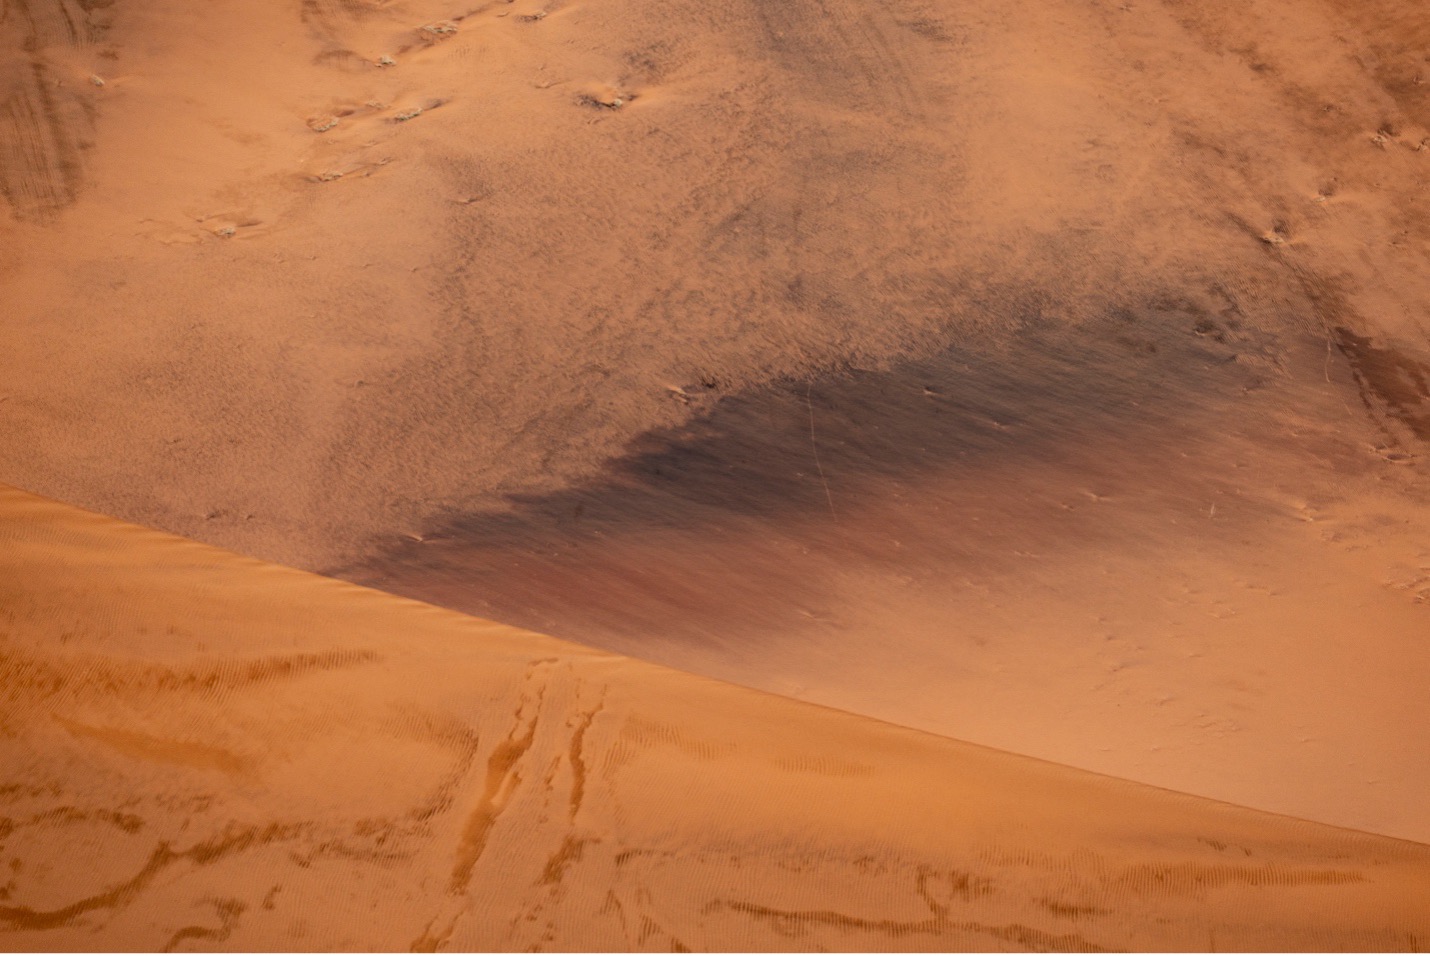
Looks for Patterns, Textures and Gradients
Speaking of filling the frame, there are parts of just about every dune in Namibia that have some striations, textures, or some sort of abstract element to them. This type of photo might not make it on the cover of your trip album, nor does it show scale whatsoever, but it’s a unique way to capture these amazing dune formations.
Put on a telephoto, scan the dunes (either in your viewfinder or just your eyes) and look for elements that could line up and provide for a composition other than just a plain orange scene.
Embrace Minimalism
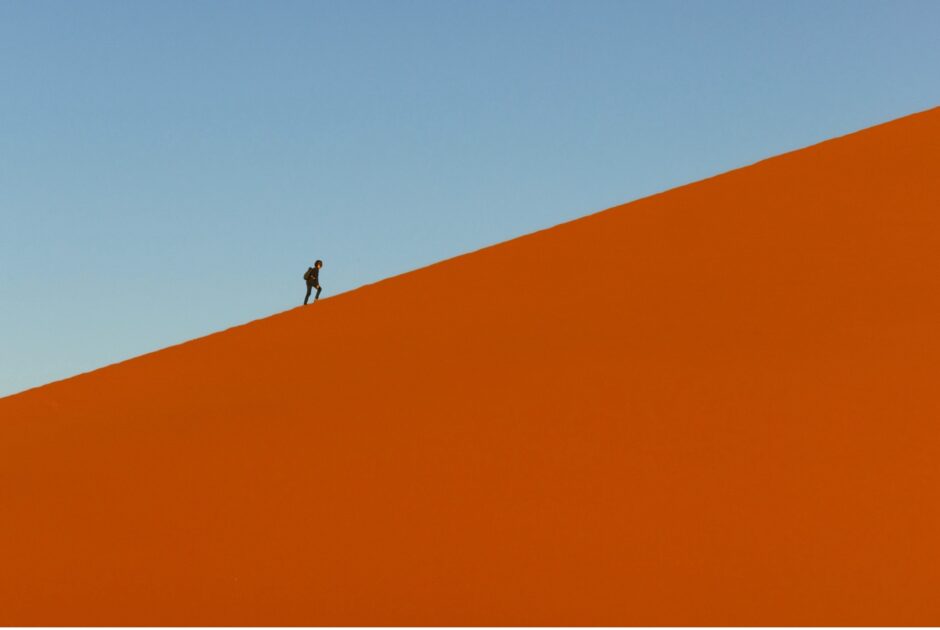
In some cases, the uniform orange color, against a bright blue sky, can be the juxtaposition we were looking for.
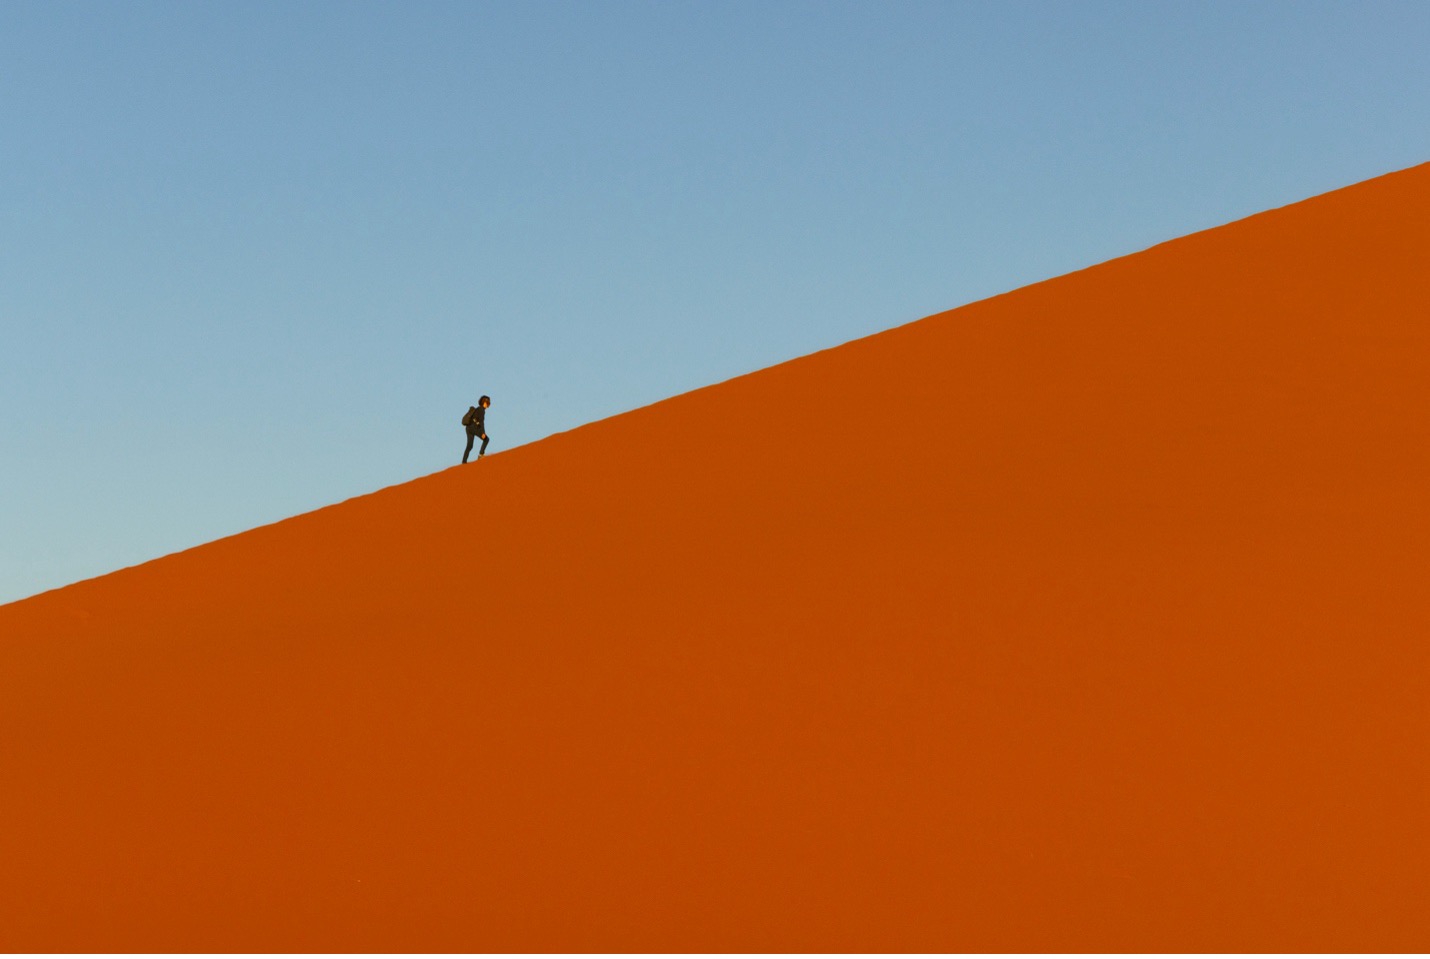
In shots like this one, above, the person gives the needed context and scale. Without the person, the viewer wouldn’t know what this is—it could be a full frame photo of a flag, or an edge of a table, who knows.
The small added intentionality of scanning and finding a lone hiker on the uniform orange dune ridge provides a feeling to the viewer. It’s isolation, it’s grandeur, it’s something they’ve never seen before.
A telephoto lens can be your best friend for seeing the dunes differently and capturing something extremely intriguing.
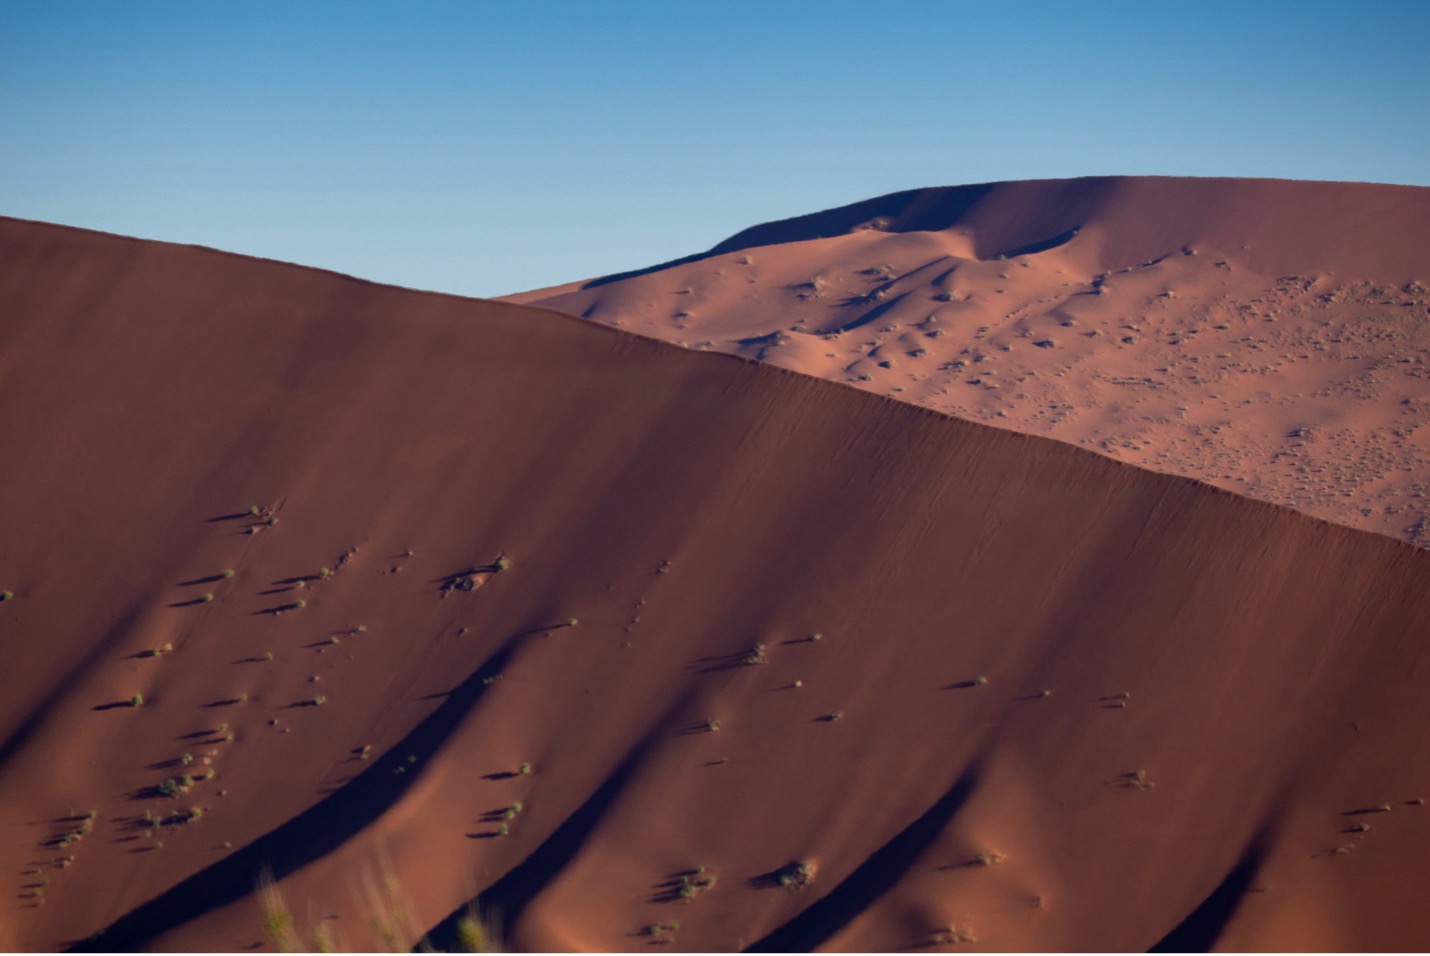
Photograph only Parts of the Dunes
While scale, context, and a quick understanding of “what this photo is” is lacking, photos like the above are excellent in a trip album, photo essay, or portfolio when paired with other more familiar dune photos. The “classic” shots provide the understanding, and photos like the above show the deeper view of these immense and wild dunes.
For shots like these, I’m paying particular attention to the curvature, the wispy shadows, and the layering to do my best to create some leading lines and balance in the shot.
Don’t overthink these kinds of photos. Instead, think of them like abstract art, get creative, and have some fun!
Photograph for the Highlights
Namibia’s dunes exhibit a lot of dark and bright contrast. This is one reason why we love them for photography. However, this means that cameras can go haywire if you aren’t exposing properly. If left to an “even” exposure, your camera will often try and brighten the shadows too much.
Instead, either focus and meter on the brightest parts of the frame, or plan to dial your exposure down -1 or -2 full stops. Be ready to go even darker, or make small adjustments to avoid blowing out the highlights.
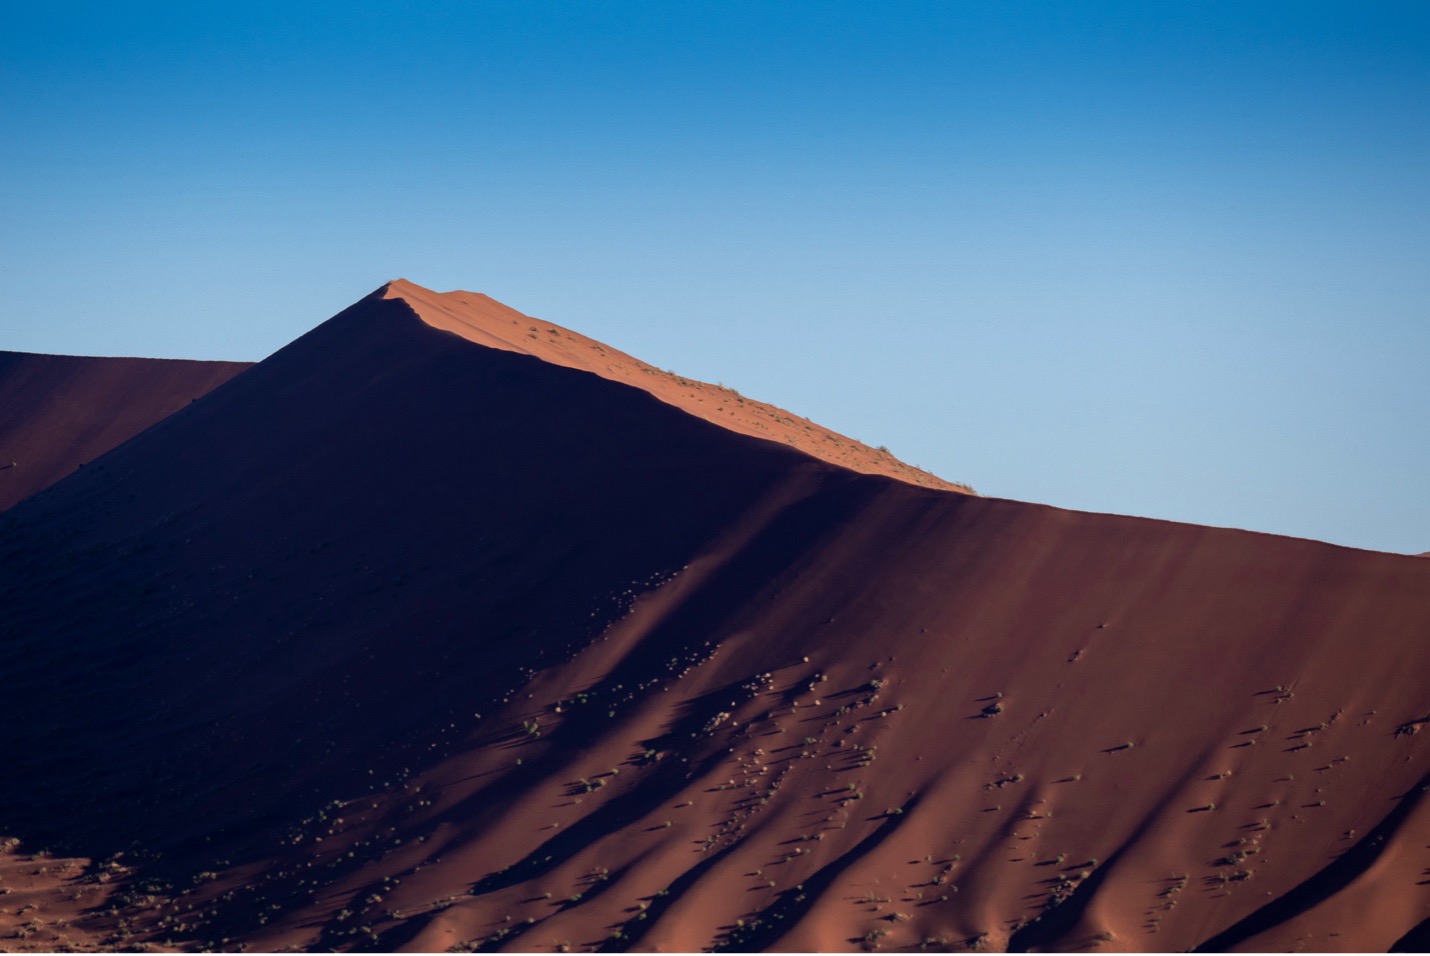
This means that your shadows will be quite dark, but in my opinion that’s ok—it’s actually what I want. Technically you could brighten them in post, but it’s the contrast that’s intriguing here, so I recommend embracing the shadows and exposing for the bright spots (such that the brightest parts are perfectly exposed). Once you get this down, you’ll start to look for these bright spots and will find them everywhere…especially at prime times of day like morning and evening on proper photo trips throughout Namibia.
Find and Incorporate Foreground Elements
For as much as Namibia’s dunes allow for minimalism, there are copious foreground elements to choose from as well. It might be the ultra-iconic Sossusvlei area, or it might simply be small trees or bushes around the even bigger dunes in the area.
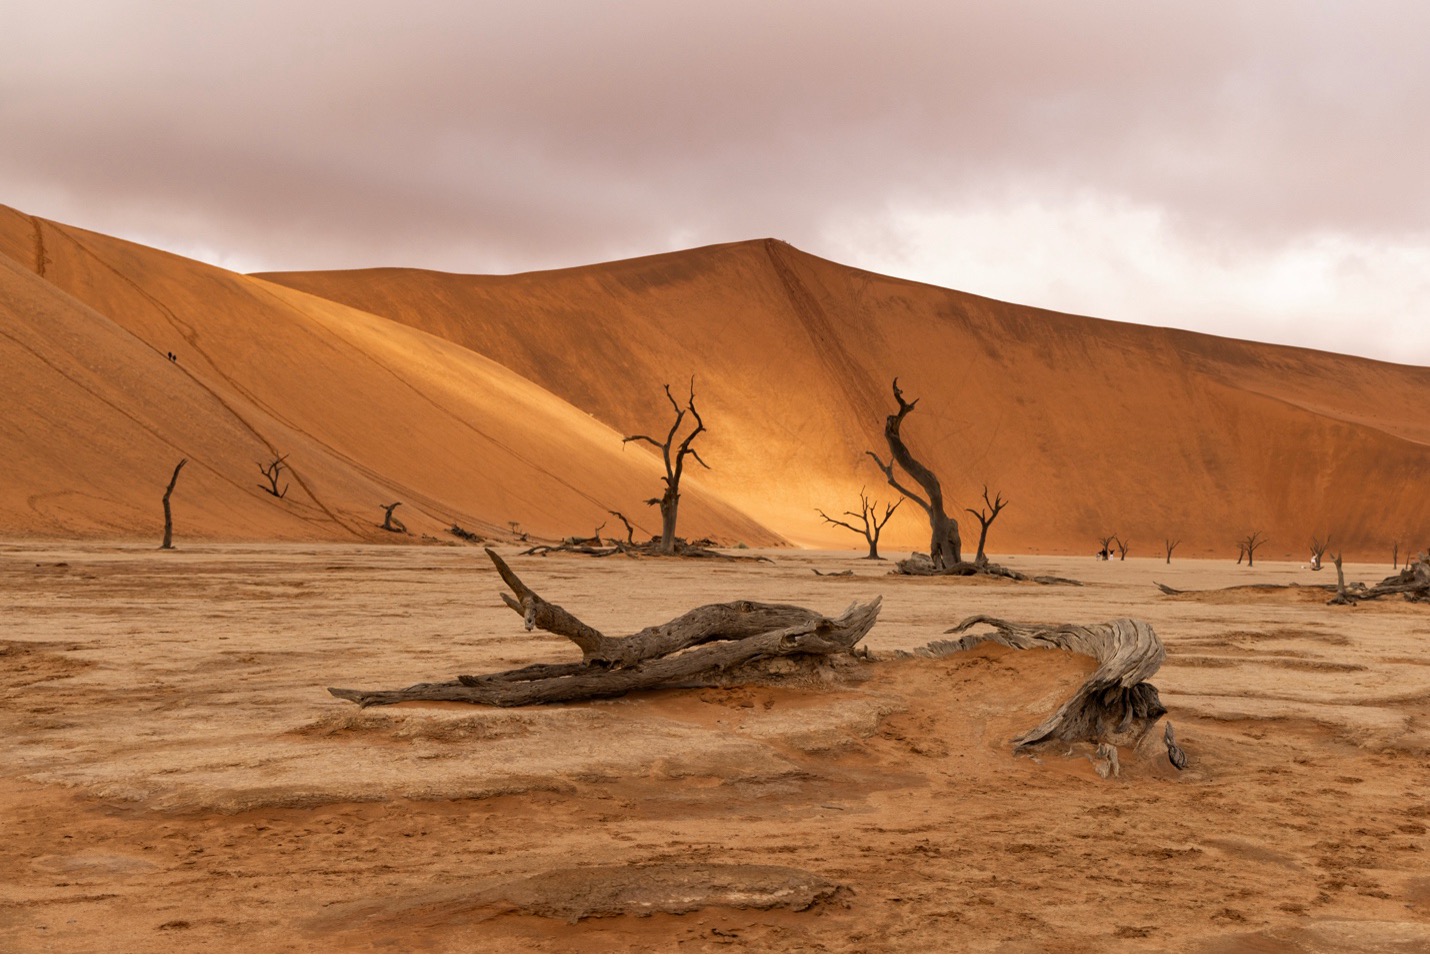
The trick here is that you’ll want everything in focus, and depending on the distance between for-, mid-, and background, you may need to bump your aperture up from f/8 to f/11 or maybe even f/16 (although I usually don’t go higher than f/11).
Find some interesting composition, whether it’s intentionally balanced, unbalanced, strictly using the rule of thirds, or exaggerating composition. I prefer to focus on the foreground or slightly beyond, and try multiple different angles and compositions.
It’s often hard to translate the feeling of being there into a single photograph, so pivot around your foreground elements, and shoot from multiple angles, both left and right and high to low.
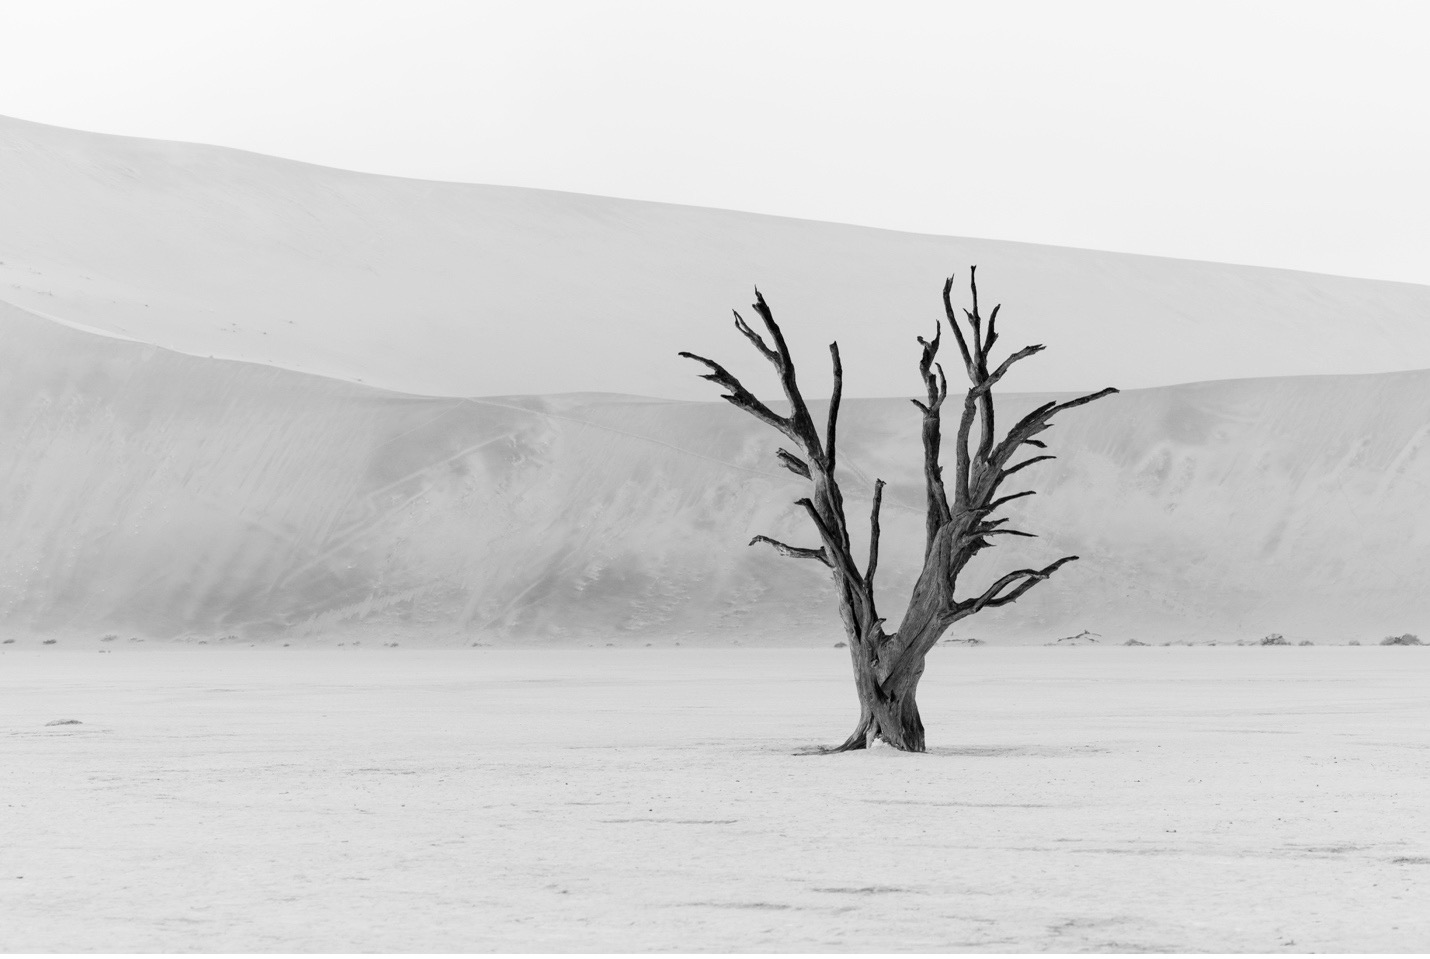
Try Good Ol’ Black and White
Black and white photography happens both during the shoot as well as afterwards. While we can turn any photo into black and white afterwards with the push of a button in Lightroom, it’s seeing in black and white that really turns them into something compelling. Harsh contrast, simple colors, and vast scenes are all things to look for.
I have a trick for flagging a black and white opportunity in the moment, to then edit when I’m back at my computer. When I see a photo that I know I’d like to convert to b&w in post processing, I’ll take a photo of my hand to “remind” me when culling and editing the images to edit the next photo as black and white. Otherwise, I simply forget. (you could also make notes, but I personally just don’t have the workflow for that)
When processing in b&w, lean into the contrast, boost the whites, darken the darks, perhaps play with the clarity slider, and really emphasize the ethereal nature of these scenes.
Namibia lends itself particularly well for black and white photography. Even if you’ve never tried it, it’s absolutely worth experimenting with if you are on a photo expedition in Namibia.
In Summary
Namibia’s dunes are incredibly photogenic, but the real opportunity is in finding as many different ways to photograph them as possible. Start with solid landscape settings, protect your highlights, and then experiment with symmetry, scale, patterns, foreground elements, minimalism, abstract compositions, and even black and white.
A telephoto lens can be especially useful for isolating details and compressing the scene in ways that reveal compositions you might otherwise miss.
Most importantly, give yourself permission to move around, play around, try different angles, and come home with a collection of images that captures not just what the dunes looked like, but what it truly felt like to stand among them.
Enjoy it out there!

Court

Leave a reply