Three Ways to Get Perfect Focus for Outstanding Northern Lights Photographs
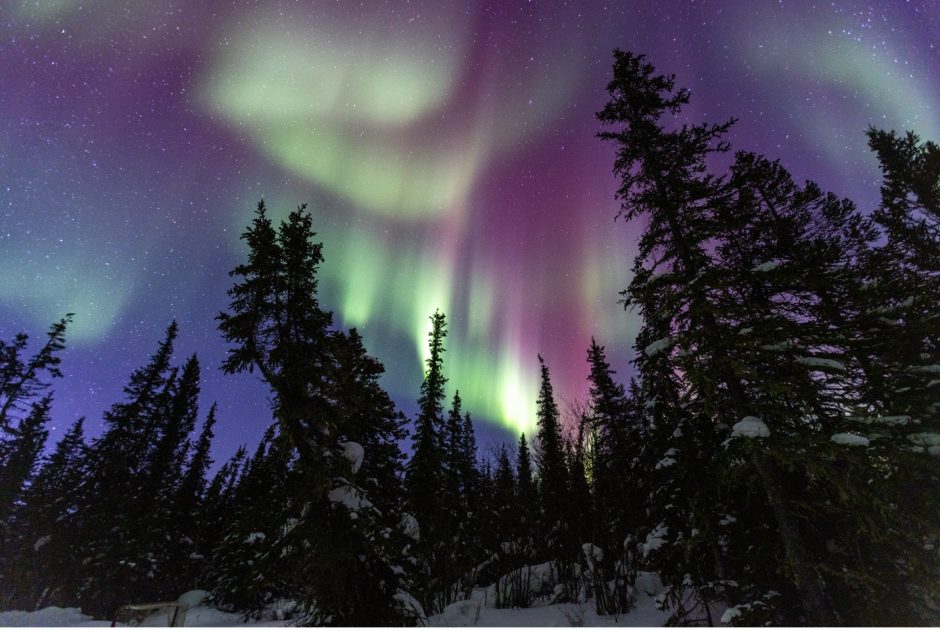
Photographing the aurora borealis is exceptional in so many ways. The images you get, the environment you’re in and the challenges…well, yes, the challenges you face.
Northern lights photography can be difficult, but this article aims to provide you with the tools to eliminate focusing from that list of challenges. And let’s be frank—that’s probably the biggest 0ne!
Focusing can be daunting when photographing in the dark, but it doesn’t have to be! Read on to get three great solutions that will get you incredible northern lights photos each and every time.

Option 1: Infinity Focus
To be completely honest here, this is not my go-to choice for focusing while photographing the aurora, but it is an option, and I have many pro photographer friends who swear by it, so it’s worth discussing.
Essentially, the issue at hand is that when you are photographing the aurora, it’s a) at night and b) you can’t really focus on the sky at large because there isn’t really anything to focus on. You need to focus on something.
In the case of infinity focus, you are telling your camera and lens to manually focus on the absolute farthest thing possible. And since you’re photographing the aurora 60–70 miles into the sky, that should do the trick, right?
Well, sort of.
The tricky thing about infinity focus is that if you go all the way to the infinity side of the focus dial, it’s actually a bit too far. When lens manufacturers say ‘infinity,’ they really mean it! Anything within 100 billion miles is going to be just ever so slightly blurred. Thus, you need to actually pull back slightly from pure infinity. The challenge here is that you probably aren’t sure exactly how much you should pull back. Is it a fraction of an inch? Less? More?
Well, each lens is going to be slightly different, and this is one reason I’m not a huge fan of this technique. It’s hard to nail down perfectly at the start. Nevertheless, it is entirely possible to do lens tests to determine exactly how much you need to retract from ‘full infinity’ to actually get the sky and stars in focus. It tends to be only a fraction of a millimeter or so, but these small increments can make a big difference.
What most of my pro photographer friends do is they actually mark on their lens with a Sharpie where that sweet spot is, once they do some tests at home. If you are willing to go through this and ok marking on your lens, this is an entirely viable way to set focus so that the aurora, stars and heavens are all sharp.
Option 2: Foreground Focus
This is my preferred method. With this technique, you instead focus on something closer to you, ensuring that you have something in your scene in tack-sharp focus. You can also take advantage of autofocus for this method, which is super helpful when needing quick and decisive action when focusing during aurora shows (which often can happen surprisingly fast!).
The technique is multi-stepped, but quite simple.
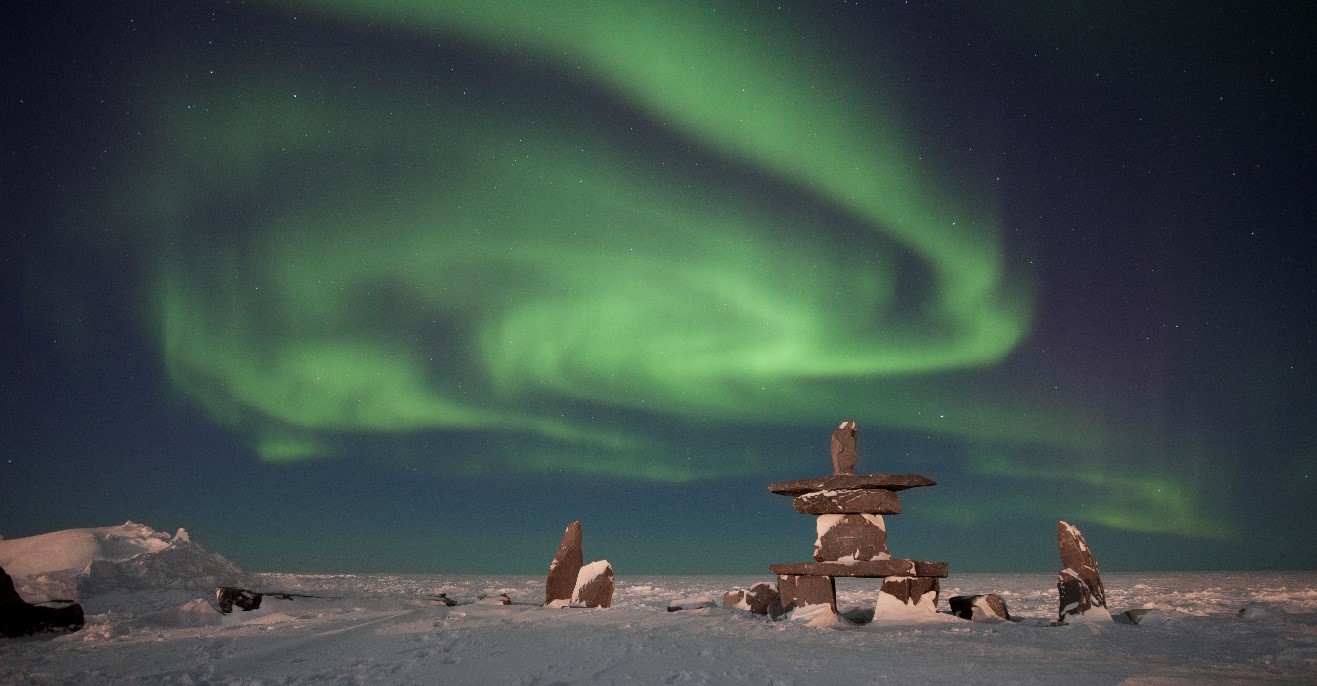
Start off by finding some great foreground elements. This is a key to great northern lights photography in the first place, so this step definitely should not be skipped.
This can be something natural, such as trees, or something man-made, like a traditional cabin or a Metis tipi. Frankly, the variation in foreground elements is one of the most enjoyable and rewarding parts of northern lights photography, so this is your time to be creative and try many options!

Next, you will keep your lens on auto-focus and do your best to focus on this foreground element. If it is lit from the inside, as a structure may be, it’s quite easy to use your camera’s autofocus on the light itself and voila—a split second later you have perfect focus.
However, if you are photographing a dark forest, the best place to try and autofocus is going to be the tree tops, just where they come into contact with the sky. This contrast helps the autofocus a lot, so achieving perfect focus should only take a brief moment longer.
If neither of these works, simply shine a flashlight onto the trees and use that light to help your camera’s autofocus motor. Just be sure that no one around you is taking a long exposure photo, as this may potentially affect (read: ruin) their shot.
In all cases, once autofocus is achieved, lock your camera in manual focusing mode by changing from autofocus to manual. Avoid touching your focusing ring, and you will have focus ‘locked’ for the rest of your shots in that specific scene. Be careful not to move your tripod by much, if any at all, or else you’ll need to go through the process of autofocusing and setting it to manual again.
Now that you have your camera locked on a focal point and set on manual, all you need to do is take the shot!
One thing I’ve found helpful with this second method is experimenting with different apertures, also known as depths of field. Because you are focusing on something near you, at the expense of the distant stars, there is a good chance your stars could appear slightly blurry (if you see stars at all, which isn’t always the case). However, a) I would prefer a tack-sharp foreground and slightly out of focus background than the other way around, and b) if you go from f/2.8 to f/4, you may find that your entire scene comes into excellent focus—simply by adjusting your aperture slightly.
Another way to increase your chances of good focus, both on the foreground and background, is to separate yourself a bit from the foreground. The closer your foreground is to your background, the more they will both be in the same ‘plane’ of focus. Even though your background is miles away, you might only need to move back by 10 or 15 feet. This can actually result in a big difference for the positive. However, much of this is trial and error, so be prepared to employ these strategies and don’t feel compelled to incorporate them perfectly with your first shot or two.
Option 3: Magnify your LCD for manual focus
The final option is a creative one that can work quite well when you are in a situation where you absolutely must have the stars (or moon) in focus.
Simply use your viewfinder and ‘magnify’ it so that you are zooming in, digitally, by 10x. This won’t actually take the photo at 10x, but it will allow you to magnify the stars, enabling you to use manual focus to get them sharper.
This method is a bit tricky, as it can take a while to find a star in your viewfinder, but it can yield precise and perfect focus.
I recommend starting with your lens at infinity focus so that the stars appear in your LCD screen in the first place (if you have your lens set to closest autofocus, the stars may be so blurry you can’t even see them to focus on them).
Then, as you use manual focus, you should start seeing the stars come in and out of focus. Or to put it another way, they will go from blurry, diffuse balls of light to more pinpointed, sharper balls of light. Once they are at their sharpest, release the focusing ring, don’t touch it, and then recompose your shot the way you would like. Again, this is all done with manual focusing.

It’s easy to feel a bit out of your element if you are a newer photographer aiming to capture the aurora borealis for your first time. Thus, I highly recommend joining a dedicated photo trip to harness the power of pro photography instructors in these challenging situations. You can expect to come away with some of your most prized photos of your entire life!
Get out there and give it a shot!

Court
Leave a reply