Solve the Mystery of What to Bring
A Field Guide to Creating your Photography Packing List
Packing camera gear for a photography travel trip is like shopping when you’re hungry. Everything looks essential, you pile your bag high, and by the time you’re at the airport you’re wondering if you’ll be forced to abandon your tripod at the gate like contraband cheese.
You don’t need to bring everything. You need to bring the right thing. And the way to figure that out isn’t blind guessing; it’s playing detective. What are the conditions? What’s the subject? What’s your style? With a little investigation, you can crack the case of “what goes in the bag” before you ever step on a plane to Australia.
The Basic Kit
Let me start with my baseline kit; the gear that goes on almost every trip whether I’m headed to Yellowstone National Park, Greenland, or just a weekend camping trip in my home state of Arizona.
- One Camera Body (yes, just one; though if you’ve got two, that’s great for remote locations where fixing a broken camera would be impossible.)
- Two Zoom Lenses: a 24–70mm and a 200–600mm. (That’s it for optics; it covers landscapes, people, and wildlife. What else is there?)
- Tripod: Nope! (unless I’m after a specific photo, more on that later)
- Power: Three batteries and a charger
- Photo Management: Four memory cards, a card reader, a laptop, a portable SSD
- Camera Accessories: a camera strap, spare lens caps for each lens, and a basic cleaning kit.
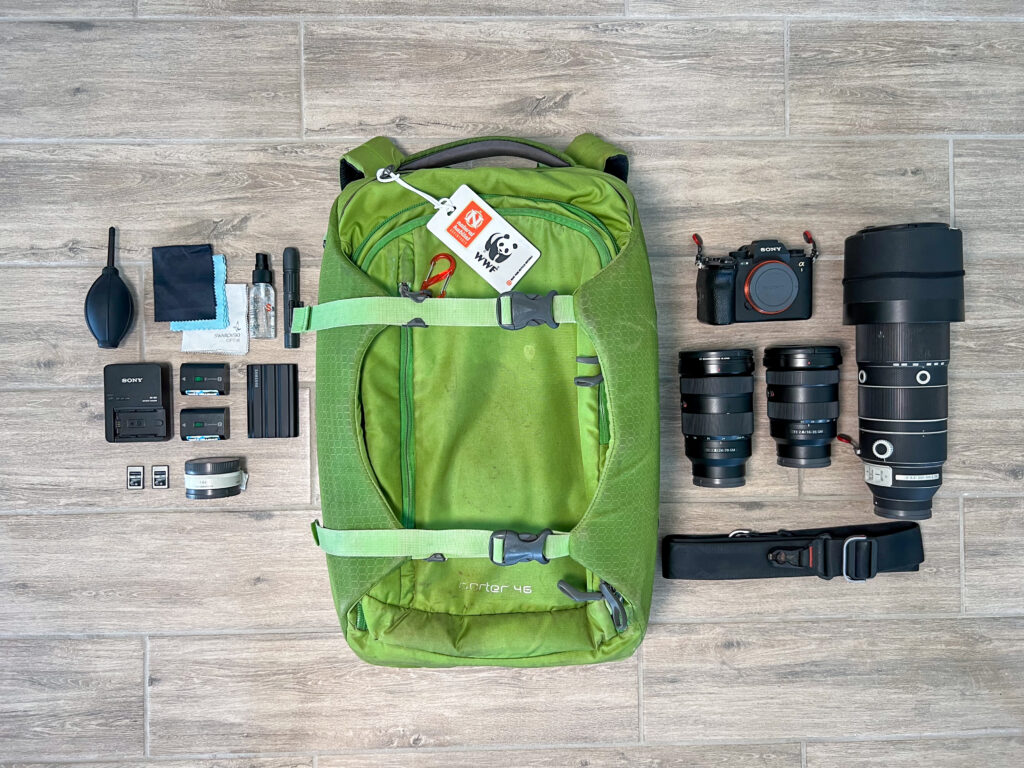
It all fits neatly in one pack, and it covers 90 percent of what I’ll ever need. The other 10 percent? That depends on where I’m going, and that’s where the detective work comes in.
The Detective Work: Becoming a Gear Sherlock
How do you figure out what that elusive 10 percent should be? You don’t guess, and you certainly don’t let your local camera shop salesman convince you to buy a tilt-shift lens for the Galapagos. You investigate.
- Step 1: Look at the trip webpage
- Photo tour companies like Natural Habitat Adventures put a lot of thought into the photos they show, because they know those are the images travelers will want to take. If every picture features polar bears that fill the frame, odds are those were shot with some serious telephoto glass. If the gallery is full of landscapes with wide-open vistas, that’s your clue to pack wider glass and maybe a tripod.
- Step 2: Google Images and Instagram
- Search the destination plus “photography” and see what comes up. Pay attention not just to what’s in the photo, but how it was made. Can you see the background blur that screams 400mm telephoto? Is it a sweeping panorama that suggests a 16–35mm wide angle? Reverse-engineer the gear from the shots.
- Step 3: Stalk other photographers online.
- Read their blogs, scan their gear lists, pay attention to what they rave about. If three people in a row say “I never used my tripod in Alaska,” you can probably leave yours at home.
What lens should I bring?
Well, what photos do you want to get?
Photography is an art form, just like painting or sculpture. You wouldn’t expect 12 artists in a national park to create the same painting and the same goes for photographers. If you’re obsessed with bird portraits, you’ll bring the biggest zoom you can carry. If you’re all about landscapes and sunsets, you’ll invest your luggage allowance in a tripod and filters. Weigh everything you read online against your own style; only you know what images you want and the lenses that’ll help you get them.
The Wide Zoom: 16–35mm vs. 24–70mm
If lenses were emails, the 16–35mm is ‘reply all’. Always trying to include everyone & everything. Great for cramped spaces, dramatic foregrounds, and landscapes that demand width. But go too wide and you’ll distort your giraffe into a funhouse parody. How close is the mountain vista? If you have to tilt your head up to look at the peaks, then 16-35mm will pull it all in nicely. Anything farther and this lens will turn those mountains into mole hills.
The 24–70mm is the steady friend. It’s versatile, flattering, and doesn’t try too hard. It covers most landscapes, portraits, and general travel shooting without warping the edges of your frame. If you’re the type who doesn’t like constantly swapping lenses, this is your workhorse.
Detective tip: Pull up photos from your destination. If most images feel panoramic or feature epic foregrounds, pack the 16–35mm. If they’re more about balanced portraits of people and place, the 24–70mm wins.
The Mid-Tele Zoom: 70–200mm vs. 100–400mm
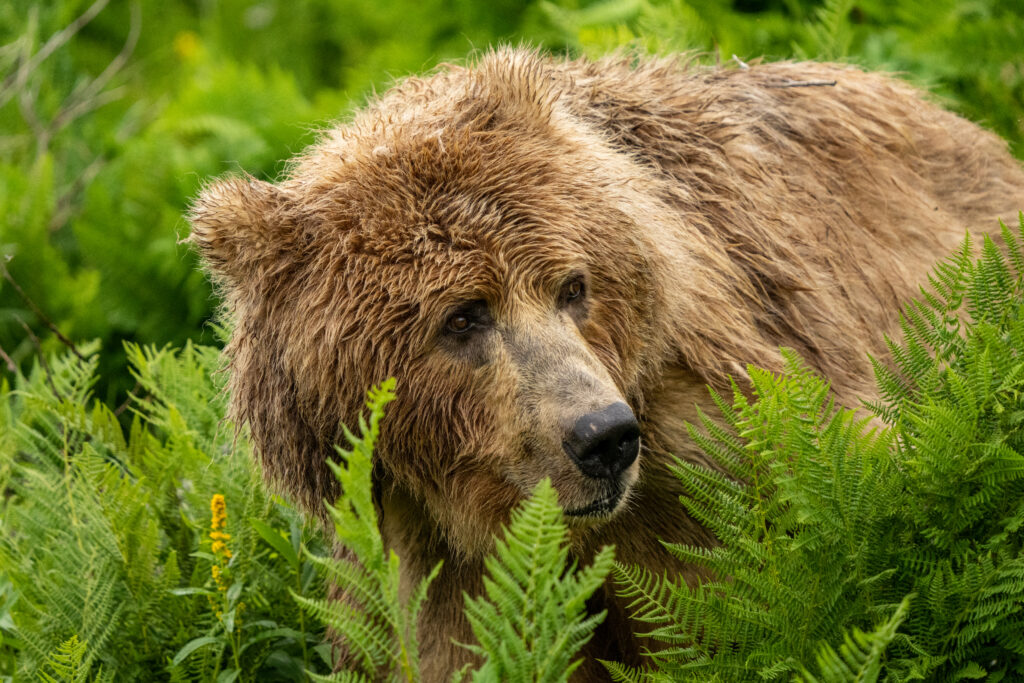
The 70–200mm is like a scalpel. It’s perfect for portraits of wildlife, details in a landscape, or any situation where you want intimacy but not exaggeration. It’s sharp, fast, and often has wider apertures for beautiful background blur.
The 100–400mm is the utility player. It covers more distance, isolates wildlife better, and still isn’t unmanageable in size or weight. But at the longer end, you’ll give up some aperture speed and low-light capability.
Detective tip: If your trip information suggests animals will be close like in the Galapagos, the 70–200mm will likely get the job done. If they show animals further in their environment or birds in flight, the 100–400mm makes more sense.
The Super Telephoto: 200–600mm vs. 600/800mm Prime
Now we’re in heavy artillery territory. The 200–600mm is your bazooka with a zoom ring. Versatile, surprisingly manageable, and essential for far-off subjects like big predators. You won’t use it every second, but when you need it, nothing else works.
The 600mm or 800mm prime is the diva. Stunning image quality, razor sharp, wide apertures; but they’re heavy, expensive, and about as subtle as a medieval catapult. If you know your trip will absolutely require extreme reach (think distant birds, cautious carnivores), it’s worth it. Otherwise, it’ll spend the week in your bag while your shoulders curse you.
Detective tip: If other photographers’ shots show frame-filling animals across wide landscapes, the prime was probably involved. If you see variety in compositions (tight wildlife and wider contextual shots) the 200–600mm is the flexible choice.
The Support System: Tripod vs. Monopod vs. Nothing
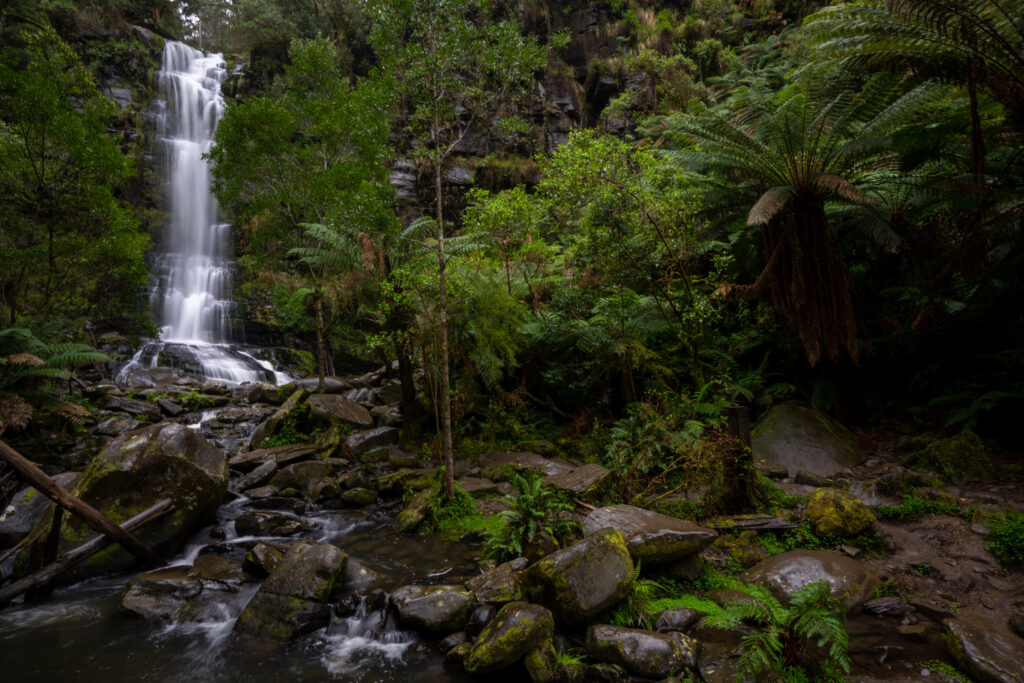
Tripods are the mythic beasts of packing lists. Everyone swears they’ll use one. Most don’t. They’re only worth the bulk if you’re shooting long exposures, waterfalls, or night skies. If you haven’t used yours at home in the past six months, odds are you won’t start on the road.
Monopods are the middle ground. They don’t stabilize like a tripod, but they save your arms when holding big glass. If you’re shooting wildlife for hours, a monopod is a mercy. Bonus: some double as hiking poles, which at least makes you look like you had a plan.
No support at all? That’s my solution for nimble, on-the-go photography. Today’s cameras handle higher ISOs, and if you’re handholding 1/2000th of a second for wildlife, a tripod doesn’t help anyway.
Detective tip: Search for the kind of images you want from your trip. If half are silky waterfalls and star-filled skies, bring the tripod. If they’re action wildlife and daylight shots, skip it. And for the love of your back, don’t bring one “just in case.”
The Extras: Filters, Macro, and Weather Protection
Polarizing filters? Great if your trip photos show glassy lakes and bright skies. Useless in the rainforest. Neutral density filters? Perfect for waterfall country, dead weight in the desert.
Macro lenses? Incredible if you’re obsessed with insects, flowers, or textures. Otherwise, it’s an expensive paperweight.
Camera weather gear? Don’t skip it. Extra batteries die fast in the Arctic. Dry bags and lens wipes matter more in rainy Alaska than any exotic lens choice.
Conclusion: Pack Smart, Shoot Smarter
Travel photography isn’t about how much gear you can cram into your bag. It’s about matching the right tools to the place. Start with a smart baseline kit, then investigate like a detective before you leave: study trip photos, reverse-engineer other people’s shots, stalk photographers online, and weigh it all against your own style. Adjust only where it truly matters.
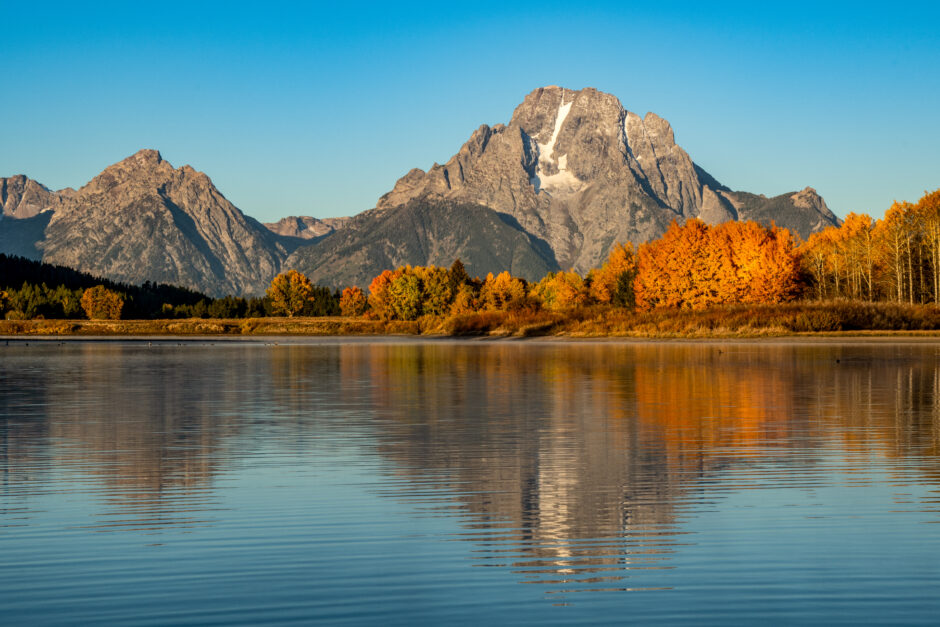
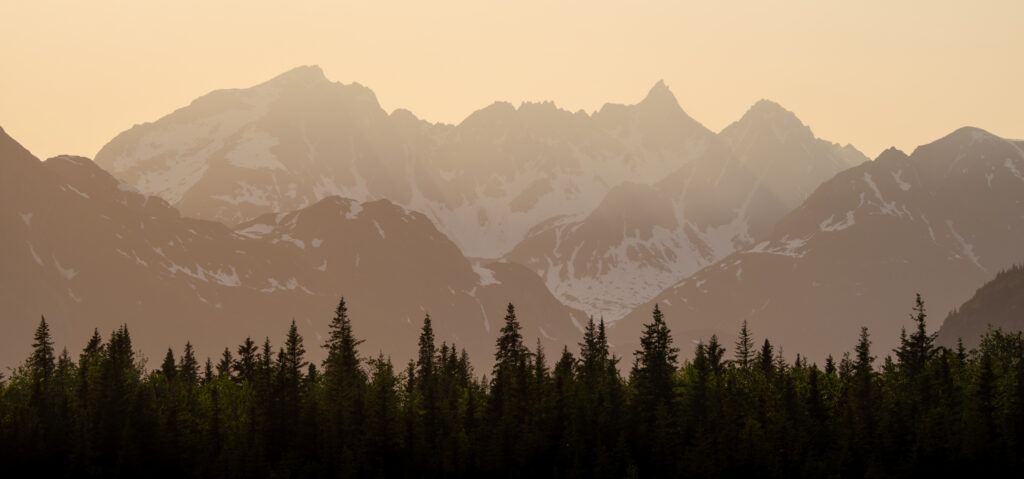
Want proof? Head to Churchill and photograph polar bears, where long glass rules. Or try Australian photography, where you’ll juggle landscapes, parrots in flight, and maybe astrophotography under Outback skies. Both trips will teach you the same lesson fast: good photographers aren’t pack mules, they’re detectives.
Happy photographing.

1 Comment

Pat Marron
December 19, 2025 at 5:05 pm
This is a great article which gives me a clear and concise approach to packing photography gear for a trip. I will keep it in my travel folder and review it each time I am heading off on an adventure.