
How to Get Perfect Focus for Northern Lights Photography
Focusing your camera at night is one of the biggest challenges for photographers. It’s hard to see, and your camera’s autofocus relies on light and contrast, so it’s not much help either.
But don’t despair—there’s a tried and true method for focusing at night and getting crisply focused aurora photos!
Focus on the Foreground
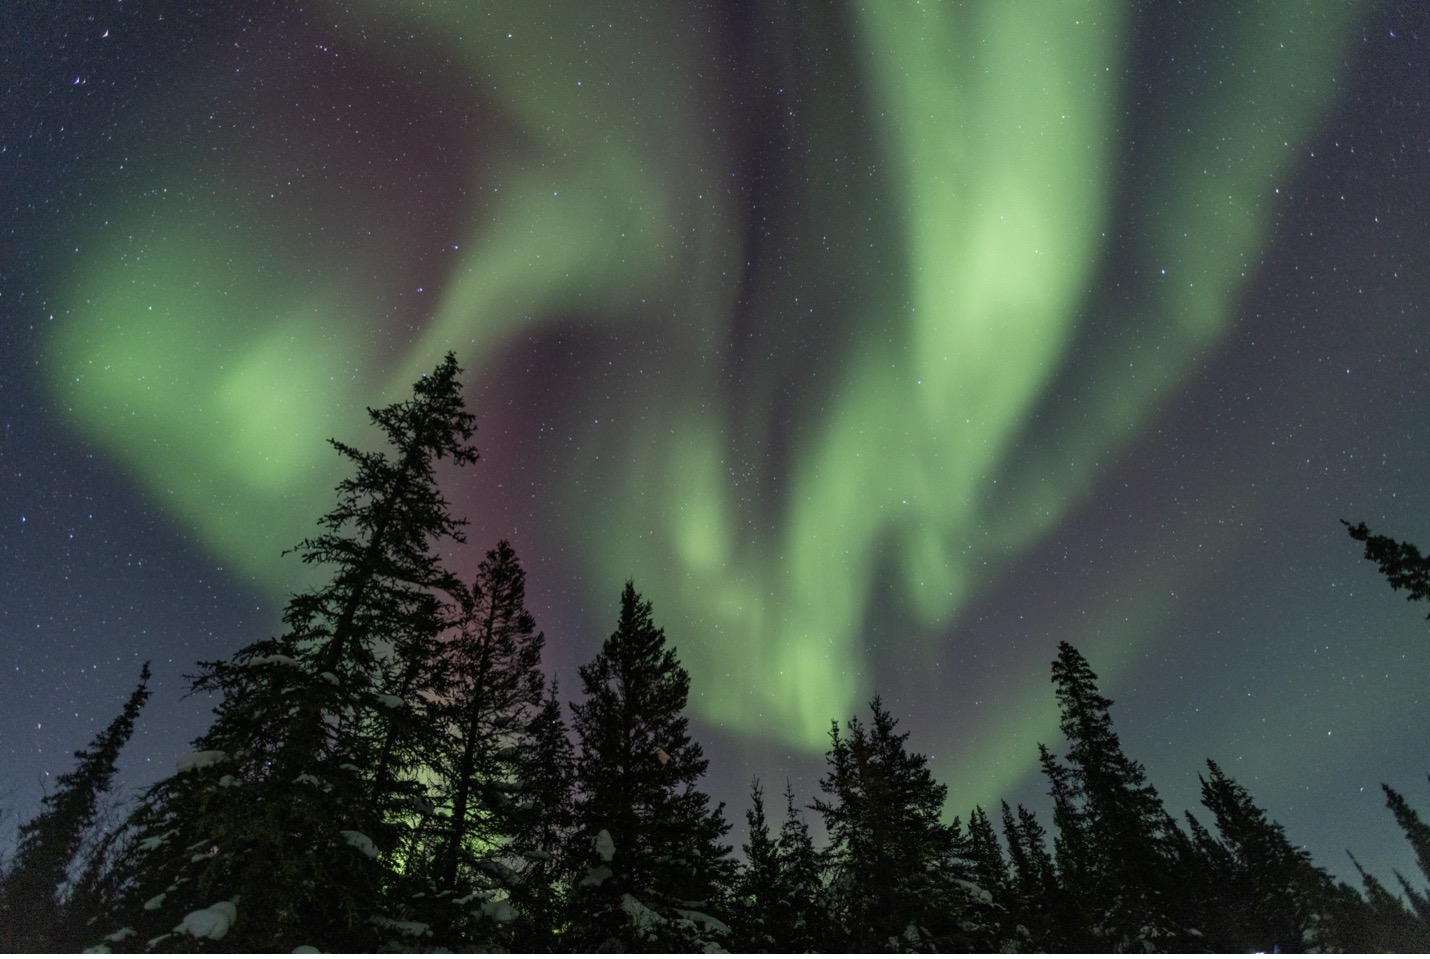
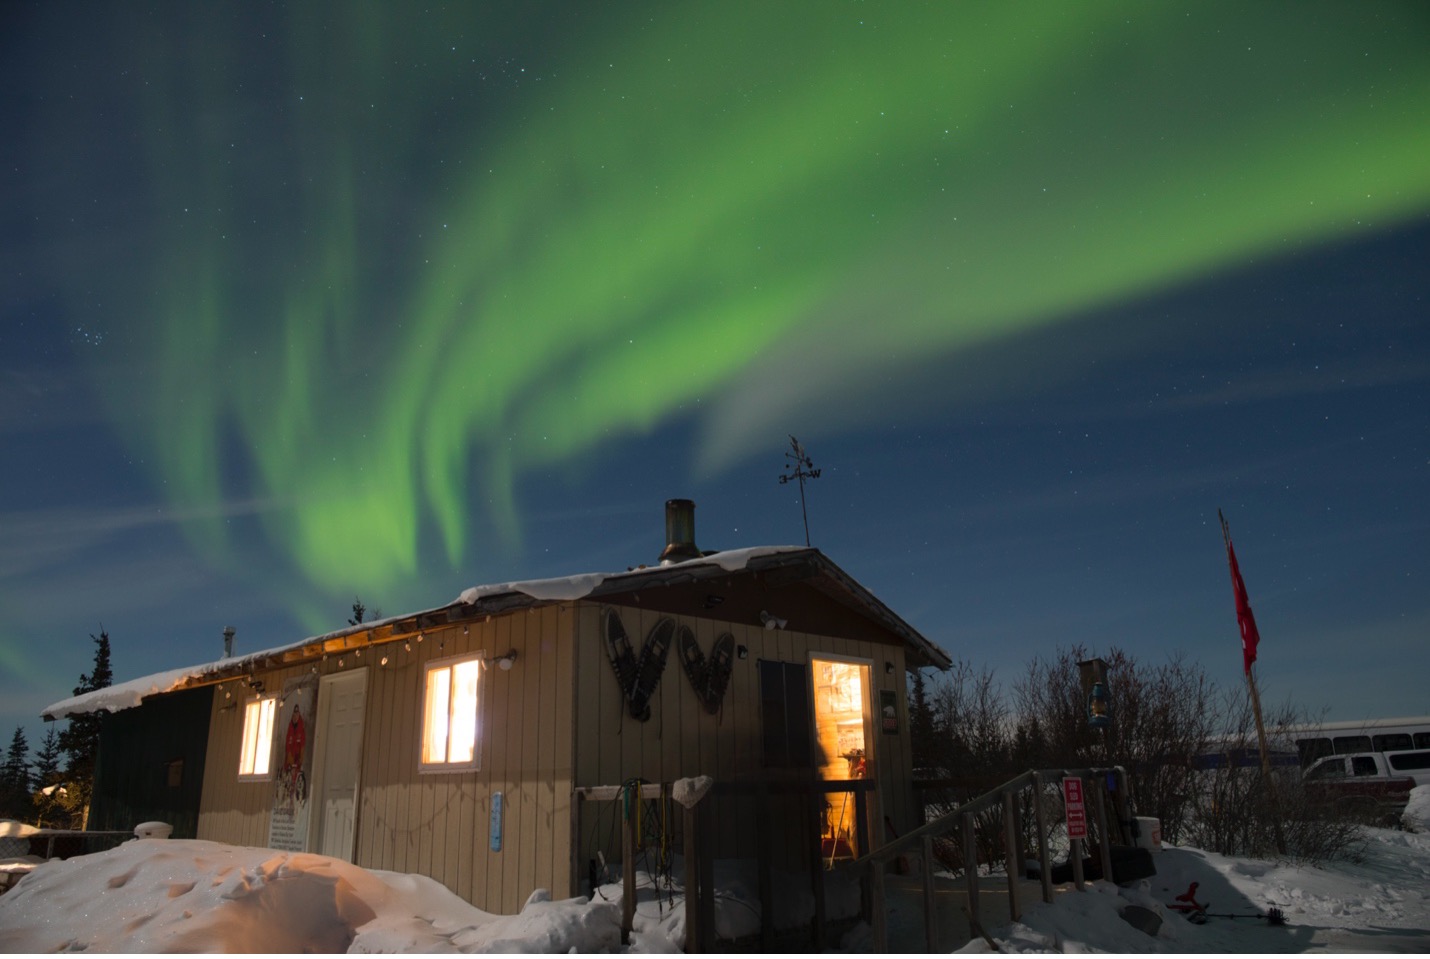
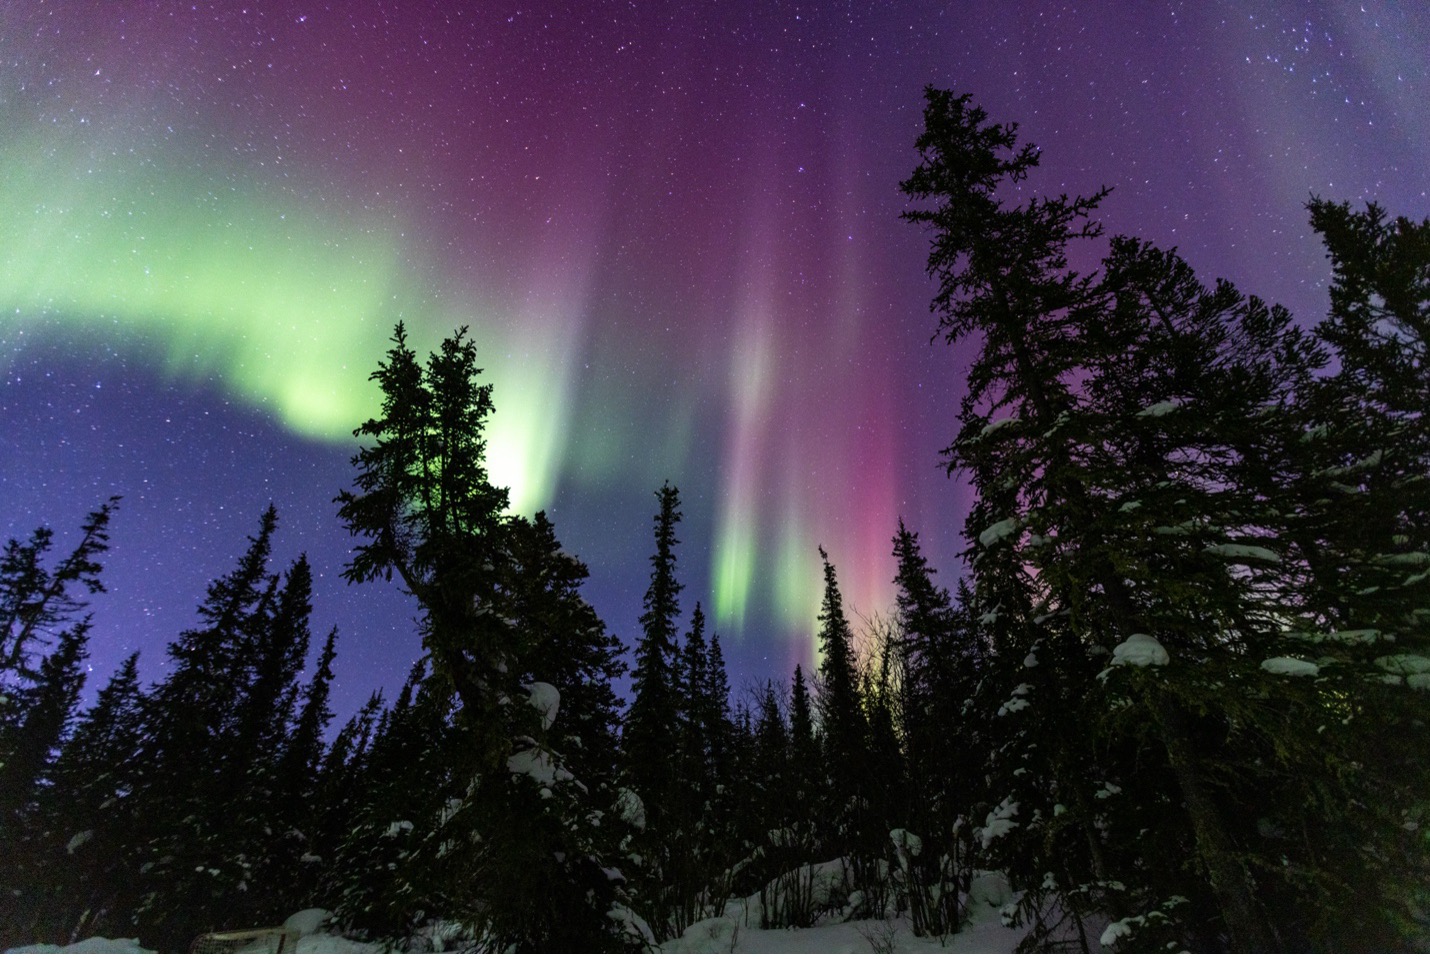
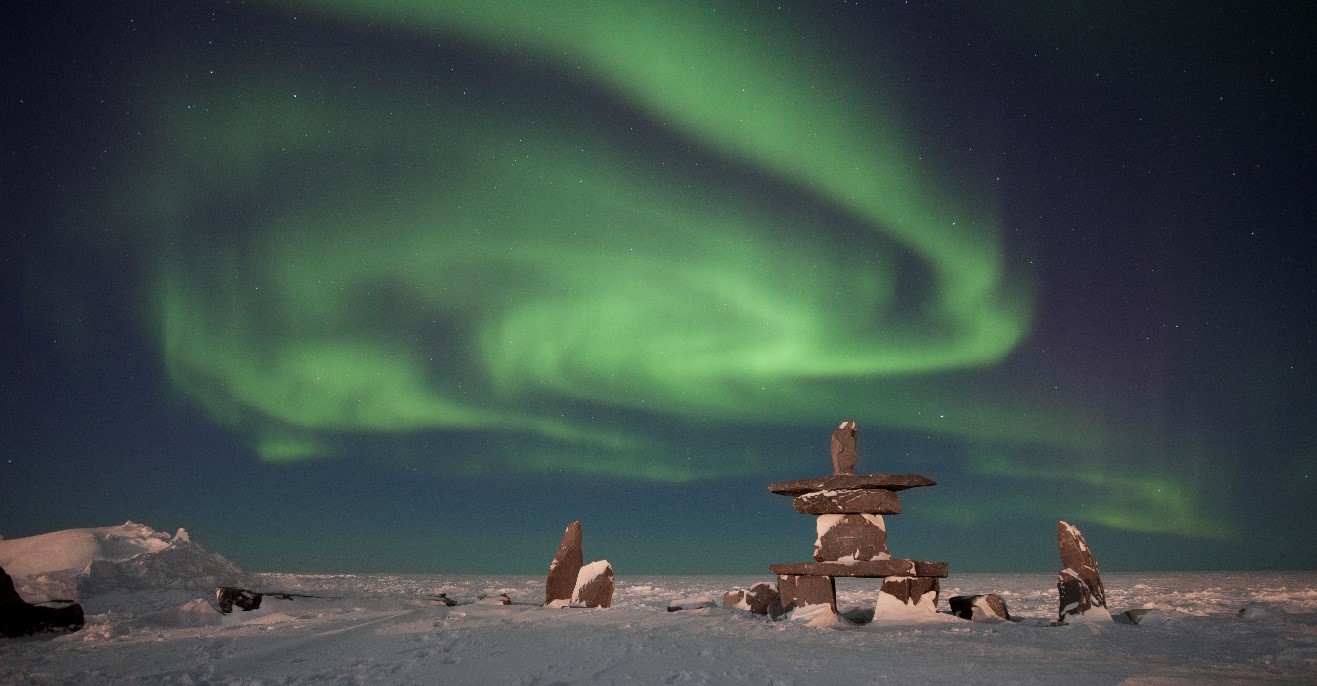
For starters, when we’re talking about focus and sharpness in northern lights photography, we’re really talking about the foreground being sharp, not the aurora itself. Sure, there are techniques to get the aurora a bit less diffuse and not as wispy, and I’ll cover that at the end of this post. But it’s essential to understand that the sharpness of your aurora photos comes from the foreground elements, such as trees, buildings and people. If these are sharp, you’re all set.
Another quick piece of advice: For your foreground (and possibly mid-ground) to be in focus, you shouldn’t be super close to your foreground. If your photos are blurry, try adding a bit of distance between you and the closest object in your photo. This ensures that even with fast apertures like f/1.4, f/2.8 or f/4, you get a decent depth of field in your fore- and midground.
There is no perfect distance, but if you can be farther than 20 or 30 feet, you can get your foreground and midground in focus, even with shallow depths of field. The wider the lens angle you have, the less imperative this is, but again, this is an important consideration in getting set up for sharp photos.
Achieving Autofocus
Once you’re set up in location with something compelling in the foreground and the aurora streaming overhead (or, after you’ve set up your shot in anticipation of the aurora appearing sometime that night…a good practice!), you’ll want to use your autofocus and place the focusing point right at the edge of the foreground. If you’re using trees, dark buildings, or people as your foreground, place the autofocus point so that half of the point is over the foreground element and half of the point is in the distance (e.g., the sky).
The reason for this is that in dark conditions, you can give your autofocus some help by zeroing in on the contrast provided by the distance between fore- and midground or the fore- and background.
That said, if you have a lit structure, you can focus on the light directly, and your autofocus should work just fine.
My Favorite Flashlight Trick for Autofocus
If you have achieved autofocus, go ahead and switch your focus to manual, and do not touch your lens focusing ring.
If my lens just won’t autofocus, likely because it’s too dark, I will shine a flashlight on my foreground for a brief moment and use that brightness to help my camera’s autofocus out. If it failed to secure autofocus in the dark, this should do the trick.
An important note about shining the light, though, is that you should check to make sure everyone around you is OK with a light being on. First, you want to ensure no one is taking a photo at that moment. Second, you want to make sure no one is looking at the soon-to-be-illuminated subject, otherwise it’ll reverse some of the night vision they’ve worked hard to get.
I personally like to use the flashlight method right at the start, just as my photography groups are setting up. This way, there is no risk of people already taking shots, and we haven’t been outside long enough to allow night vision to build up.
Again, a key aspect of all this is to switch your lens from autofocus to manual focus to “lock in” the focus so that you don’t have to redo these steps with every photo you take. You can recompose and even move your tripod, as long as you don’t a) touch the lens ring, and b) don’t move closer or further from your foreground (or else it will require a reset of your autofocus procedure).
Infinity Focus: Pros and Cons
One technique that fellow photo guides use is to set your lens to “infinity” for all northern lights photos. This isn’t wrong, but I find it problematic for two reasons:
First, contrary to what you might expect, actual infinity is just a hair inward from the edge of your focusing ring. In other words, you can’t just dial your focusing ring to the furthest it’ll go and think that will focus on the heavens. The actual infinity spot tends to differ between camera brands, lenses, and even individual copies of lenses, making it something you really need to test out ahead of time.
When I use this method, I’ve found that my sweet spot for infinity is just a fraction of a millimeter inside of the infinity line, not the actual infinity symbol. But again, I’ve seen so much variation on this over the years that I shy away from it now after being disappointed in my past results.
Focusing on infinity is very good for astrophotography, as you want stars to be crisp and in focus; otherwise, they may look blurry. However, the second issue is that the aurora is almost always going to look “blurry,” because it’s more like a cloud than an actual star or discrete object. While it’s nice to have crisp stars, I’m always leery of doing this at the expense of your foreground, because if your foreground looks blurry, it tends to be quite distracting for the entire shot. If you do decide to focus on the extreme distance, you need to be very cognizant of what it does to your foreground focus.
You can avoid all this by placing your foreground at a reasonable distance from your camera. But as outlined above, there is an inherent risk.
As a result, I’m much more in favor of focusing on the foreground at the expense of the far background. However, one halfway point solution could be to stop down your f/number a bit so that you have a deeper depth of field. For instance, instead of shooting at f/1.4, try shooting at f/2.8 or f/4. These bigger f/numbers aren’t always a good thing, as they limit light, but it’s one way to try and have your cake and eat it too with a deeper depth of field.
You’re probably realizing right about now that it’s tough to have it all with aurora photography—you must make some concessions and trade-offs. For a more in-depth explanation, check out my 10-minute video tutorial on how to take amazing northern lights photos:
Bonus Tip: Freezing the Aurora
As I’ve mentioned a few times already, the northern lights will inherently appear wispy in your photos. Part of this is because the aurora is wispy and behaves more like a cloud of gas than a solid object. Thus, it doesn’t have sharp edges, and it’s moving around quickly enough that in long exposures it can indeed “blur.”
However, there is a way to freeze the motion of the northern lights during really active aurora shows. The advantage here is that you can add definition to the aurora and really showcase that “curtain” effect. To do so, you must shoot at relatively fast shutter speeds. I’m talking something like 2 seconds, 1 second or maybe even a half-second.
You’re probably thinking: “Those are all pretty fast for night photography!”
And you’re right! This isn’t easy. For it to work, a few things need to fall into place:
- It needs to be a really bright aurora show.
- You need to have a big aperture (small f/number) like f/2.8.
- You potentially need a high ISO, like 8000.
Not all cameras can do this well, and sometimes, the entire process just isn’t worth the compromise if you have to use such high ISOs. However, taking photos at these faster shutter speeds allows you to capture the aurora in more specific moments rather than spread out over 10, 20 or even 25 seconds.
What it does give you is some definition in the bands of the aurora, so that you can really see the definition and curtain-like effect.

If I’ve said it once, I’ll say it again: Photographing the northern lights is one of the most thrilling things you can do in the world of photography. At the same time. it’s very challenging. Hopefully these tips will help you conquer one of the most difficult aspects of aurora photography, which is focus. As you can see, with this workflow (and some practice at home ahead of time!) you’ll be ready to lock in sensational photos of the northern lights on your next photo adventure!
All the best,

Court
Leave a reply