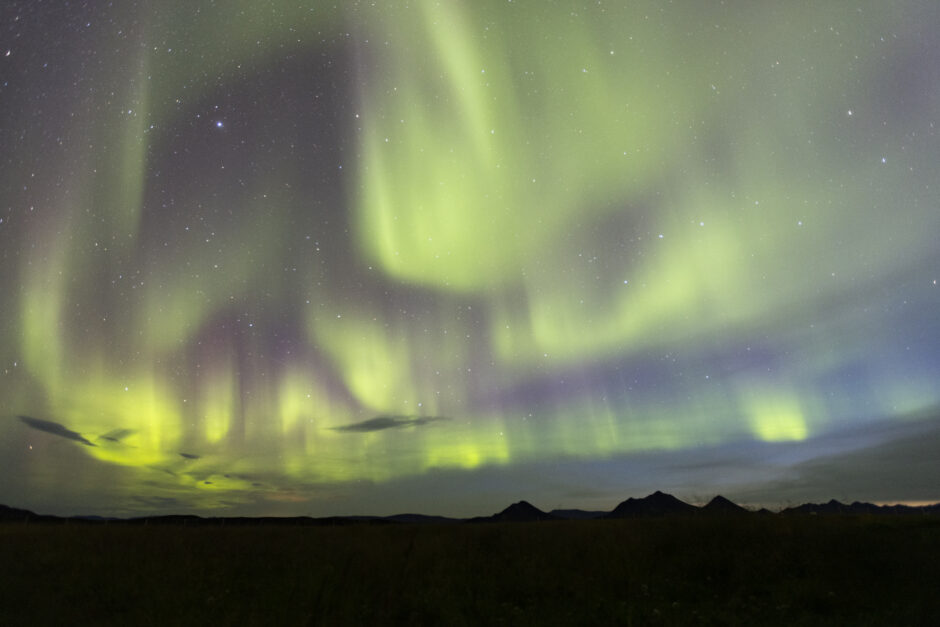
Can You Really Use a Phone for Northern Lights Photography? (Plus a How-To)
For years, northern lights photography was one of those situations where bringing a “big fancy camera” made a huge difference. You needed a fast lens, high ISO capability, a tripod, and the ability to take long exposures.
That’s still the recipe for the very best aurora photography (and check out our many articles here for more). But phone cameras have gotten surprisingly good at night photography, and today they are an honestly great tool for capturing what’s before you when the sky erupts with Aurora Borealis and even while on dedicated Northern Lights Photo Expeditions.
Can you get a gallery-quality, giant wall print from a phone? Maybe not. But can you get share-worthy photos easier than ever?
Absolutely.
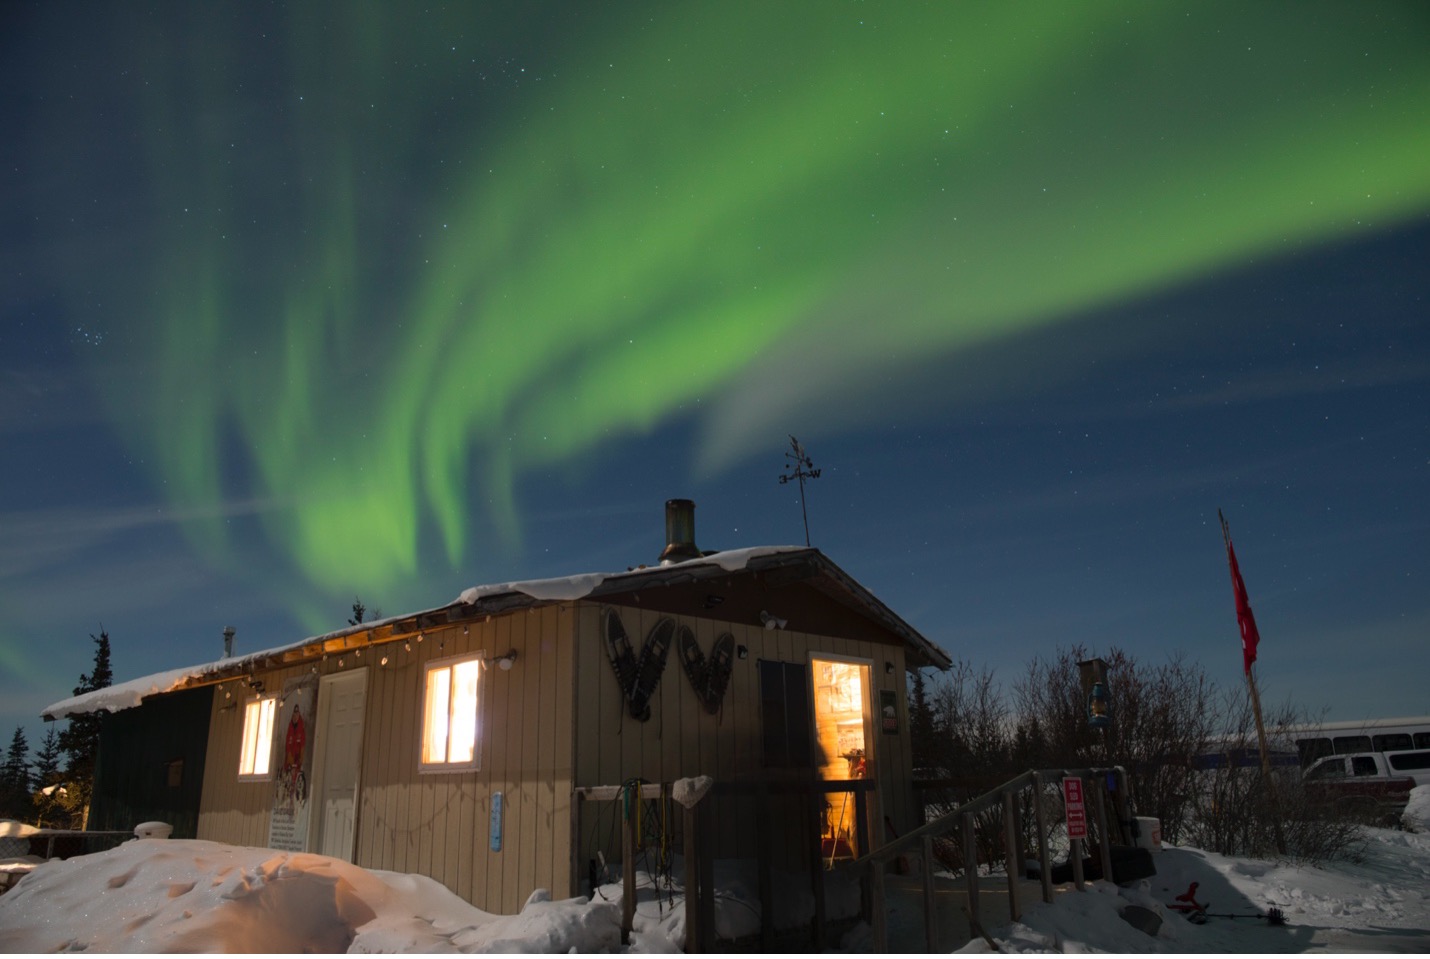
A quick caveat here is that some of the photos in this article are indeed from my bigger camera, simply because this phone tech is so new I don’t have as many iPhone aurora photos of my own yet :). However, given most of these are on an older DSLR, yours may be strikingly similar with newer phone cameras!
The Most Important Thing Is Keeping Your Phone Still
We’re going to get into the various makes and models (e.g., iPhone, Android, Google, etc.), but no matter which phone you have, this is rule number one.
Photographing the aurora requires gathering a lot more light than normal photography. Your phone does this either through a longer exposure or, more commonly today, by taking multiple exposures and combining them digitally. This happens automatically, but it’s worth knowing that it happens.
Either way, phone (i.e., hand) movement is the enemy. A tiny phone tripod is fantastic, but you can also prop your phone against a rock, backpack, railing, windowsill, coffee mug, or just about anything else. Once positioned, use your phone’s timer so you aren’t jiggling it when you press the shutter.
Even a three-second timer can make a noticeable difference so that the exposure doesn’t start while you’re fuddling with the shutter button.
How to Photograph the Northern Lights with an iPhone
For most people with a relatively recent iPhone, I recommend starting with the regular Camera app. No need for a third-party app.
When it gets dark enough, Night Mode will automatically activate on supported iPhones and once you take the shot, you’ll see the little Night Mode icon appear on the screen. Apple also lets you increase the Night Mode exposure (i.e., lengthening the shutter time) when the phone is stable and using a tripod can allow the camera to gather considerably more light.
Start with the 1x main camera (this is the default camera lens). This is generally your phone’s best lens and sensor combination for low light. The ultra-wide camera is tempting for aurora because, well, aurora is big and you want to capture as much sky as possible. But the main camera (not the ultra-wide, 0.5x lens) will usually give you a cleaner and better photograph, especially when the lights are faint.
Then do the following in a check-list fashion:
- Mount or prop up your phone.
- Turn off the flash (small step but very important).
- Let Night Mode activate. (again, it should do this on its own)
- Increase the Night mode exposure, especially if the aurora is just starting or dim in any way.
- Set a 3-second shot timer.
- Rinse and repeat…take several photos, not just one.
One caution is that longer isn’t always better. If the aurora is dancing rapidly, a very long exposure can turn beautiful curtains and rays into a green, diffuse blob. Not terrible, but showcasing the “curtains” of light is desireable.
With bright, active aurora, try shorter Night Mode exposures. Save the longest settings for dim and/or relatively slow-moving lights.
And watch your brightness. Phones have a tendency to try andmake nighttime look like daytime. This is just a natural camera thing, but when it’s dark, you want to make sure you actually get a dark shot. If your aurora photo looks oddly bright and washed out, reduce the exposure a little. Most people generally prefer an aurora photograph that still looks like it was taken at night.
What About Google Pixel Phones?
Google Pixel phones may actually have one of the easiest systems for people who don’t want to fuss with settings.
Start with Night Sight. If your Pixel is placed on a tripod or another very stable surface, supported models can switch into Astrophotography Mode. Google also allows you to set focus to “Far,” which is perfect for stars and aurora.
However, there is an interesting wrinkle here. Astrophotography mode is designed primarily for stars, which aren’t changing shape dramatically from second to second. The northern lights are usually more dynamic.
If the aurora is faint and slowly glowing across the sky, Astro Mode can work beautifully. But if you’re staring at fast-moving curtains, pillars and coronas, I would experiment with regular Night Sight too. A shorter capture can preserve more of the structure in the aurora.
Samsung and Other Android Phones
Android is a little harder to generalize because camera controls vary enormously between manufacturers.
First look for something called Night, Night Sight, Pro, Manual, or Expert RAW.
On recent Samsung Galaxy phones, for instance, Night Mode handles much of the work automatically, while Pro mode gives you manual control over things like ISO, shutter speed and focus. Some Galaxy models also offer an Astrophoto feature through Expert RAW.
If your Android phone gives you true manual controls, here’s a good starting point:
Shutter speed: 2 to 5 seconds
ISO: 800 to 1600
Focus: Infinity or Far
White balance: Around 3500 to 4500K
Flash: Off
For a very bright and active aurora, try dropping toward a 1-second exposure. For faint aurora, you may need several seconds and a higher ISO.
Be ready to change these between photos. Experimentation is OK and encouraged! Think of these as starting points rather than commandments. Aurora brightness can change tremendously within a matter of seconds.

Don’t Forget About Composition
This might be the biggest difference between an okay phone photo and a genuinely great one. And this is important no matter whether you have an iPhone or pro-level setup.
Don’t just point straight upward at a green sky.
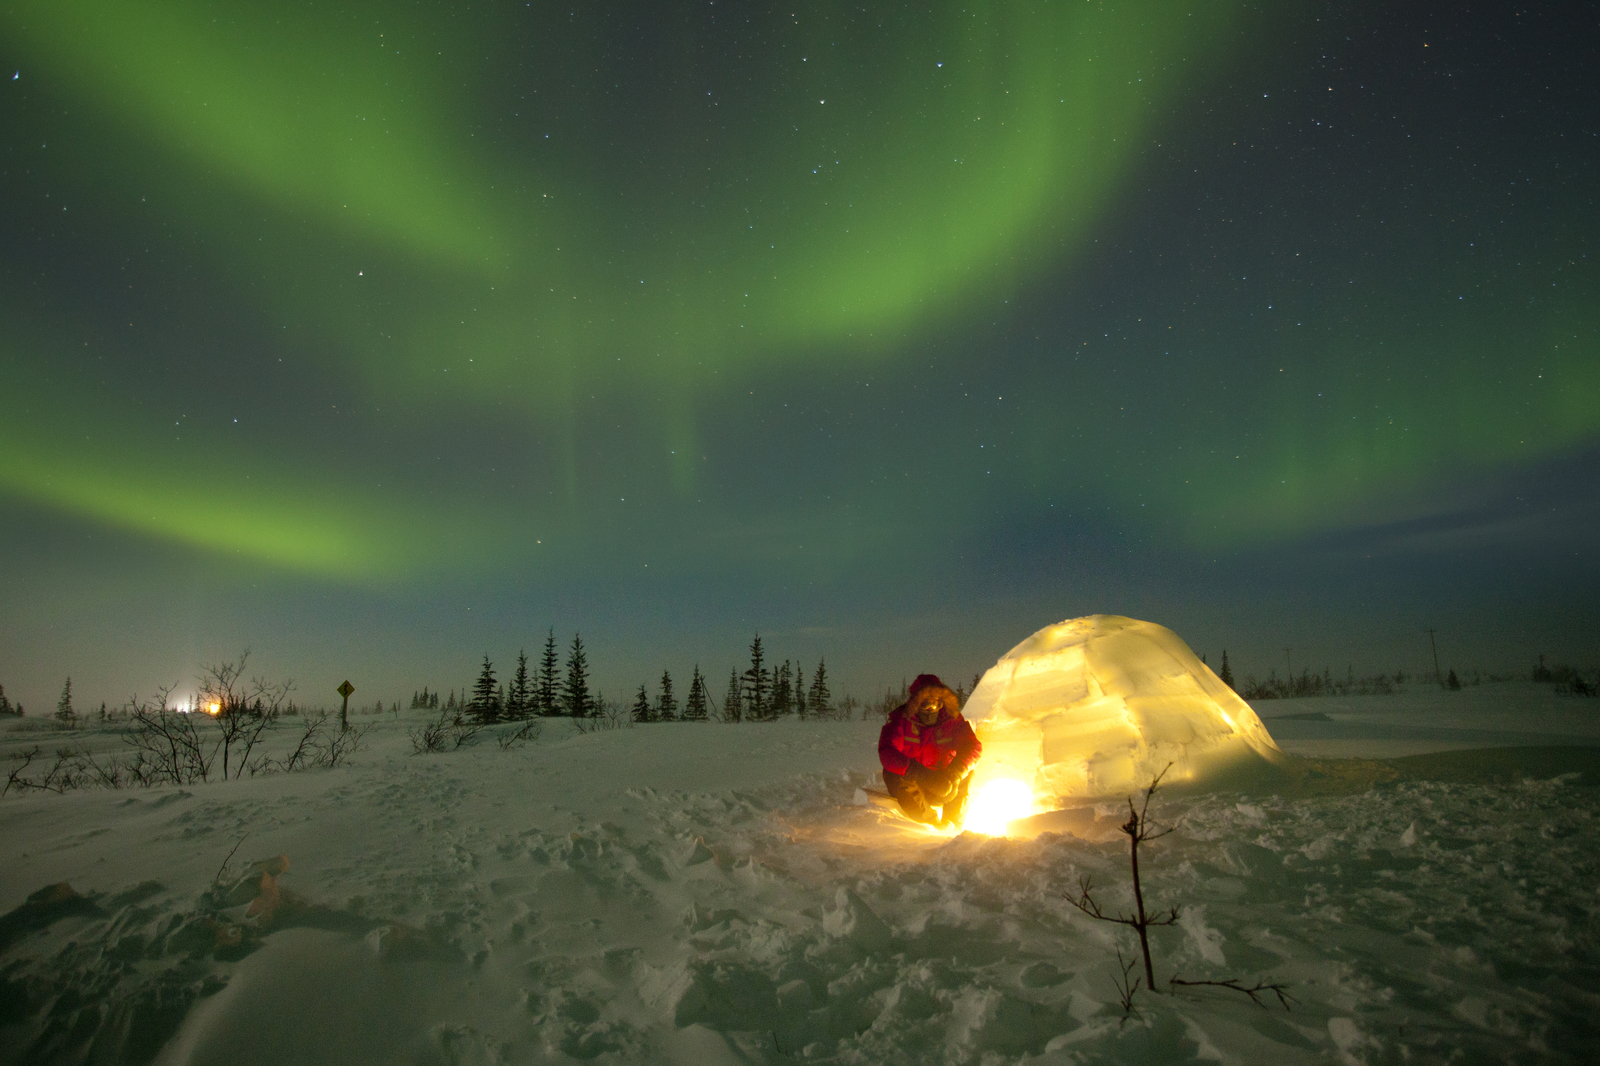
Put something in the foreground. One of the benefits of going on a dedicated Northern Lights Photo Expedition is that you’ll be put in front of a variety of foreground options and elements. It might be a cabin one night, a traditional Tipi the next, and so on. Even people can be excellent foreground elements as you really want to show the context and scale.
And this is actually where phones can be fantastic. They’re incredibly quick to reposition, easy to shoot vertically, and perfect for experimenting with compositions. Plus, due to their image stacking (the fancy computerization of these) you can use faster shutter speeds, so people don’t have to hold perfectly still for 15-20 seconds…3-5 seconds is much more doable.
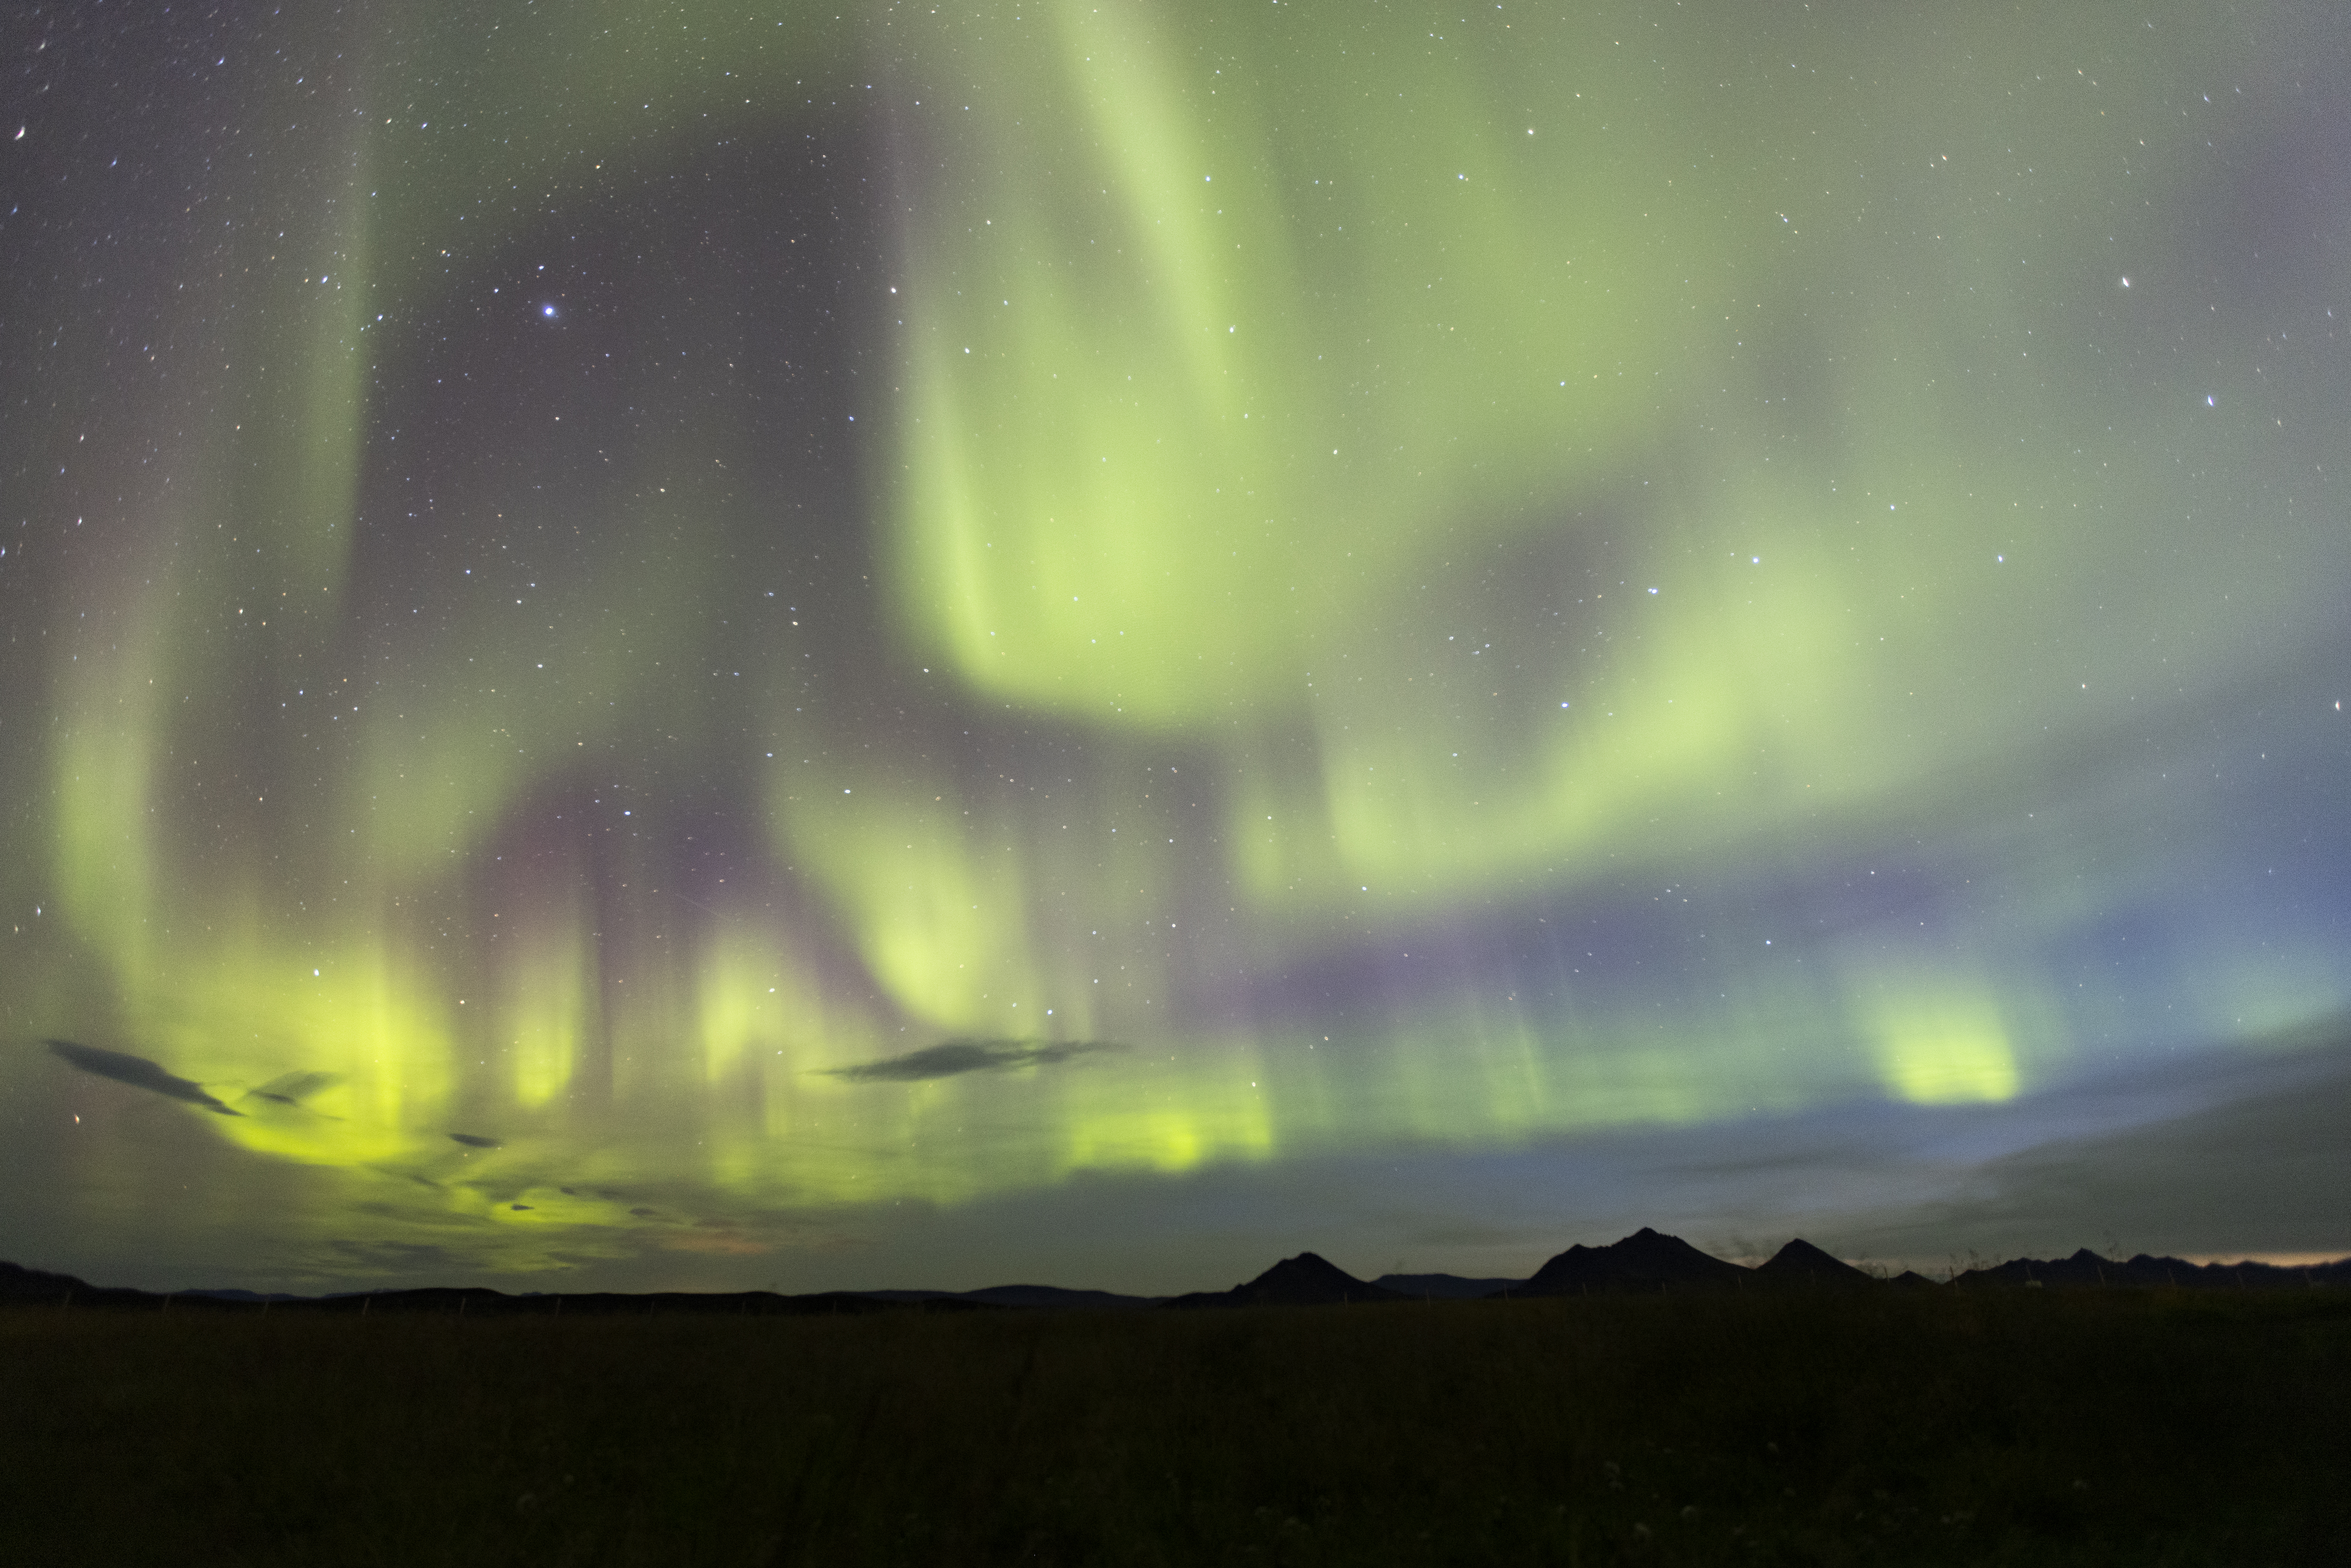
So, Can a Phone Really Photograph the Northern Lights?
Short answer, yes!
A good mirrorless or DLSR camera with a fast wide-angle lens will still win when it comes to detail, noise, dynamic range and your ability to “freeze” rapidly moving aurora (yes, arctic pun intended). If I’m heading out specifically to photograph the northern lights, I’m still bringing my full camera kit and a fast, wide lens.
But the key thing to note is that the gap has gotten much smaller than it used to be. And this continues with every year, and every make and model that is updated to perform better (sometimes even software updates can accomplish this!).
If you’ve got a recent iPhone, Pixel, Samsung Galaxy or another capable smartphone, the formula is refreshingly simple. Find something to stabilize it against (a proper tripod is honestly the best, but I get it…you’re going for ease here…), turn on its night photography mode, give the camera a few seconds to work its magic, and start experimenting.
If and when the northern lights suddenly erupt overhead, the best camera isn’t necessarily the fanciest one.
It’s the one that’s already in front of you, and our phones can be a real photo tool in today’s day and age!
Get out there and give it a shot!
Court
Leave a reply