Wildlife Photography Tips for Borneo
A wildlife photography adventure in Borneo is a safari unlike any other in the world. Borneo is teeming with the delightfully weird and whacky animals, and is also home to some of the biggest rain forest-dwelling animals on earth. Most notably, you are likely to encounter the only great ape outside of Africa—the orangutan!
If you’re headed to Borneo to photograph its many wildlife wonders, there are a few key tips and techniques you’ll need to use to capture them in the best way.
Plan on Low Light
Not all regions of Borneo are in dense jungle, but many of the photo ops you’re likely to have are indeed under the impressively dense canopy of the rain forest. This necessitates a good grasp on how to photograph wildlife in low light.
The first and perhaps most obvious step is that you’ll want to be shooting on a relatively big aperture, aka small f/number. This lets in as much light as possible, which is key.
Combine this with a high ISO, like ISO 800, 1600, or 3200 (or even 6400 if your camera can handle it), and you will be able to shoot at a reasonably fast shutter speed, which is also crucial when photographing wildlife.
Oftentimes when in low-light landscape settings, we can use a long exposure, which lets in the necessary amount of light. However, with wildlife, we must also be cognizant of freezing motion of the animal, too. Thus, it’s difficult to get a sharp photo if shooting slower than 1/160th of a second.
To achieve this, we must use a low f/number, like f/2.8, f/4, or f/5.6 in a pinch, coupled with this high ISO, oftentimes at the limit of 3200 (as a full-frame shooter myself, I can push this to ISO 6400 or even ISO 8000 to get solid results, but this should only be done on newer, full-frame cameras, otherwise your photo will be extremely grainy).
But don’t let these warnings get you too bogged down, as there are many places in Borneo that are teeming with light, such as the Kinabatangan River, where ample riverside light allows faster shutters, lower ISOs, and deep depths of field (if desired).
Speaking of Depth of Field…
It’s highly beneficial to photograph wildlife with a big aperture, aka small f/number regardless of the light you do or don’t have. Small f/numbers, like f/2.8, f/4, or even f/5.6 at telephoto length create a shallow depth of field, which gives you background separation from your wildlife subject.
This is helpful and aesthetic in a few ways…

First, it minimizes distraction. In the Bornean jungle, there are lots of distractions by way of vines, trees, and all sorts of colors and textures. While these can be quite captivating in a landscape shot, for wildlife we tend to want to let the subject be the star of the show. Thus, a shallow depth of field helps focus the viewer on the wildlife subject by blurring the background.
Second, the blurred background (and sometimes foreground, too, depending on the shot) makes your subject look even sharper! This is an excellent quality, as we all want sharp subjects.
Third, a smaller f/number allows you to lower your ISO or increase your shutter speed because of letting in more light (compared to a bigger f/number). Lowering ISO gives you a better quality of photo and a faster shutter speed helps freeze any movement of the animal.
It’s always best to try and photograph wildlife when they are taking a brief pause (like they do between jumps or moments of feeding/foraging) but sometimes erratic movement is unavoidable. The shallow depth of field I’m speaking of helps you boost your shutter speed to take movement out of the equation of whether you get a sharp photo or not.
Night Wildlife Photography
Borneo has loads of daytime wonders, but some of my most memorable and enjoyable sightings (and photographs) have come from nocturnal animals. But let me tell you, night wildlife photography is tough! Fortunately, there are a few steps you can take to increase your chances of a great shot.

- First, you want to set your camera to single point auto-focus in the middle of your frame. Don’t let the camera choose your focus point—you want it in the dead middle of your frame each and every time.
- Second, set your camera to spot metering. This means that the camera will meter, aka expose, for only the dead middle of your frame, where your focus point now lies.
- Third, don’t worry about perfect composition in-camera. Stick with placing your nocturnal wildlife subject in the middle so that you take advantage of the spot metering (and focusing). One trick is to shoot a little wider (zoom out) than you’d like so that you can recompose and crop when editing later to adhere to traditional composition rules, like the rule-of-thirds.
- Finally, be ready to adjust your exposure compensation. This can be done by finding the little +/- icon on your camera and using your camera wheel or dial (it’s different in just about every camera) to go to the negative end, darkening your shot. I know what you’re thinking…why would I want to darken a night photo? Well, fortunately, you’ll be joined by a photo guide on your night safaris (if you are joining a proper Borneo Photo Expedition) and the flashlight, even if only brief, might be too much light. Not necessarily, but it might. Thus, be ready to darken your photo by going to the negative side of your exposure compensation meter. This also helps create the nice, black background which further isolates and emphasizes the nighttime subject.
If you adhere to these steps, you’ll be surprised how an otherwise challenging photo opportunity can turn into some spectacular shots!
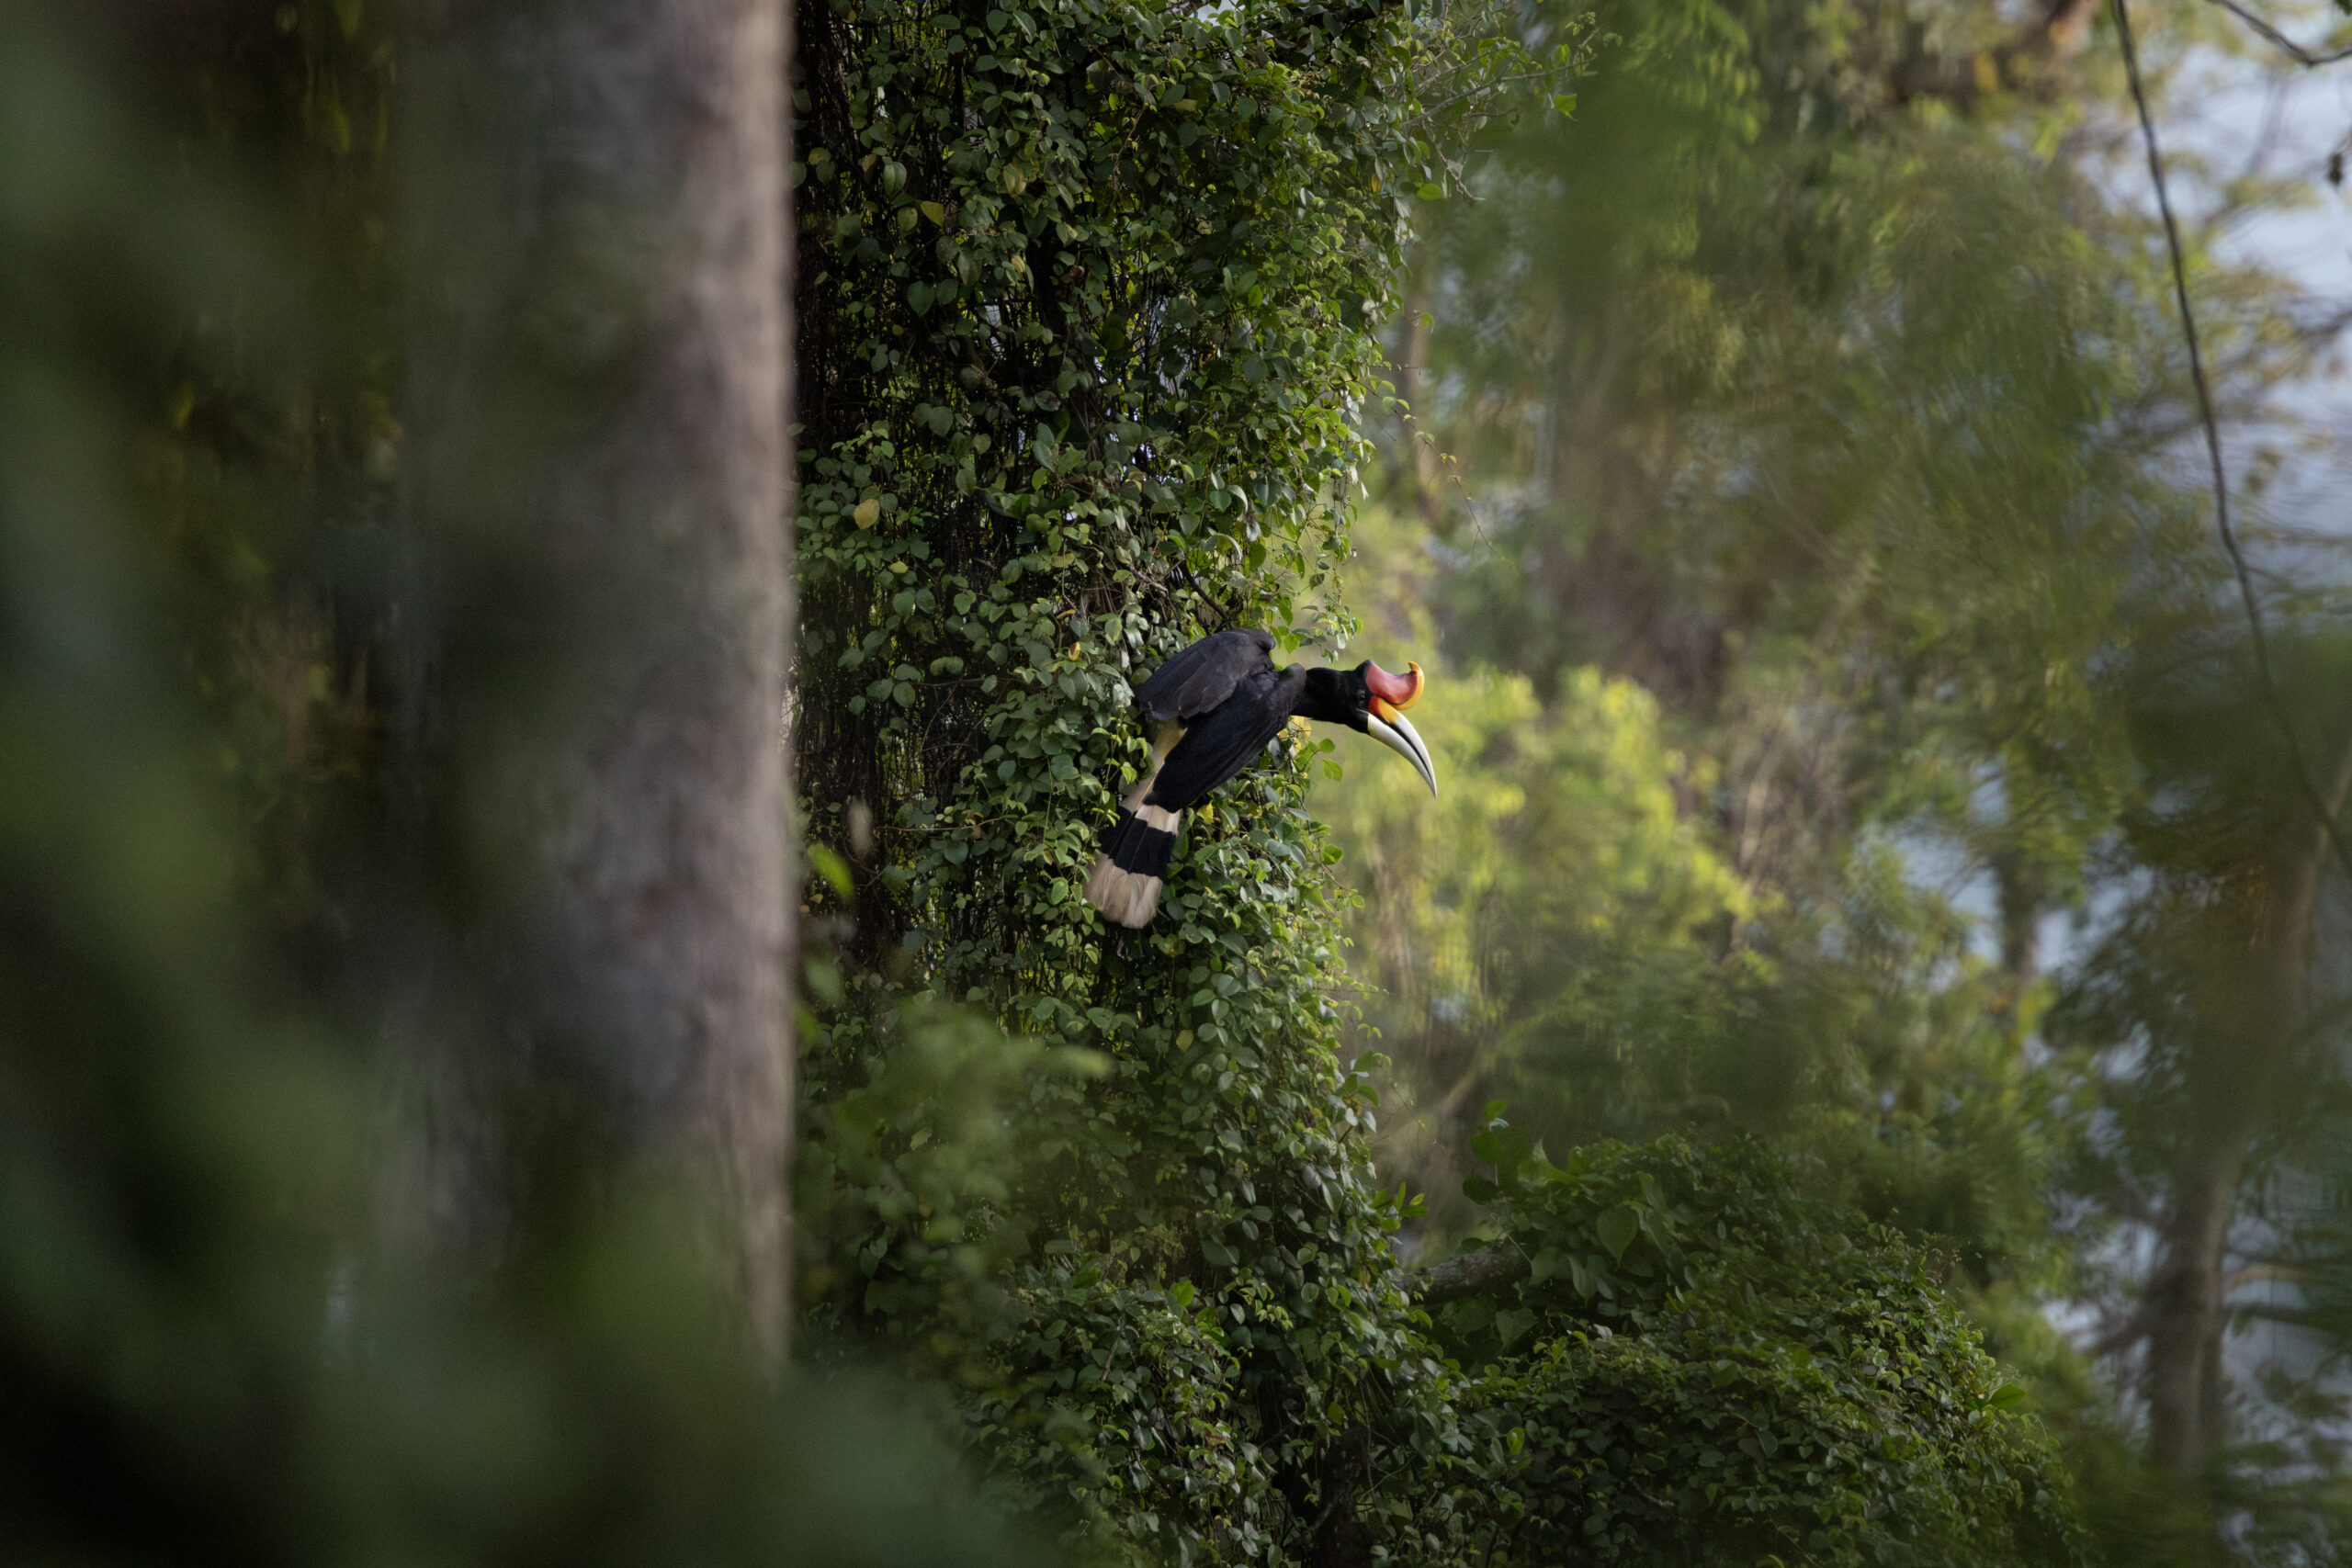
Zoom Out and Go for a Wildlife-in-Landscape Shot, too!
It’s oh-so-tempting to fill the frame with wildlife each and every time. This is especially true if you have a super telephoto lens, or are rather close to wildlife, like you might be with orangutans. However, when surrounded by gorgeous Bornean rain forest, you will want to feature the environment as part of your shot, too, in many cases.
And I don’t just mean capturing some leaves, branches and tree trunks. Consider having the wildlife, whether it’s an orangutan, elephant, or even large hornbill bird as only a small part of your scene…like 10 or 15%, allowing the environment that the wildlife is actually in to shine as well.
In Summary
Hopefully between the photos here, which were all captured on a recent photo expedition in Borneo with Natural Habitat Adventures, jazz you up and put Borneo on your list as a premier wildlife photo destination! And if you have already come to that conclusion and are headed there soon, I hope these photo tips will help you succeed and come home with some of your most prized photos to date!
Happy Photographing!

Court
Leave a reply