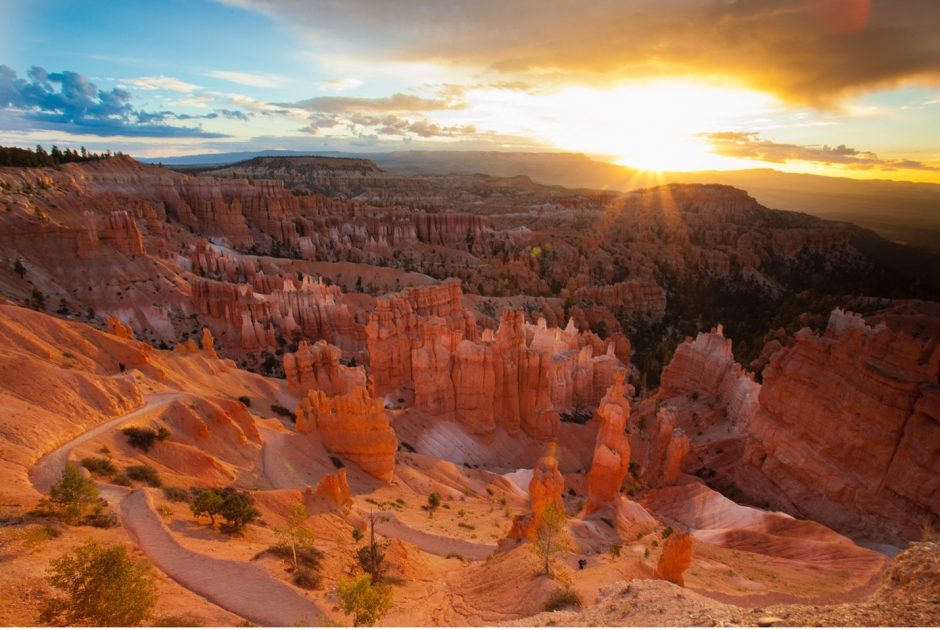
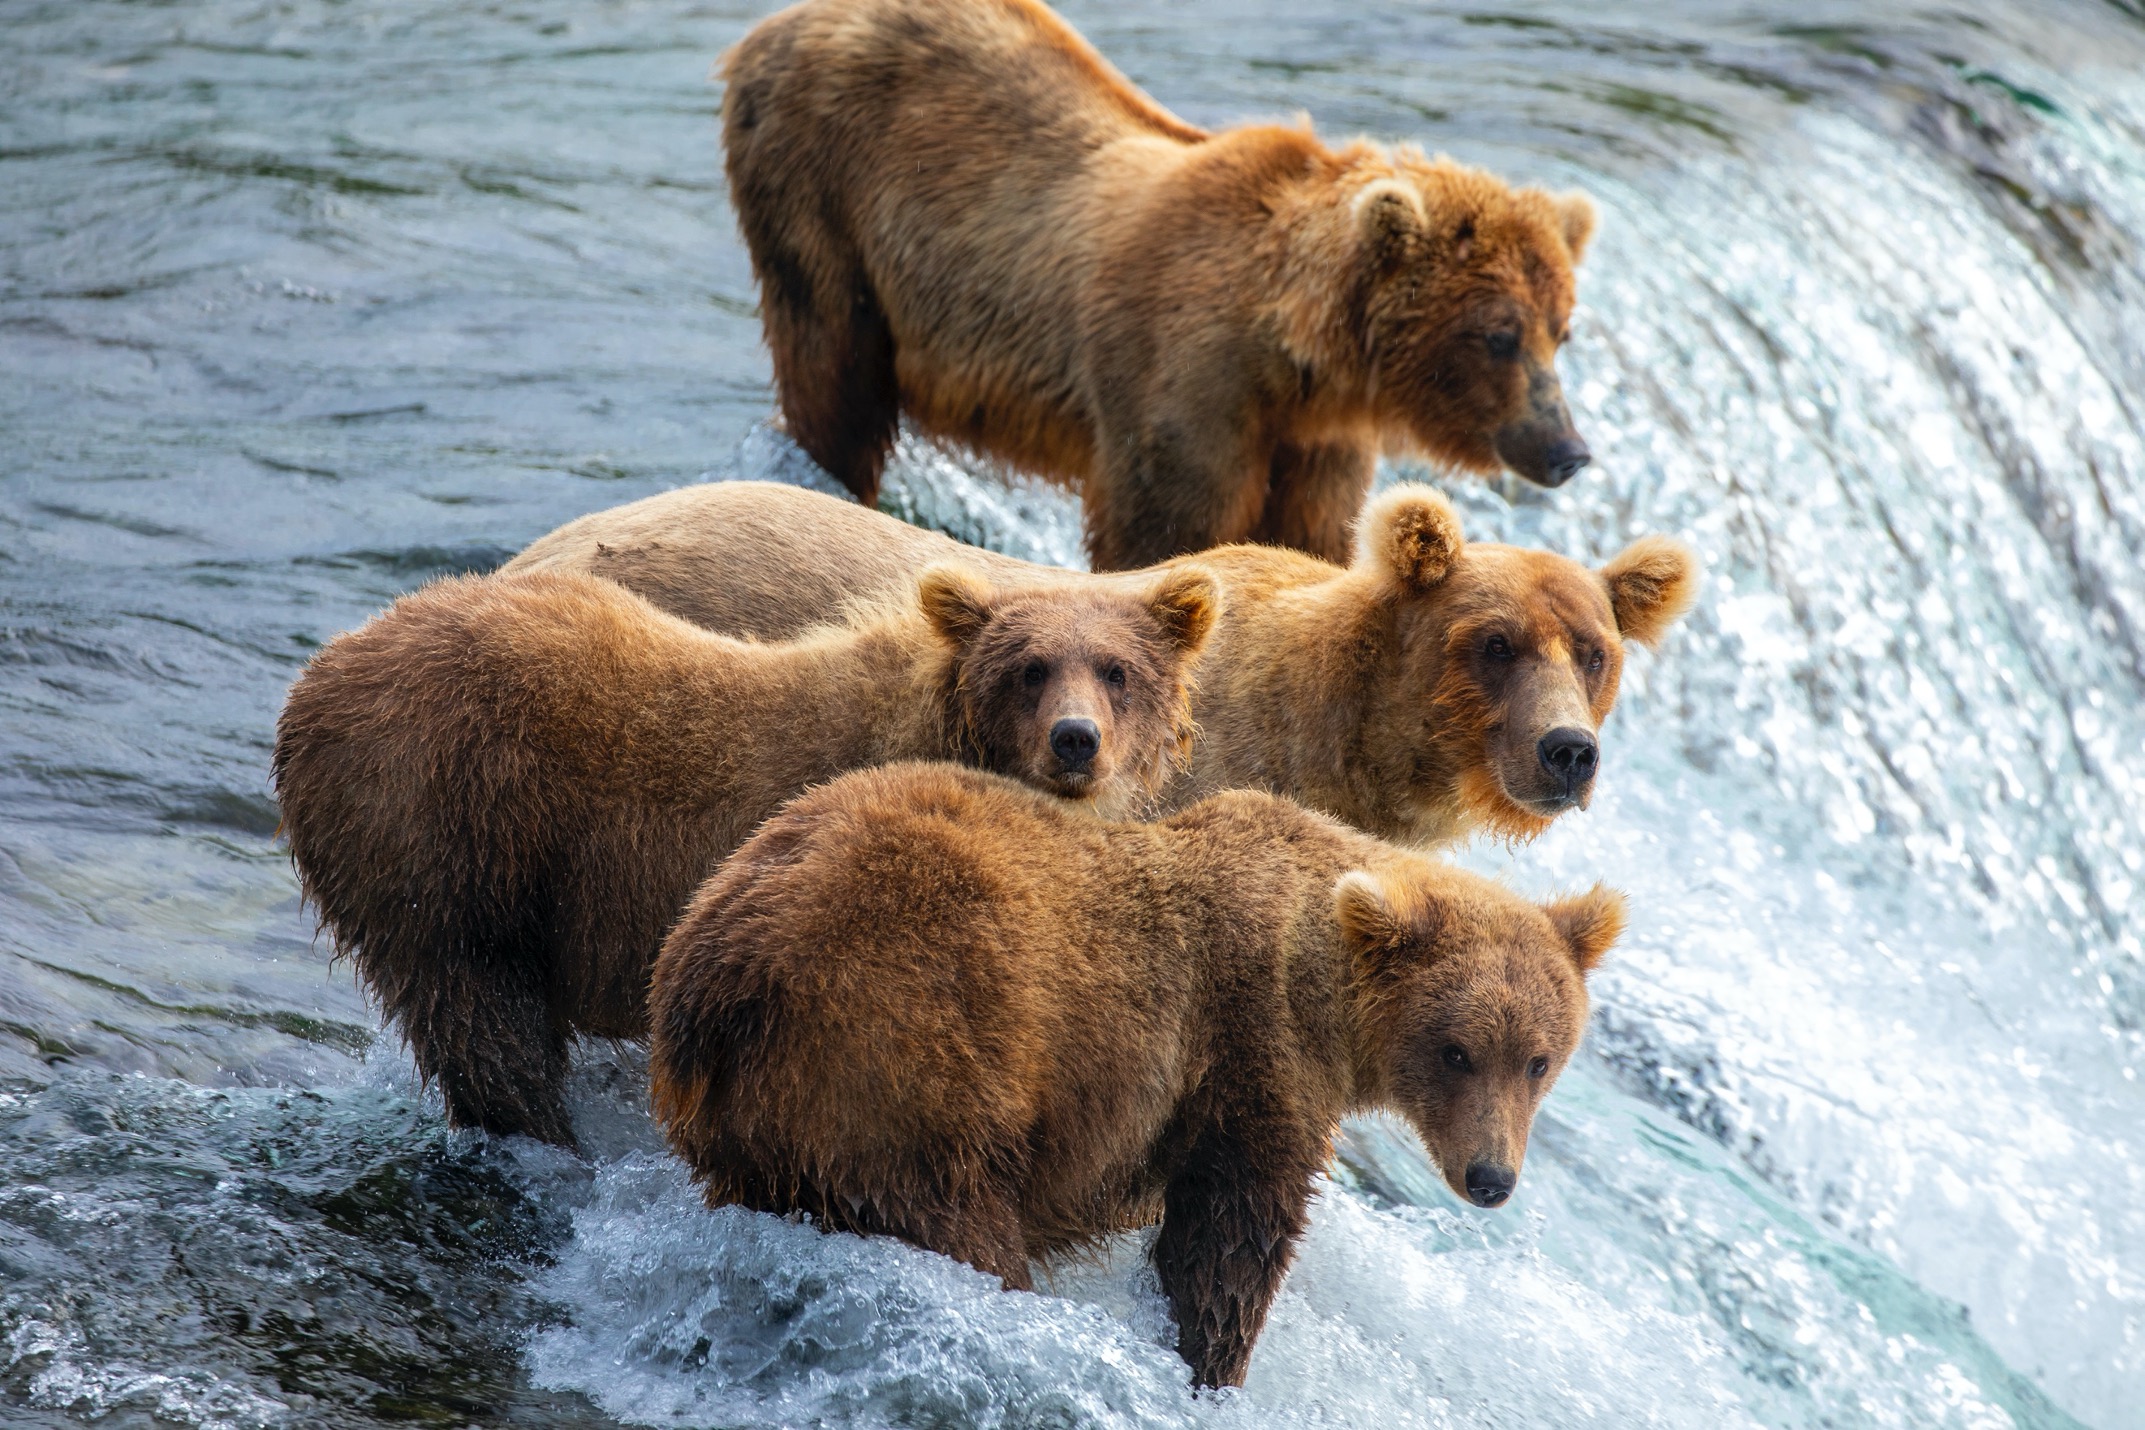
Advanced Settings for Wildlife and Landscape Photography
When in front of extraordinary wildlife or sensational landscapes during a nature photography expedition, your settings make a big difference in the overall quality of your photos.
In this article, we’re talking about things that directly impact your depth of field (aperture), sharpness of your photo (shutter speed) and overall quality of your image (ISO).
Read on to learn what I do each and every time that I’m out in nature, capturing stunning scenes, to make sure I come away with the best possible images using advanced settings.
Manual + Auto ISO
I’ve dabbled with lots of different types of camera settings over the years, from full-auto, to P (program mode), and eventually graduating to aperture priority. I thought that if I had full control over the aperture and depth of field, I was all set—no need to go any further into full manual settings.
However, with newer cameras, a new combination has become possible—and I haven’t switched away from it for the last 10 years.
Throughout every day, on every photo trip, I am on full manual plus auto ISO. Let me explain why this is so good.
So, if you are serious about your photography, having control over your depth of field is a must. Being able to switch from a shallow DoF for wildlife portraiture to a deep depth of field for landscape photos (or wildlife-in-landscape photos) is a must. This can absolutely be accomplished by setting your camera to aperture priority mode (usually denoted by an A or an Av on your camera wheel), but then it gives your camera the choice of shutter speed.

But we really want and need control over both. A beautifully shallow depth of field, accomplished with a small f-number like f/4 or better yet f/2.8, can provide remarkable photos of wildlife. However, if your camera is giving you a 1/50th of a second shutter at 500mm, you are likely to get a blurred photo. Maybe only slightly blurred, but this can ruin your photo. Thus, you want to be able to control both, and in this instance (with a 500mm) you might want to be at 1/200 or even 1/500+ if the animal is moving.
By having your camera on manual, you can choose the aperture (a must) as well as shutter speed, in order to freeze motion—either of your own hand, or of the wildlife.
But then the question is what to do with ISO? You could manually set all three, but then you a) have yet another thing to dial in your camera for each and every shot and b) become quite versed, quite quickly, with precise settings since you are now in control of every bit of exposure.
Instead, if you set your camera to auto ISO, your camera, with all of its advanced sensors, chooses the ISO for you in order to get an even exposure. This saves time and is remarkably accurate.
You now have the added benefit of being able to adjust exposure via your exposure compensation, making fine-tuned adjustments to nail the light each and every time. I find this to be so much quicker and more accurate than full manual.
But what about Aperture Priority as an advanced setting? Ok, let’s say you were used to being on aperture priority, while setting your own ISO—allowing the camera to figure out exposure and set its own shutter speed. This also works, and I was using this method for years, but now that I’ve gone to the manual + auto ISO method, I’m finding that I’m actually getting lower ISOs than what I would have set myself.
For instance, if you were headed out on an early morning shoot, you might think ‘gosh, well I should be shooting at ISO 1600 because I have low light.’ Meanwhile, your camera is giving you a 1/1000 shutter speed—faster than you actually need for the scene.
In this scenario, with manual + auto ISO, you could instead look at the scene, be on the aperture you want, know that you need to shoot at 1/400 to freeze your own hand movement (and the wildlife or landscape isn’t moving), the camera would then give you an ISO around 800 or maybe even ISO 640. This will give you a better, less noisy, and higher quality photo each and every time.
When to Set Manual ISO
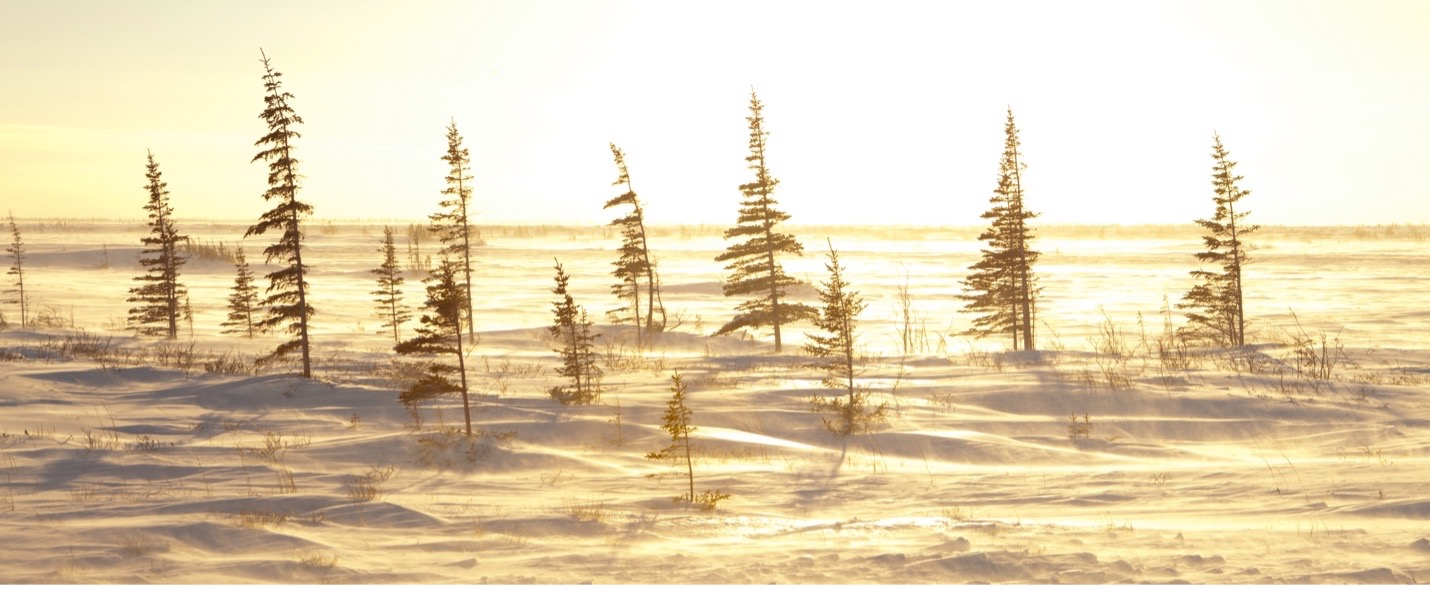
There are still times that I feel I must set my own ISO. These moments are usually for landscape photography, when I know that I want a very low ISO (100 or 200) and likely have a tripod or other stabilization device, such that I can dial my shutter speed very low.

In these instances, I will go full manual, set my aperture, set my ISO to 100 or 200, and then gradually dial my shutter speed slower and slower until the right amount of light is in my scene.
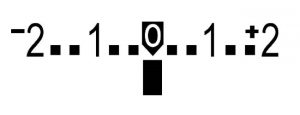
The ‘right’ amount of light can be subjective, and your LCD screen can be deceiving, but I’m not going to go into that here. (Some folks like to look at their exposure meter and get it to zero, while others might be versed in their exposure histogram—these, and other techniques, as well as just eyeballing it, are all quite effective in their own ways.)
In Summary
The point here is that using manual + auto ISO can be a game changer for taking control over the two key factors in your shot settings—aperture and shutter speed. Allowing your camera to choose ISO can not just save time and be more accurate with exposure, but it can also allow you a quick and easy way to make fine-tuned adjustments to exposure via traditional exposure compensation.
However, there are indeed times (let’s say 5% of the time) that I’ll take control of ISO, too, so that I ensure a low ISO. This forces me to then experiment with shutter speed to get the right exposure, which can take a little getting used to. But doing so, especially with landscape photos on a tripod, can ensure you have the highest quality shot via a low ISO.
If you haven’t yet tried this technique, I invite you to give it a go on your next photography expedition out into our wild world!
All the best,
Court
Leave a reply